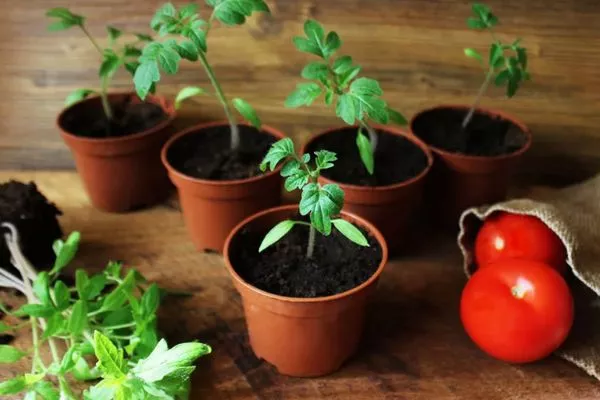
Pricking out seedlings is the process of transplanting young plants from containers once they reach a certain age. Pricking out tomatoes is done into the ground, either in pre-prepared beds or in larger containers. The success of this process determines whether the plants will thrive in their new environment and the size of the harvest.
What is picking and what is it for?
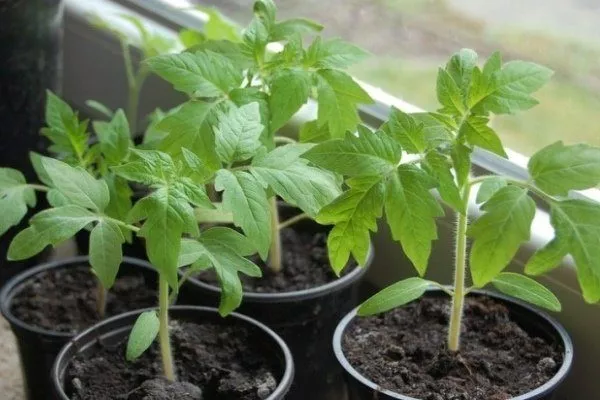
Pricking out is the process of transplanting seedlings, which occurs after the young plants have developed at least two leaves. Transplanting allows the root system of tomatoes and other vegetable crops to develop better, resulting in stronger plants.
Without transplanting, plants weaken and die as they grow. This occurs because the root system lacks space to develop, resulting in the seedlings not receiving the necessary nutrients. After transplanting, the plant's roots can develop freely in the soil without competing with other seedlings. Leaves from neighboring bushes don't obscure the plant, ensuring it receives sufficient sunlight.
| Method | Advantages | Flaws |
|---|---|---|
| Transplanting into larger containers | Improves root system development | Requires more resources |
| Transplanting into the ground in a garden plot | Reduces competition for light | Depends on weather conditions |
In most cases, young plants are transplanted into larger containers. Less commonly, they are transplanted into the ground in a garden plot.
The main objectives of picking are:
- providing conditions for the free growth of seedlings;
- selection of stronger plants;
- control of diseases that have affected some of the seedlings;
- increasing crop yields;
- acceleration or deceleration of growth.
When pricking out, part of the main root is cut off. This stimulates the growth of lateral roots. With standard repotting, the root is preserved, and the plant doesn't need to endure additional stress. This is the main difference between pricking out and regular repotting.
Optimal timing
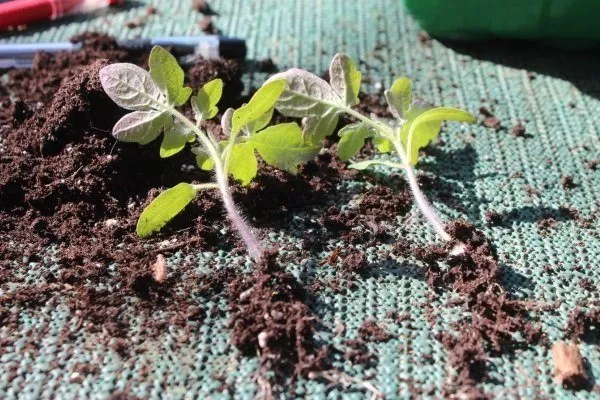
With good lighting, tomato seedlings grow from seeds in 10-14 days. During this period, young plants develop 2-3 leaves, and transplanting is possible. If a seedling has fewer than two leaves, this indicates that the cotyledons are not fully developed and should not be transplanted.
After transplanting, the plant takes root almost immediately. This will only fail if it has been affected by disease.
There's no exact time for transplanting. Plants develop individually, depending on a variety of factors. Sometimes tomato seedlings can develop too quickly, requiring transplanting earlier.
The timing of transplanting also depends on the variety of tomato seeds being planted. Early, mid-season, and late-season tomato varieties have different growth rates, so transplanting them at different times is recommended, even if they were planted at the same time.
According to the lunar calendar, the best time to transplant tomatoes is between March 23 and 31. If you're planting seedlings in a greenhouse, transplanting should be postponed until late April or early May, provided the soil temperature has reached 8 degrees Celsius.
To learn more about the best time to transplant tomatoes, watch this video:
How to transplant tomato seedlings (description of the process)
Of all plants, tomatoes have one of the highest survival rates after transplantation. When transplanting tomatoes, it's important to time the procedure optimally. Tomatoes don't like being crowded, so it's better to transplant them sooner rather than later. If the right time for picking passes and it is not done, the seedlings will gradually begin to wither and die.
What will you need?
Before you begin the process of transplanting tomatoes, you should prepare the necessary tools and materials. The procedure requires the following:
- pre-watered seedlings;
- pots or boxes into which the plants will be transplanted;
- special soil (standard grade soil is suitable for transplanting);
- a peg or trowel for removing plants from the ground;
- soil fertilizers (potassium sulfate, vermicompost, superphosphate).
There are two ways to sow seeds for seedlings: in a common container or in individual pots. The second option is better for transplanting. However, growing tomatoes in individual pots requires more time and resources. If you're planting outdoors, you'll need to set up a greenhouse in advance.
Step-by-step process of picking
Before transplanting, seedlings must be prepared. This requires watering at least an hour before transplanting. If you water the seedlings immediately before transplanting, the soil may not have time to soak sufficiently. Transplanting without watering runs the risk of damaging the roots, preventing the seedlings from establishing themselves in the new soil.
The picking procedure is carried out in stages:
- pre-purchased soil is poured into a box or cups (it can be purchased in specialized stores);
- using a pointed peg or a special spatula, the plant is lifted and removed from the ground (the soil should remain on the root);
- if the lower part of the root is not damaged, it is carefully cut, after which the plant is immersed in a new container with soil;
- After the sprout is in the hole, the soil around it needs to be compacted (given the small size of the plant, it is better to do this with your finger);
- at the next stage, the seedlings are watered with warm water;
- The final step is to place the plants in a darkened room for 2 days.
Once the seedlings have taken root, they can be moved to a well-lit area.
It is recommended to use disposable cups with a diameter of at least 10 centimeters as containers for transplantation. They should be made of paper or cardboard. After a certain period of time, this material will soften and begin to decompose, allowing the plant to be planted alongside it.
- ✓ Drainage holes
- ✓ Material that can decompose in soil
- ✓ Diameter not less than 10 cm
Each cup must have holes in the bottom to allow moisture to escape. Plastic containers are less suitable for this purpose, as they don't have a similar planting method. When replanting, the cup will have to be cut, which risks damaging the roots.
When transplanting, you can additionally treat the seedling roots with potassium permanganate. This will help eliminate harmful bacteria, increasing the seedlings' survival rate.
When using special purchased soil, there is no need to additionally fertilize the soil after planting – it already contains useful nutrients.
If the seedlings are buried above their growing point, their development will slow down. At least two weeks should pass after transplanting before replanting.
You can learn more about how to properly transplant tomato seedlings at home by watching this video:
Transplanting elongated seedlings
In some cases, seedlings may grow taller than they should. This occurs for the following reasons:
- the sprouts do not receive enough sunlight;
- the soil is watered in too large a volume;
- The seedlings grow in conditions of high temperature.
Pricking out seedlings solves this problem. Transplanting elongated seedlings is done in the standard manner. However, extreme caution should be exercised when performing this procedure, as these plants are very fragile. If a seedling breaks, planting it is pointless.
The only difference in transplanting elongated seedlings is the depth of the planting. These plants need to be planted deep into the soil, right up to the cotyledons. Wait until the seedlings have established themselves before exposing them to light. They will then develop like normal plants.
Caring for seedlings after picking
After transplanting, the seedlings should be kept in a room with a controlled temperature. This temperature varies depending on the plant's age:
- during the first three days after transplantation – from +15 to +18 degrees Celsius during the day, and from +18 to +20 degrees Celsius at night;
- from the fourth to the seventh day after transplantation - from +18 to +20 degrees Celsius during the day, and from +15 to +16 degrees Celsius at night;
- After the tenth day, the temperature can be left unchanged, and the plants can be taken outside for half an hour every day.
To ensure healthy tomato growth, periodically apply fertilizer every two weeks after watering. It's recommended to purchase fertilizer from specialized stores. If necessary, you can make your own. At home, prepare a mixture of:
- 10 liters of water;
- 2 grams of potassium sulfate;
- 35 grams of superphosphate;
- 4 grams of urea.
The listed components are mixed and infused, after which they are used in the same way as standard watering.
For information on how to grow strong tomato seedlings, see this article.
Possible errors
After transplanting, seedlings should be watered generously, but sparingly. The next watering should only occur when the top layer of soil has dried out. Too much water can lead to seedling diseases. The most common diseases for young plants are blackleg and late blight.
You cannot plant tomato bushes in open ground if:
- the thickness of the main stem has not reached 1 centimeter;
- the height of the bush is less than 30 centimeters;
- The bush has less than 8 leaves and no flowering.
If you plant the plant too early, it will die.
When replanting, it's important to monitor the seedling's roots. If they become severely damaged, pricking them out can delay the plant's growth for a week or lead to other unpleasant consequences. If you don't have a special stake or spatula, you can use a toothpick.
Early picking increases the risk of damage to the seedling, while late picking worsens its acclimatization.
To accurately time the planting, it's important to keep track. Many inexperienced people make the mistake of counting 10-14 days after planting the seeds. This period should be counted after the first shoots appear.
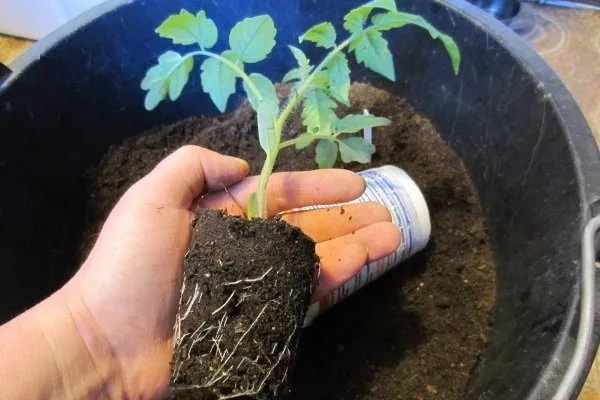
If the plant's root is damaged during repotting, do not trim it. When removing the plant from the ground, you can hold onto the leaves or the soil ball surrounding the root. Do not touch the exposed root with your hands.
A plant may stop growing if it doesn't receive enough micronutrients. You can determine which nutrients the seedlings are lacking by their appearance:
- the appearance of a red tint on the leaves indicates a lack of phosphorus;
- The reason for yellowing and curling of leaves is a lack of potassium;
- If plants have stopped growing but have not changed in appearance, or the leaves have become pale, they lack iron.
If such symptoms occur, it is necessary to use a fertilizer containing the element that the seedlings are deficient in. Most often, fertilizing tomato seedlings It is produced using: Effecton, Nitrofoska, Agricola No. 3. Dilution and use of the substances is carried out strictly according to the instructions indicated on the packaging.
Healthy seedlings should not be planted alongside weak or diseased ones. Firstly, they can infect the healthy seedlings, and secondly, this will negatively impact the quality of the harvest.
The planting hole should be wide. Otherwise, the roots may bend, and the plant's development will be stunted. After planting, the soil must be thoroughly compacted. The formation of air pockets can negatively impact the seedlings' growth.
Pricking out is a transplanting method that strengthens plants and increases yield. Pricking out tomatoes is simple, but if done incorrectly, it can cause damage to the plant.