Growing microgreens is a great idea, allowing you to have fresh, vitamin-rich produce on your table year-round. Best of all, you don't have to buy these miniature greens; they're easy to grow on your own windowsill.
What are microgreens?
Microgreens are the sprouts of various crops that are eaten fresh. Microgreens are grown using a special method, but vegetables and herbs are grown together. Harvesting occurs a few days after sowing, as soon as the first leaves appear on the seedlings.
Growing sprouts doesn't require any special expenses. They can be kept indoors, in a greenhouse, or outdoors. The seed trays can be placed anywhere with good lighting, such as on windowsills. They can also be supplemented with phytolamps.
The history of microgreens
Microgreens first appeared in the United States about 40 years ago. Some American chef came up with the idea of adding the sprouts to their salads. It's said that this happened in San Francisco restaurants. The greens were used there as a piquant seasoning.
Chefs who pioneered microgreens planted micro-sized kale, basil, arugula, cilantro, and beets in their dishes. Restaurant customers loved the idea, and the innovation soon took America by storm.
Microgreens appeared in Europe in the early 2000s and immediately began their triumphant march through local cafes, restaurants, and other food service establishments. Some time later, the new product arrived in Russia, and farmers are already cultivating it on a large scale.
Benefits of microgreens
Microgreens have many beneficial properties and are a great addition to your daily diet.
Microgreens contain:
- vitamins C, B, E, PP;
- iron;
- magnesium;
- phosphorus;
- folic acid;
- beta-carotene;
- lutein;
- essential oils.
At the initial stage, plants contain the maximum amount of nutrients—5-6 times more than their adult counterparts. The body absorbs them almost 100%.
Microgreens have the following beneficial properties:
- has a beneficial effect on the digestive system;
- lowers cholesterol levels;
- removes toxins;
- activates cell regeneration;
- is a preventative measure against cancer and many chronic diseases;
- helps control weight.
Pros and cons
Microgreens not only add color, flavor, and a pleasant texture to dishes. They're also added to a wide range of dishes, from salads to smoothies. Along with these benefits, they offer other advantages worth exploring.
Selecting seeds
Seeds for planting microgreens must be environmentally friendly. Seeds intended for open ground are not suitable, as they are usually treated with fungicides and insecticides to protect against diseases and pests, respectively. While this treatment is safe for humans during normal cultivation, it can be dangerous if the sprouts are consumed.
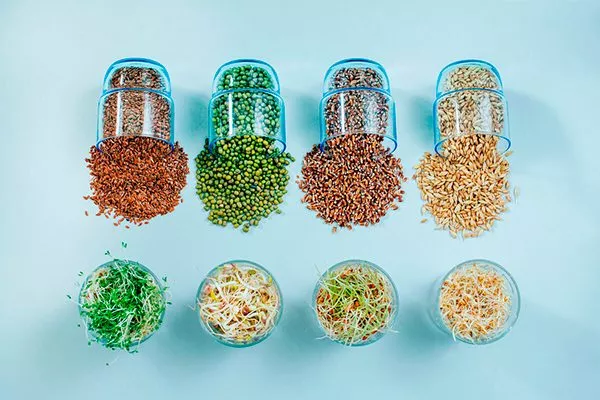
It's recommended to grow sprouts for food from special seeds. The packaging should be labeled "microgreens." You can also use home-grown seeds for sowing.
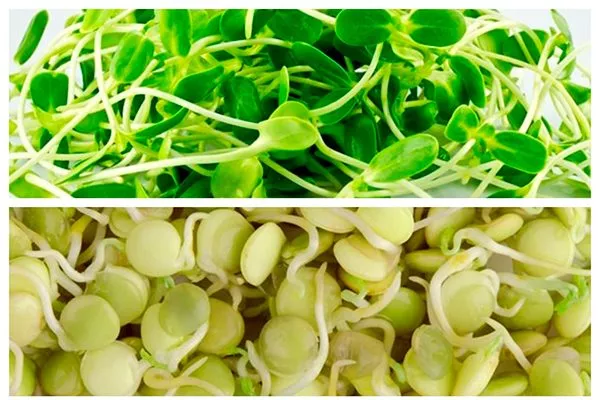
Crops most commonly grown for microgreens:
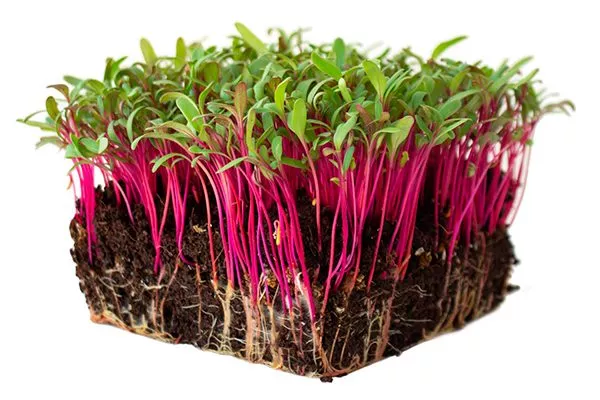
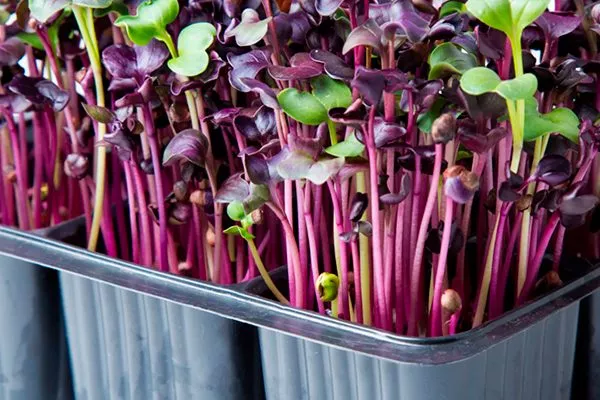
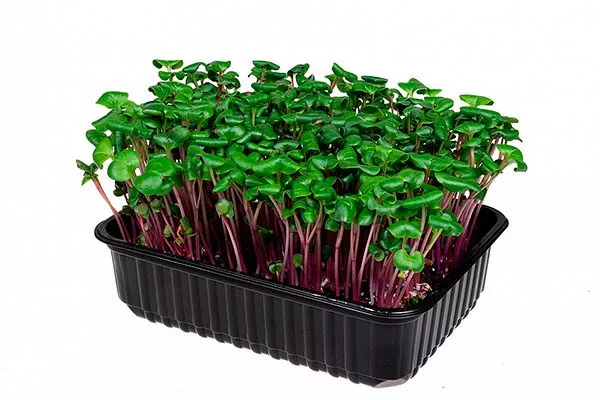
- Beet. Beet greens have a slightly sweet flavor. They refresh and invigorate dishes. Beet greens are rich in tryptophan, the "happiness hormone," as well as trace elements that strengthen tooth enamel. They are ideal for vegetable salads and vitamin-rich smoothies.

- Lentils. The greens of this crop are a source of iron and plant-based protein, have a sweet pepper flavor, and pair beautifully with tomatoes and cream cheese. Regular consumption of lentil sprouts can lower blood sugar and increase hemoglobin levels.
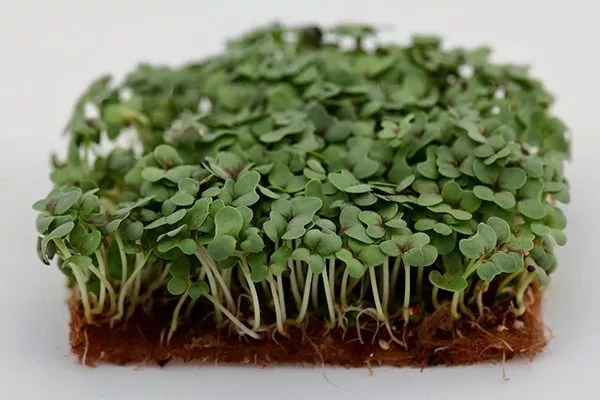
- Mustard. It has a subtle peppery aroma that adds a savory flavor to meat and fish dishes. Mustard microgreens are rich in ascorbic acid and rutin, which strengthen blood vessels and prevent aging.
- Basil. This herb has a pleasantly spicy flavor that perfectly complements meat and fish dishes, soups, and omelets. It also has anti-inflammatory properties and aids weight loss.
- Arugula. It has a bitter, nutty flavor and pairs beautifully with vegetables and cottage cheese. It adds a distinctive aroma to meat and fish dishes. Arugula is rich in iodine, carotene, and essential oils.
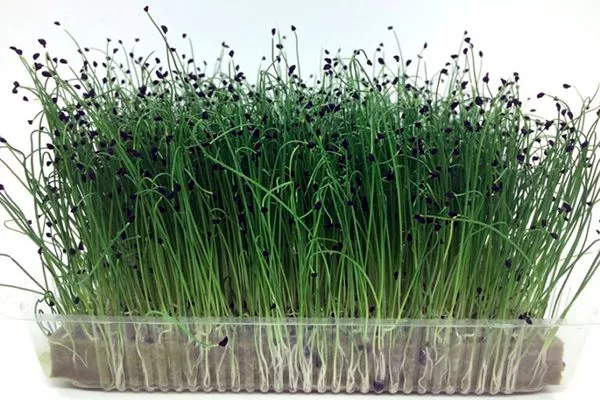
- Chives. This pleasant-tasting green is neither bitter nor pungent. It's perfect for salads, sauces, and gravies. It has an anthelmintic effect and is also beneficial for the cardiovascular system and kidney function.
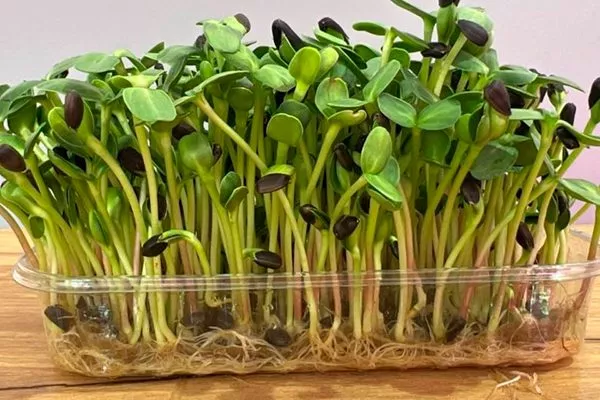
- Sunflower. This herb has a delicate aroma and is added to a wide variety of dishes, even sandwiches. It contains a lot of folate and amino acids, prevents anemia, and normalizes muscle tissue.
- Kohlrabi. The sprouts of this cabbage are tart and piquant, perfect for meat, fish, and vegetarian salads, and pair beautifully with fresh vegetables. These greens boost the immune system and prevent blood clots.
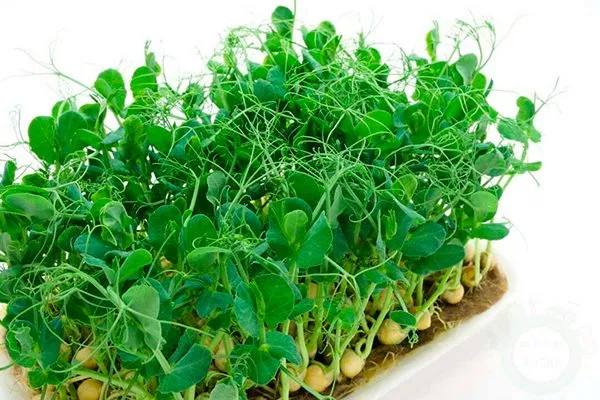
- Peas. It has nutty notes and the familiar flavor of green peas—the perfect combination for side dishes and festive meat dishes. These microgreens are rich in protein and minerals, which help remove excess fluid from the body.
- Radish. The sprouts of this crop have a pungent flavor that pairs harmoniously with side dishes served with meat. These greens are rich in minerals and trace elements that strengthen the immune system and the body as a whole.
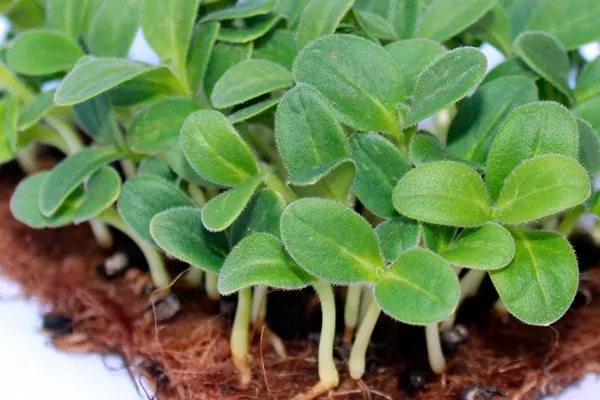
- Borage. The sprouts of this borage herb have a distinctly cucumber-like flavor. They pair beautifully with any side dishes and vegetables, and can also be added to cottage cheese. Regular consumption of borage greens stabilizes emotional states, slows the aging process, and increases resistance to viruses. Consuming these sprouts also has a mild diuretic effect.


It's not recommended to use nightshade seeds—eggplant, tomato, pepper, and potato—for microgreens, as the leaves of these plants contain many hairs that can cause discomfort when ingested. Consuming large quantities of these microgreens can also cause stomach upset.
Do seeds need to be prepared for germination?
Microgreen seeds require no preparation. Do not treat them with toxic substances, even potassium permanganate. If there is a risk of contamination, it is recommended to expose the planting material to UV light or direct sunlight.
Soaking the seeds won't hurt, however. The soaking time depends on the specific planting material. For example, small watercress seeds only need to be soaked in water for 15-20 minutes, while peas need to be soaked in a damp cloth for 16-18 hours, and beets and sunflowers for 6-8 hours.
Soil for growing
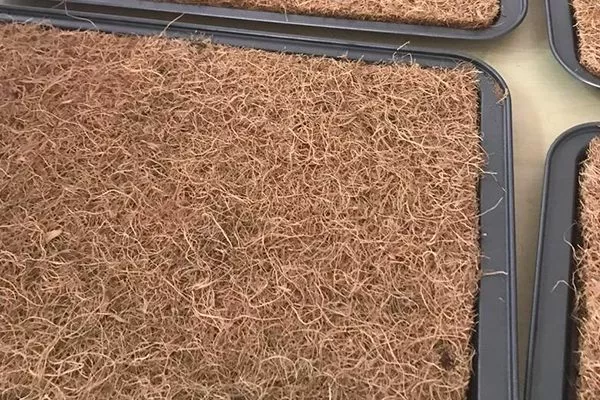
It's best to use a neutral substrate such as peat or coconut coir. Garden soil is not recommended, as it may contain pathogen spores and traces of fertilizer. A substrate containing hydrogel produces the best results when growing microgreens.
Containers for growing microgreens
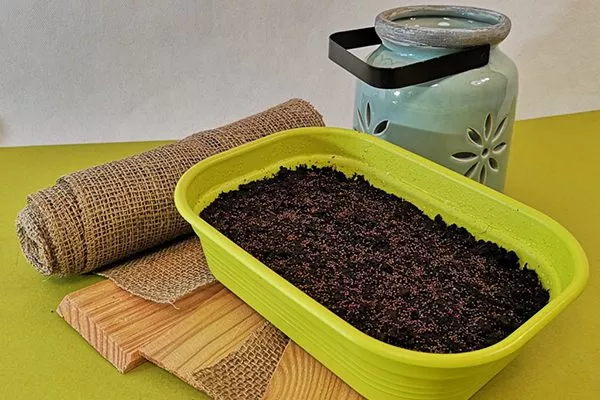
Microgreens are best grown in shallow plastic trays—available at any hardware store. Fruit and vegetable packaging, disposable plates, and any rimmed containers can also be used.
Sowing
Microgreen seeds are sown densely. The optimal growing temperature is 18 to 24°C.
Moreover, the sowing rate depends on the size of the seeds, pieces per 10 sq. cm:
- small seeds - 20;
- large seeds - 15.
Sowing order:
- Water the substrate generously.
- Sow the seeds over the surface of the substrate. Sprinkle them with a thin layer of peat or vermiculite.
- Cover the container with the seeds with transparent plastic film or glass.
Place the seedlings on sunny windowsills or balconies. However, they can grow on any window, including north-facing ones. A grow light can be used to accelerate growth. It's best to avoid placing microgreens near heaters and drafts.
- ✓ The optimal light intensity for microgreens is 5000-7000 lux.
- ✓ The duration of daylight hours should be at least 12-14 hours.
Care
Microgreens need good light most of all. This is the key to strong and healthy seedlings. Water the plants as the substrate dries out. For this purpose, use a spray bottle. Mist 2-3 times a day.
Overwatering is contraindicated, as it can lead to disease. Fertilizers are not used when growing microgreens.
Growing environment
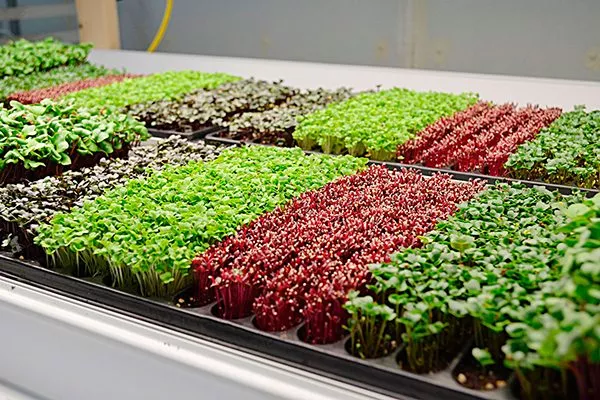
Microgreens grown for sale by farms are quite expensive. To avoid wasting money on expensive produce, try growing your own. There are many growing methods available, so you can choose the one that suits you best.
Microgreens grow quickly—in just a few days, they're ready to be added to a salad or soup. Therefore, they're grown in a variety of, sometimes unusual, ways. Let's take a closer look at each.
Substrate
This is the simplest and most popular option, as it doesn't require any special knowledge or equipment. All you need is a wider container. It doesn't even need drainage holes—they're completely optional in this case.
Planting order:
- Fill the container with soil or store-bought substrate (for seedlings). The layer should be 3-4 cm thick.
- Scatter the seeds over the soil and then spray them with water from a spray bottle.
- Sprinkle with soil.
- Cover the container with a transparent material (cling film, plastic bag, plastic lid, glass).
- Place the container with the seeds on a well-lit windowsill. Water the seeds 2-3 times a day (spray).
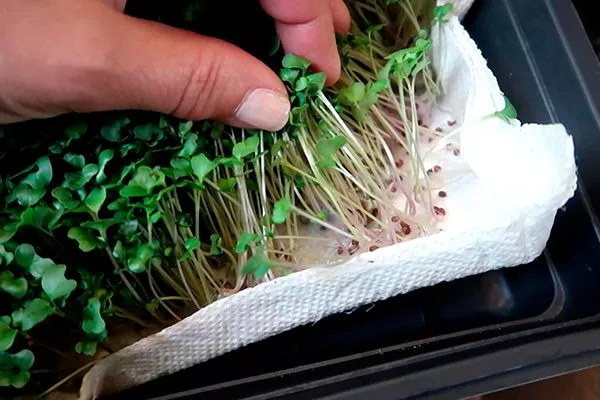
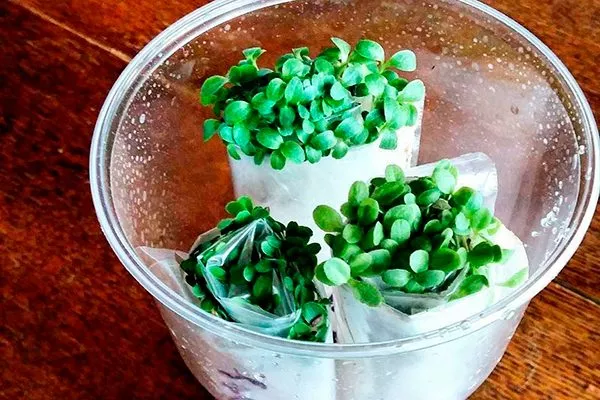
Paper
You can use paper to grow microgreens. The process takes so little time that the miniature plants are perfectly satisfied with the nutritional reserves contained within the seeds. Absorbent paper (such as toilet paper) or kitchen paper towels can be used as a base.
Method #1:
- Line the bottom of a shallow tray with paper.
- Wet thoroughly with water.
- Spread the sprouted seeds.
- Cover with a transparent cover.
- Place it on the windowsill.
Don't overwater. The seeds shouldn't float in the water. As soon as the seedlings emerge, remove the covering and keep the paper moist by misting the seedlings 2-3 times a day.
For the next method, in addition to paper, you will need plastic wrap.
Method #2:
- Cut the plastic into strips. Their width should be equal to the width of the toilet paper on which the microgreens will be grown.
- Place plastic on the table and strips of paper on top.
- Spray the toilet paper with a spray bottle or syringe.
- Step back a little and spread the seeds along the edges.
- Carefully roll the strips into rolls (together with the film).
- Place the roll in a jar and pour some water into it.
- Cover the container with a transparent bag or glass.
This method is great because you don't have to waste time spraying the plants. The main thing is to never let the container run dry.
At the bank
For this method you will need a clean jar and gauze.
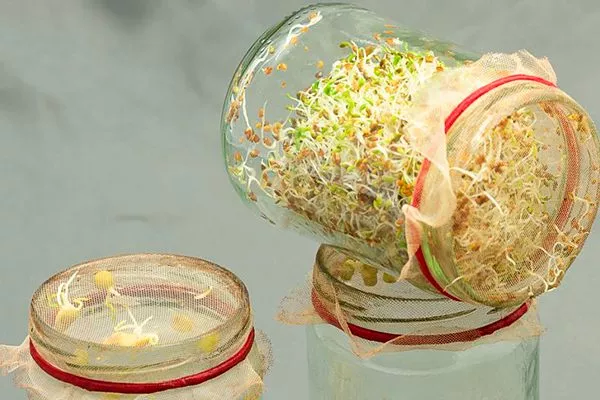
Growing order:
- Pour seeds into jars.
- Soak them in water for 24 hours.
- Cover the jar neck with gauze or other mesh material and secure with a rubber band.
- When the seeds swell, drain the water.
- Rinse the seeds without removing the mesh cover.
- Turn the jar upside down. Place it on a tray at an angle (approximately 30°) to allow the water to drain.
Care involves rinsing the germinating seeds 2-3 times a day. The jar should be kept upside down and tilted the rest of the time.
You can find special jars for growing microgreens on the market, with convenient mesh lids. Some even come with a set of lids with different mesh sizes (for different crops).
Cotton wool and cotton pads
Instead of paper, you can use regular non-sterile cotton wool, which is sold at any pharmacy.
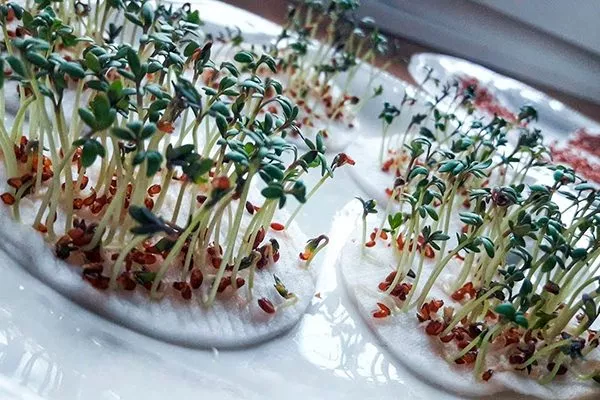
Growing order:
- Place cotton wool in a suitable container.
- Moisten it and spread the seeds on top.
- Cover the crops with film.
Continue growing the microgreens as usual. Water with a spray bottle, and remove the cover as soon as the seedlings appear.
Instead of cotton wool, you can use cotton pads, the kind women use to remove makeup and cleanse their faces. Lay the pads in a single layer at the bottom of a container, moisten them with water, sprinkle the seeds over them, and cover with a transparent cloth. Microgreens can be grown similarly on regular medical gauze.
Sprouter
Manufacturers, having learned of the microgreens growing craze, immediately decided to capitalize on this idea by offering interested buyers specialized devices for this purpose. Some are quite expensive and have complex designs, but there are also quite simple and functional models.
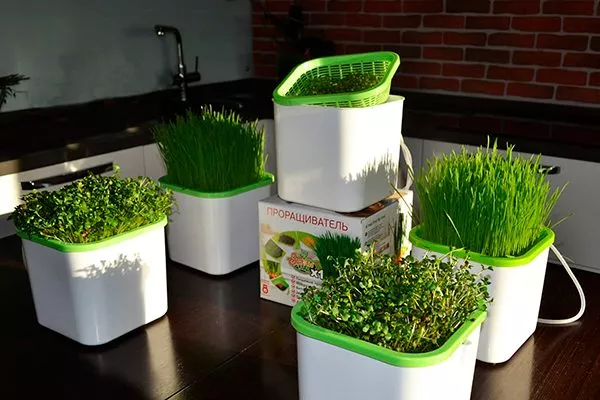
The simplest sprouter consists of a container and a mesh tray that fits inside. Trays come with either identical or different mesh openings. The kit may also include an additional seed germination mat.
Fill the container with water until it reaches the level of the mesh tray. Insert the mesh tray into the container and cover it with the transparent lid, which is also included with the sprouter.
When should we harvest?
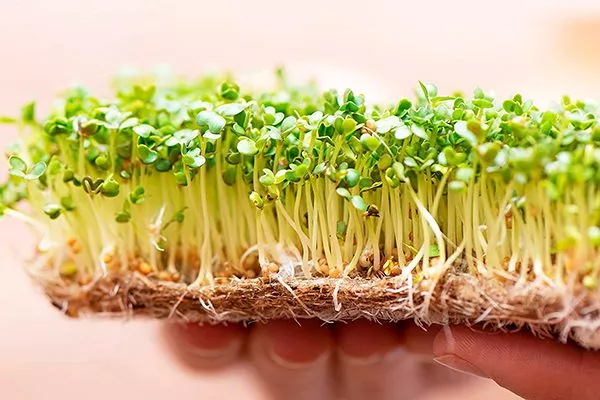
Microgreens are harvested based on their type and growth rate. Typically, 1-2 weeks after sowing, the sprouts reach 5 cm in height and the first leaves appear. Once the cotyledons have grown, cut the greens. Alternatively, wait until 1 or 2 true leaves appear.
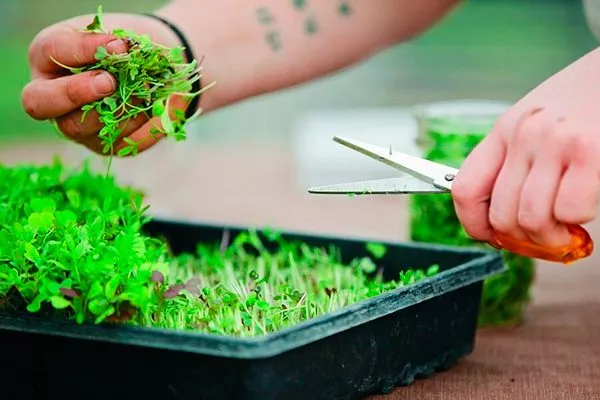
The greens should be cut across the stem. Don't touch the roots, as this will allow the plants to continue growing. After a couple of weeks, you can cut the greens again. If you plant the seeds every 10 days, you can harvest continuously.
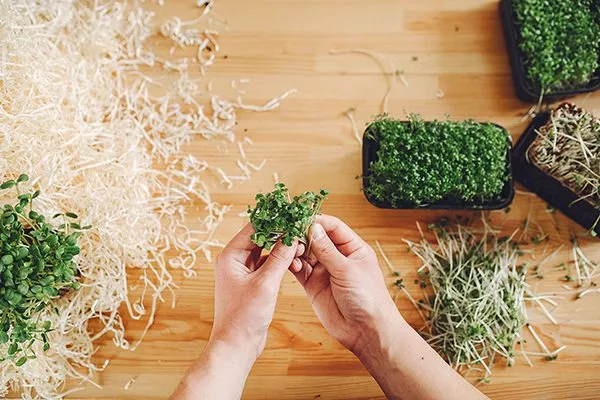
It's recommended to harvest the microgreens immediately before use, not for future use. If you need to preserve them, it's best to store them in a glass container. Prepared microgreens can be stored in the refrigerator for about a week.
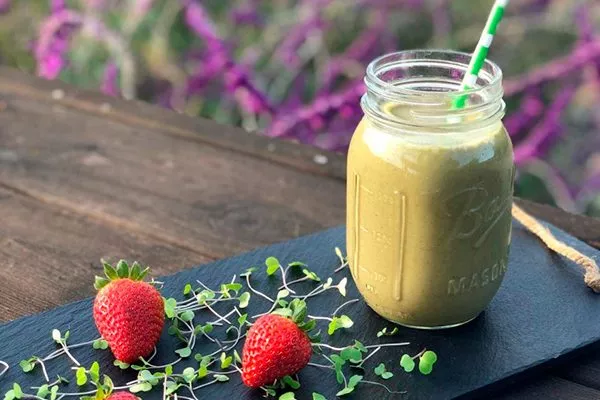
What to eat microgreens with?
Microgreens are a wonderful complement to fresh vegetables. Since the most nutrients are found in unprocessed greens, they are recommended for adding to prepared dishes. They can also be added to light soups, adding a touch of piquancy and flavor.
With microgreens you can, for example, prepare:
- Smoothie. Combine the lemon, apple, and celery in a blender. Add a handful of sprouts. Mix thoroughly.
- Tomato soup. It's made with finely chopped zucchini, tomatoes, and onions, sautéed. Spices, salt, and coconut milk are added to the simmering soup. After simmering under the lid, the soup is blended and served in bowls, sprinkled with microgreens.
- Seafood. Add boiled seafood cocktail and shrimp to the sliced lightly salted trout, add pea microgreens, sprinkle with lemon juice – a light diet salad is ready.


Problems in growing
Growing miniature greens is incredibly simple, but it can also be fraught with problems. Most of these are easy to fix and even prevent.
- Remove affected shoots immediately to prevent the spread of mold.
- Increase ventilation in the room where microgreens are grown.
- Adjust the watering regime, avoiding over-moistening the substrate.
Possible problems:
- If mold appears on the seedlings, there's nothing you can do—the plantings need to be thrown out. Using spotlessly clean containers will help prevent this situation. good Lighting and ventilation. It is also important to avoid overwatering.
- If the greenery is uneven in size, This means that the amount of light falling on them is different. The tray needs to be turned so that all the seedlings receive the same amount of light.
- If the seedlings are slowly increasing in size, it is necessary to increase watering. It is also recommended to soak the seeds before planting.
- If leaves fall from the sproutsThey may not be getting enough moisture or light. Increase watering and provide the plants with good lighting. However, when increasing watering, it's important to avoid overwatering.
- If the leaves turn yellow, The plants may not be getting enough light. You need to move the container closer to the sun.
Microgreens are a wonderful product that's accessible to almost everyone. By growing sprouts of peas, lettuce, beets, onions, and other vegetables on your windowsill, you can get a full complement of vitamins and other nutrients even in winter, helping you avoid spring vitamin deficiencies.