Dill "Umbrella" was developed by Russian breeders and is distinguished by its excellent flavor. This wonderful variety has aromatic greens and numerous umbels, making it ideal for canning.
Description and history of the dill variety Umbrella
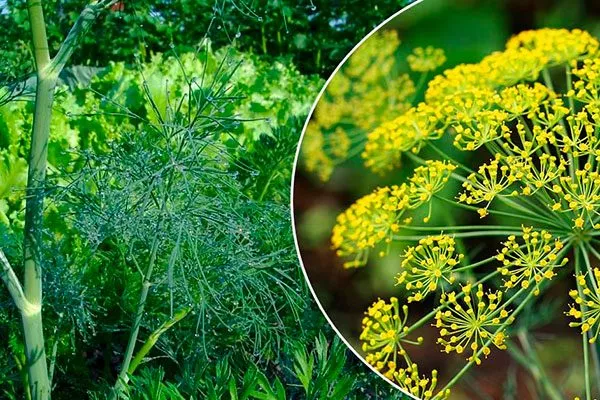
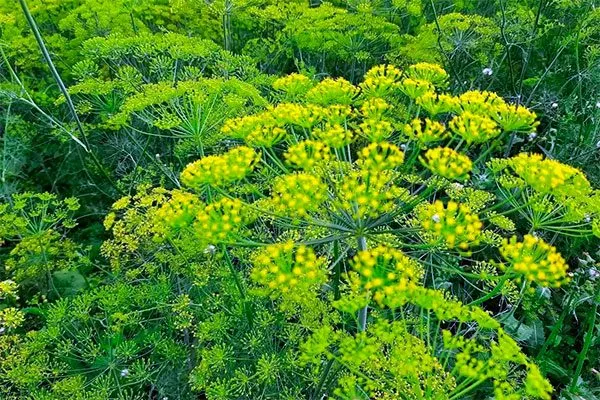
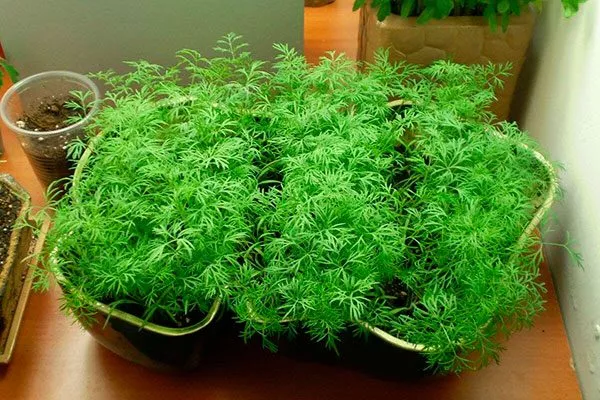
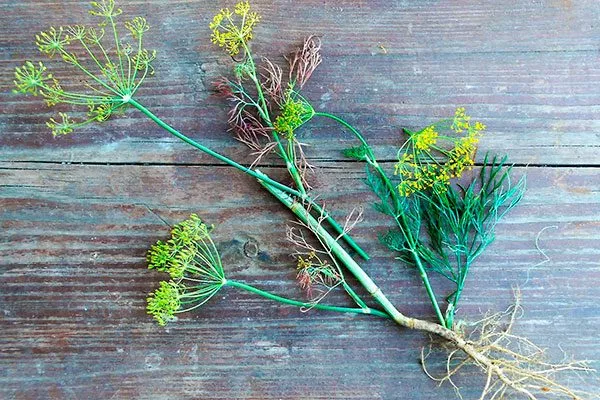
The plant has a semi-spreading rosette up to 100 cm tall. The leaves are medium-sized, green, and moderately dissected. There are 3-5 branches. The central umbel is multi-rayed, convex, and 17-21 cm in diameter.
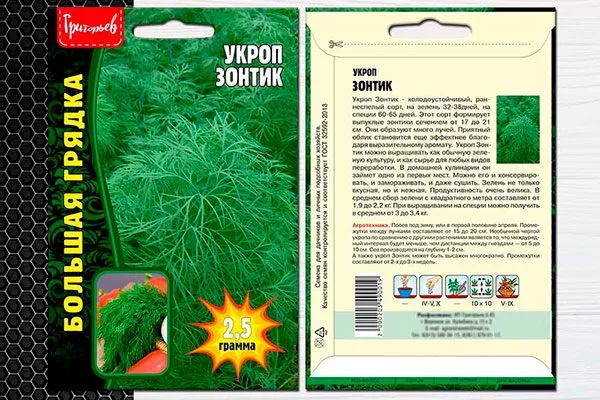
The Umbrella variety was developed at the All-Russian Research Institute of Vegetable Crops Breeding and Seed Production in 1992. Authors: E.M. Khomyakova, Yu.I. Mukhanova, K.A. Trebukhina, L.S. Leonova. The variety was added to the State Register in 1995. Recommended for cultivation in the Central and Volga-Vyatka regions.
Characteristics
Dill 'Umbrella' is a mid-early variety. It takes 33 to 40 days from emergence to harvest. This variety is ready for harvesting for spices in 60 to 85 days.
Dill Umbrella yield:
- For greens - 2-2.2 kg per 1 sq. m.
- For spices - 3-3.4 kg per 1 sq. m.
The weight of one plant when harvested for greens is 13-15 g, for spices - 70-80 g.
Taste and application
The greens of the dill umbel are tender and juicy, with a distinctive dill aroma. The fresh greens have a spicy, slightly sweet flavor. They are ideal for eating fresh, in salads, soups, and with meat and fish dishes.
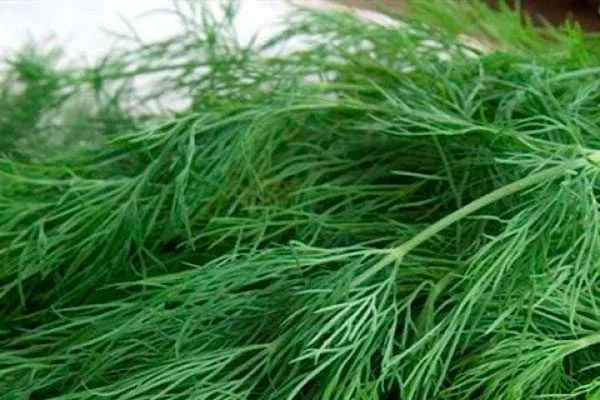
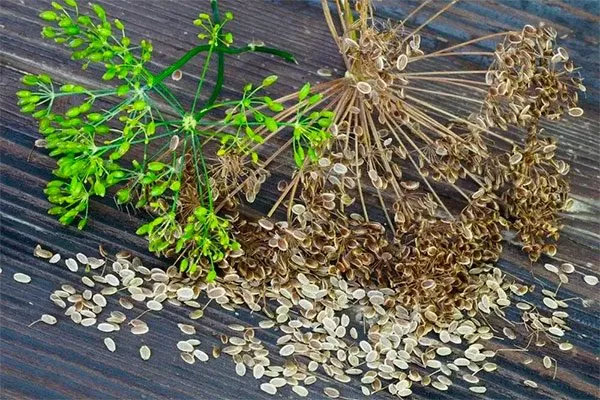
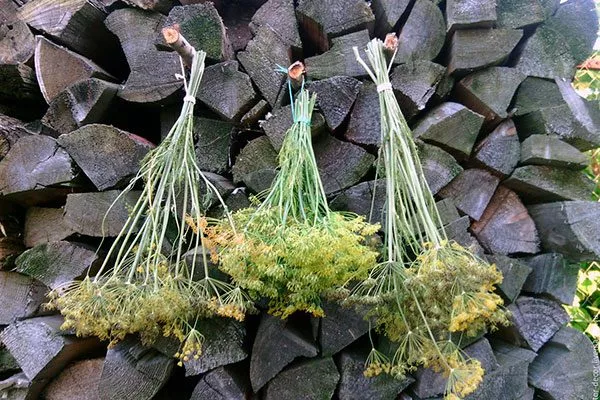
Dill leaves retain their flavor well when canned, dried, and frozen. The seeds are very aromatic and are used as a spice in pickling vegetables and mushrooms, and in various dishes.
Pros and cons
Dill "Umbrella" has many qualities that gardeners consider advantageous. But before planting it in your garden—for herbs or spices—you should familiarize yourself not only with all the advantages of the Umbrella variety but also with its disadvantages.
Landing
To get a good dill harvest, it's important to plant it correctly. Its flavor, appearance, and yield largely depend on growing conditions, seed quality, and proper planting practices.
Landing site requirements:
- The area should be well-lit and protected from strong winds and drafts. Dill requires plenty of light; it grows poorly in the shade and cannot fully develop green mass.
- Dill grows best in light, fertile soils, as its seeds have difficulty germinating in heavy clay soils. The soil for planting should be loose, neutral, or slightly acidic (pH 6-7). If the soil is acidic (pH less than 6.3), dolomite flour should be added.
- The crop does not tolerate stagnant water, so it is not planted in lowlands or areas with high groundwater levels.
- It's best to sow dill in a new location each year, for a maximum of 3-4 years in the same plot.
- The best predecessors for dill are cucumbers, garlic, onions, potatoes, tomatoes, pumpkins, peppers, and eggplants. It is not recommended to plant dill after celery, parsley, fennel, carrots, and caraway.
Dill should not be planted in areas where dolomite flour or lime has been added.
How to prepare seeds?
Dill seeds are prepared for sowing for the purpose of disinfection and acceleration of germination.
How to prepare seeds for planting:
- Calibration. Place the seeds in a salt solution (1 tablespoon of salt per 250 ml of water). Discard any that float to the surface, as they are not viable. Rinse the good seeds under running water and dry.
- DisinfectionThe seeds are placed in a solution of potassium permanganate (1 g per 1 liter of water) for half an hour, and after treatment, they are washed with clean water.
- VernalizationThis method will shorten the growing season and harden off the dill. The seeds are soaked in water, and after a while, when they swell, they are placed in the refrigerator for about two weeks.
- SoakThe seeds are soaked in water, just enough to cover them. They are left in this state for 2-3 days, with the water changed every 3-4 hours. Once the seeds are sufficiently swollen, they are dried and sown immediately.
When preparing dill seeds, it's important to strictly follow the instructions. Mistakes in preparation (using water that's too hot, not sizing properly, soaking for too long, etc.) can reduce seed germination by 50% or more.
Soil preparation
The soil for dill planting is prepared in the fall. Over the winter, the soil will become saturated with soil, and any fertilizers added to it will dissolve and be easily absorbed by the plants.
Features of site preparation:
- The area being prepared for planting is cleared of weeds and plant debris.
- The soil is dug deeply to improve its structure, making it looser and more breathable. If the soil is heavy and clayey, sand is added (10 kg per square meter).
- Organic fertilizers are added during digging - compost or humus (4-5 kg per 1 sq. m).
- In the spring, 2-3 weeks before sowing, the soil is tilled again. Mineral fertilizers can be added—approximately 30 grams each of nitrogen, phosphorus, and potassium. The soil is deeply loosened and leveled.
Dill does not tolerate stagnant water well, so in clay soils it is necessary to additionally create a 5-7 cm thick drainage layer made of fine gravel and sand.
Sowing dates
Dill can be sown outdoors throughout the season—from early spring to late fall. Sowing times depend on the region's climate.
Approximate planting dates for dill Umbrella:
- South — from the end of March to mid-April.
- Central Black Earth Region — from mid-April to the first days of May
- Middle zone — the first ten days of May.
- Ural — mid-May.
- Siberia — the last ten days of May.
- Far East — beginning of June.
Dill tolerates mild cold snaps and temperature fluctuations well, but frost is detrimental. If frost occurs suddenly, dill begins to be damaged at temperatures of -3 to -4°C.
Sowing in the ground
Dill can be sown every 10-14 days to ensure fresh herbs throughout the season.
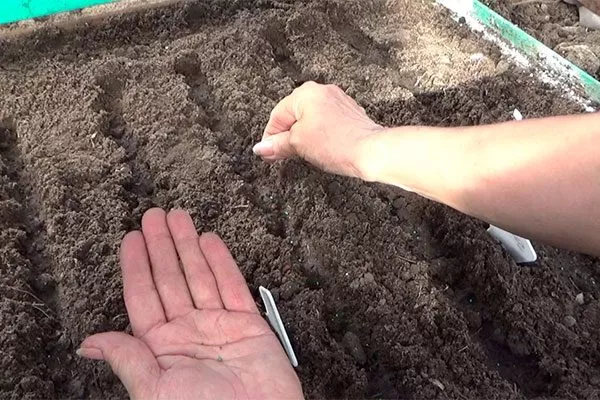
Features of planting dill:
- The optimal sowing depth is 1-2 cm. Planting dill deeper will hinder germination.
- The distance between rows is 20 cm. It is necessary to provide the dill with enough space for growth and ventilation.
- Shallow furrows are made on leveled soil. If the soil is dry (it usually becomes wet in early spring after the snow melts, and in summer after rains), the furrows are watered.
- The seeds are scattered into furrows. The sowing rate in spring is 1 g per 1 sq. m., in autumn – 2 g per 1 sq. m. The seeds are covered with soil and lightly compacted.
Seeds can also be broadcast. To do this, loosen the soil and scatter the seeds over the surface. Afterward, rake the seeds into the soil and water.
Sowing in a greenhouse
Dill can be sown in a greenhouse when the temperature reaches 16–18°C. Scatter the seeds into furrows 1.5–2 cm deep, watered with warm water, then cover with dry soil. After this, there's no need to water the dill; the moisture introduced into the furrows will be sufficient for the seeds to begin developing.
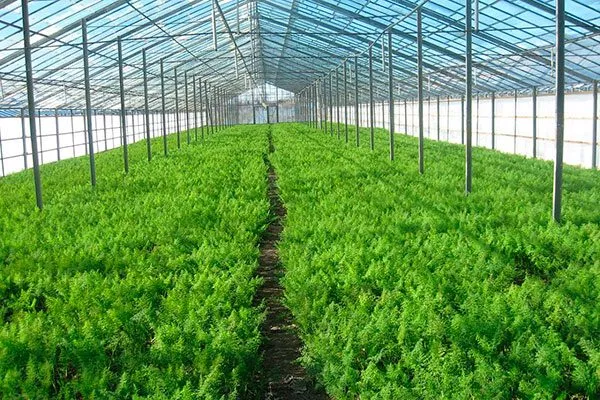
To ensure growth and development, greenhouse dill requires watering every 3-4 days. The optimal air temperature is 16 to 20°C. Humidity should be maintained at 60–70%.
Seedling method of growing
Dill 'Umbrella' can be grown using seedlings. This method is used when you want to get super-early greens or umbels.
Features of growing dill seedlings Umbrella:
- Sowing is done in cassettes or boxes around the beginning of April.
- The room or greenhouse where the seedlings are kept is maintained at a temperature of at least +20°C. A week after germination, the containers are moved to a cooler location, with a temperature of +10…+12°C, for 2-3 days. Then, the temperature is raised again to +18…+20°C.
- When the first true leaf appears, they are picked and transplanted into separate containers, pinching the central root.
- Seedlings are transplanted into open ground after warm weather sets in and the threat of frost has passed. They are carefully removed from their containers and transplanted into pre-prepared holes, following the same procedure as for direct sowing.
Care
Dill 'Umbrella,' like other varieties, requires regular care. The crop's yield directly depends on its quality and regularity.
Watering
Water the Umbrella dill moderately but regularly, especially during dry periods. Watering frequency depends on the weather and time of year. A lack of moisture always leads to yellowing and wilting of the leaves, while excess moisture can trigger the development of fungal diseases.
Features of watering dill Umbrella:
- Optimal water consumption is 8–12 l/sq. m, in hot weather – 20–30 l/sq. m.
- In spring, dill only needs to be watered once a week; in summer, in normal weather, 1-2 times a week is enough; in hot weather, 2-3 times.
- It is better to water dill in the evening, 2 hours before sunset.
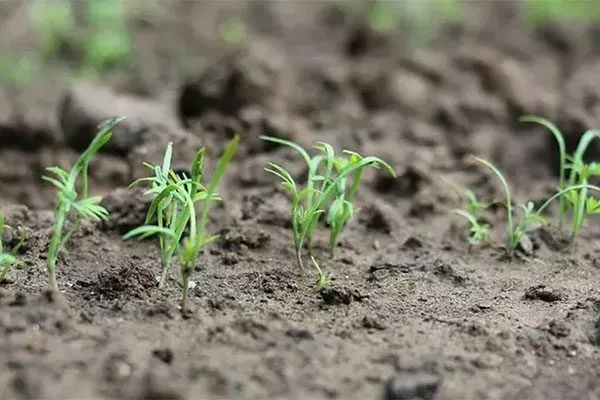
Thinning
Dill needs to be thinned as it grows, otherwise the plantings will become too dense. Leave about 10 cm between adjacent plants. The first thinning occurs when the dill reaches a height of 2-3 cm.
Fertilization
Dill Umbrella does not require feeding if the bed has been well fertilized with compost, ash, phosphorus and potassium fertilizers.
Features of fertilizing dill Umbrella:
- If the soil is poor, which is evident from the slow growth of greenery, then in the phase of 2-3 true leaves, nitrophoska or urea are added - 10-15 g / sq. m.
- Fertilizer should be applied so that the solution does not come into contact with the plants. Then, water the plants generously.
- Mineral fertilizers should be used with extreme caution, as excess nitrogen can provoke rapid leaf growth, which will impair aroma and taste.
- Fertilizers should be applied around the perimeter of the plant so as not to get on the leaves, otherwise burns may occur.
Loosening and weeding
The crop is very sensitive to competition with weeds, and it is especially dangerous at the initial stage, when the dill is still small.
After the seedlings emerge, the soil is loosened to a depth of 5-7 cm. Subsequent loosening is carried out to a depth of 8-10 cm.
Diseases and pests
Dill 'Umbrella' has a strong immune system, but if cultivation practices are improper and growing conditions are unfavorable, it can be susceptible to blackleg, powdery mildew, cercospora leaf spot, and other fungal infections. To combat these, biological products such as Fitosporin-M and Fundazol are used.
The most dangerous pests for dill include parasol beetles, carrot flies, aphids, and the Italian stink bug. To combat these insect pests, folk remedies are primarily used, such as spraying with a decoction of potato tops, or infusions of celandine, mustard, hot pepper, and tobacco.
Harvesting
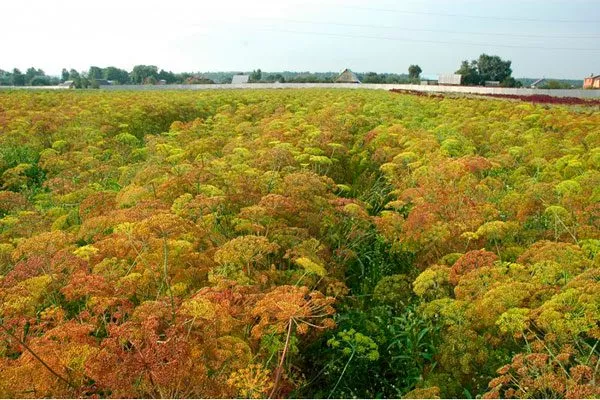
Dill is harvested for greens when the plant reaches a height of 15-20 cm. You can cut off the leaves or the entire plant. When the plants begin to bloom, the greens become coarse and tough. At this stage, the seed umbels are harvested.
It's best to harvest in the morning, after the morning dew has dried. Harvesting can also be done in cloudy weather. Harvesting during the day, especially in hot weather, is not recommended, as dill leaves quickly wilt when exposed to sunlight.
Reviews
Dill "Umbrella" is a fragrant variety ideal for growing for herbs, spices, and processing. If you're looking for early dill with uniform foliage, delicious flavor, and a high yield, then the "Umbrella" variety is for you.