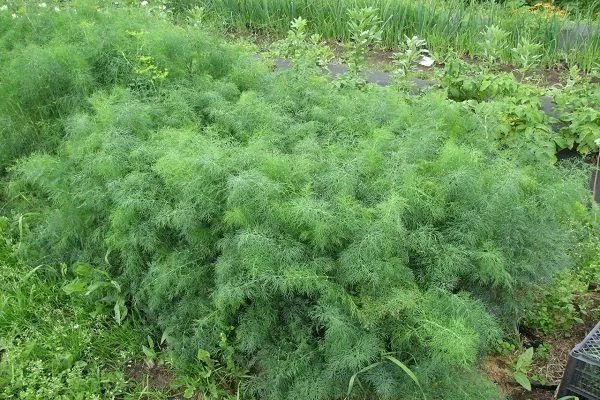
It's commonly believed that dill grows like a weed and doesn't require much attention. However, any gardener who grows this crop knows that the plant's germination and yield depend on a number of factors.
Dill germination times in open ground
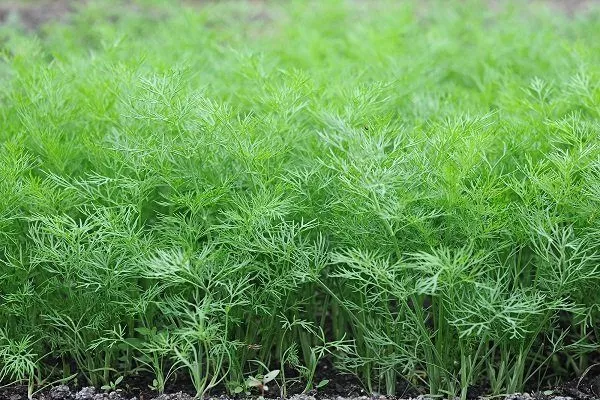
Dill is planted outdoors in early spring and before winter. To ensure early germination, seeds are sown outdoors in the fall without pre-soaking, planting them deep into the soil. This way, dill sprouts early in the spring, just as the first greenery appears in the garden.
- ✓ The optimal soil pH for dill is 6.0-7.5. If the pH is below 6.0, lime must be added.
- ✓ The soil moisture level should be maintained at 70-75% of the total moisture capacity.
When planted in spring, dill's viability in open ground depends on many factors. Weather conditions can delay germination depending on the outside temperature:
- when the air warms up to only 4-6 degrees, dill sprouts only 15-18 days after sowing;
- At a constant air temperature of 18-20 degrees, the plant emerges already by the 14th day after correct planting.
The chemical composition of the soil in the area significantly affects germination. It is believed that soil with increased acidity and a high content of essential oils can increase dill germination by 5-7 days.
How long does it take for dill to sprout in a greenhouse?
Dill is mainly grown in large quantities in heated greenhouses. The germination time for seeds in a greenhouse depends on watering and temperature conditions. Dill sprouts in greenhouses within 12-14 days after planting, but this time varies depending on the specific variety.
Early ripening varieties
| Name | Ripening period | Disease resistance | Demanding of light |
|---|---|---|---|
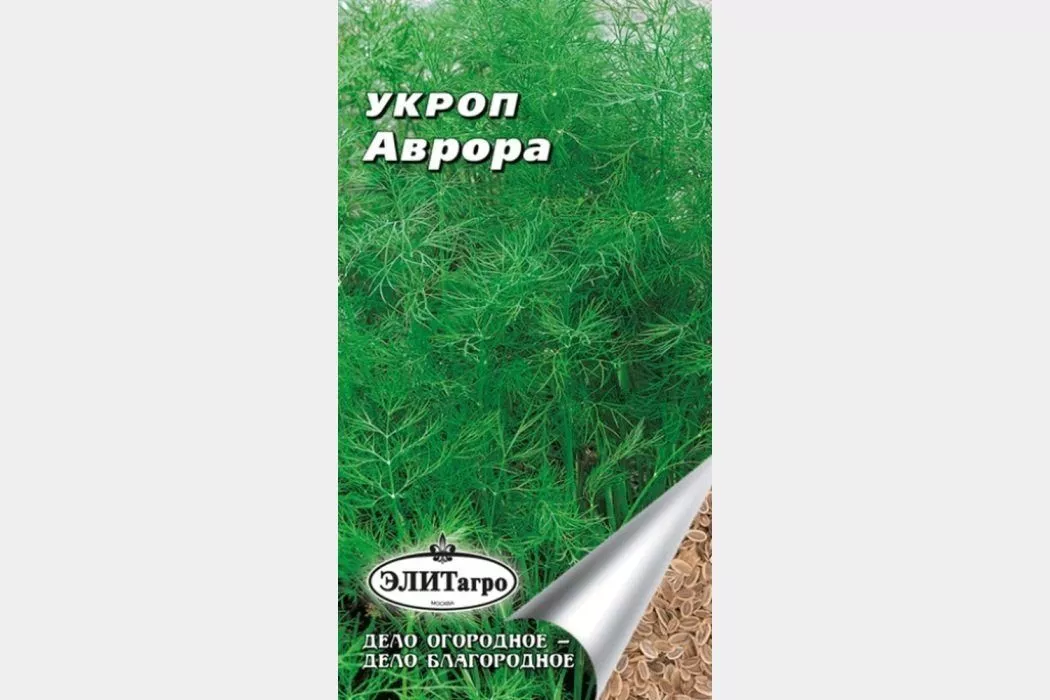
| Aurora | 35 days | High | Average |
| Griboyedovsky | 35 days | Average | High |
| Further | 35 days | High | Average |
These varieties are the first to germinate and produce a harvest within 35 days of sowing. However, they are not recommended for greenhouse planting because, compared to late-ripening dill, they produce fewer foliage and begin to bloom vigorously after the sixth leaf has formed on the stem. Early-ripening varieties are primarily used to produce the first greens for salads and to harvest the umbels and stems for canning.
Common varieties:
- Aurora;

- Griboyedovsky;
- Further.

Mid-season varieties
| Name | Ripening period | Disease resistance | Demanding of light |
|---|---|---|---|
| Bushy | 42 days | High | High |
| Abundantly foliated | 42 days | Average | High |
| Lesnogorodsky | 42 days | High | Average |
Dill stems begin to form a week later than early varieties, allowing the foliage to gain the necessary mass for a good harvest. Mid-season dill varieties are considered ideal for greenhouse cultivation. They germinate 14-18 days after planting in protected soil, provided all conditions are met.
Main varieties:
- Bushy;
- Abundantly foliated;
- Lesnogorodsky.


Late-ripening varieties
| Name | Ripening period | Disease resistance | Demanding of light |
|---|---|---|---|
| Dill | 49 days | High | Average |
| Alligator | 49 days | High | High |
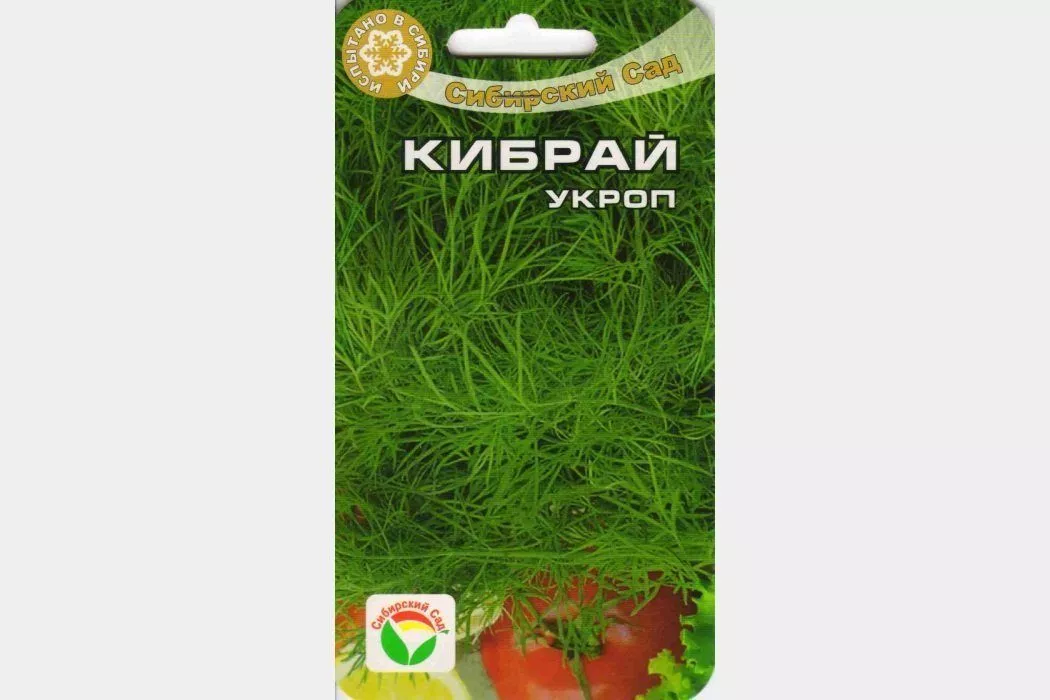
| Kibray | 49 days | Average | High |
These dill varieties are ideal for growing in heated greenhouses year-round. Due to the close internodes, they are called bush varieties. The lush greens, which emerge slightly later than early and mid-season varieties, are ideal for storage and rich in vitamins.
Common varieties:
- Dill;
- Alligator;
- Kibray.
Dill germination time at home on a windowsill
At home, dill is grown for a constant supply of fresh herbs. Unlike in the wild, growing it indoors can affect the germination time and yield of the crop. If dill receives sufficient light, a room temperature of around 20°C (68°F) and well-moistened soil in the container will germinate in 10-13 days.
- ✓ The minimum daylight hours for dill on a windowsill are 12 hours. If there is insufficient light, supplemental lighting is necessary.
- ✓ The optimal temperature for seed germination is 18-22°C. Germination slows down at temperatures below 15°C.
Since it is not possible to grow leaves to replace cut ones, it is recommended to sow dill in a container on the windowsill every 10-12 days for a constant harvest.
When growing dill indoors, the importance of lush foliage is less important than the germination time. Experts recommend avoiding early-ripening varieties to ensure early germination. It's better to choose late-ripening varieties, which will sprout a few days later than their early counterparts but will produce rich foliage instead of long stems.
Factors affecting crop germination
Dill germination times vary depending on many factors that need to be taken into account when planting the crop.
Planting dates
This factor is relevant when sowing in open ground:
- You can start sowing dill early, from April 5th to 10th. In this case, place the seeds unsoaked directly onto frozen ground. As the remaining snow melts, the seedlings will absorb the necessary moisture and sprout.
- The optimal time for spring planting is considered to be the end of April (20th-25th), when the ground has warmed up sufficiently.
- Winter sowing is carried out in October-November - this allows dill to sprout 10-14 days earlier in the spring.
Soil condition
Despite dill's low maintenance, the soil in which you plan to plant the seeds must be suitable for normal growth. Highly acidic soils can lead to complete failure of the seeds to germinate or significantly delay germination. Dry soil and a lack of moisture will prevent the seeds from swelling and delay the emergence of the first leaves.
Lighting
It is believed that dill requires at least 15 hours of daylight for vigorous germination and full growth. For this reason, choose sunny spots in the open garden for planting, and ensure adequate lighting in the greenhouse and on the windowsill.
Seed quality
To ensure your dill doesn't germinate in vain, choose only high-quality planting material. To ensure this, seeds collected from your garden need to be properly stored until planting time.
To avoid poor germination of dill, you should purchase seeds in specialized stores.
The quality of planting material is checked by this method: seeds are placed in water; good ones sink to the bottom, while unsuitable ones remain floating on the surface.
Landing
There are a number of rules that must be followed when sowing dill in the ground. Deviating from these planting standards significantly impacts the timing and quality of the crop's germination.
Important points:
- Moistening the soil before plantingIn an open area, seeds planted in dry soil will germinate only after rain. In a greenhouse or indoor setting, they won't be able to absorb sufficient moisture without initial watering.
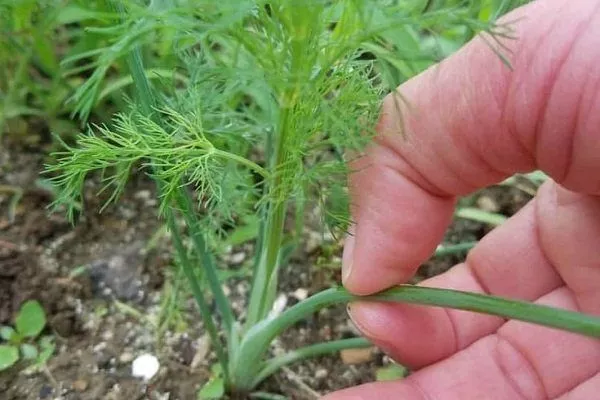
- Sprouted seeds should not be thrown into furrows – this can lead to seedlings being knocked off and broken. Sprouted planting material should be laid out carefully.
- It is forbidden to plant sprouted seeds in dry soil. – this will lead to the death of the planting material.
- It is prohibited to plant seeds at a depth of more than 2-3 cm. – this significantly delays the germination period of dill.
- Don't over-dense the sowing in the bed. – It's optimal to use 1 g of planting material per 1 square meter of plot. Furrows are spaced 4-5 cm apart.
- When growing indoors, it is best to plant seeds directly on top of the soil., sprinkling a thin layer of soil evenly on top.
- Thin out very dense seedlingsso that they don’t disturb their neighbors while growing greenery.
How to speed up the emergence of dill seedlings?
To speed up dill germination without harming the seeds and a future bountiful harvest, it's best to follow proven recommendations from agronomists. Scientists have determined that elevated levels of essential oils, glucosides, and alkaloids in the soil inhibit dill germination. Several methods can increase germination and shorten the time it takes for the first leaves to appear in the garden by washing away chemicals that inhibit germination:
- Before sowing, the seeds are thoroughly washed in warm water, and then soaked for 24 hours in clean water, which is changed every 3-4 hours.
- A solution of 2 tablespoons of wood ash and 1 liter of warm water is steeped for 48 hours. Carefully pour the mixture into another container, being careful not to shake it to avoid disturbing the sediment, which is unnecessary during soaking. Place the seeds, previously wrapped in a cloth bag, into the sediment-free solution. After 5 hours, allow the seeds to dry and begin sowing.
- A gauze bag containing seeds is dipped in water at 60 degrees Celsius (140 degrees Fahrenheit) for 1-2 minutes. The bag is then transferred to a container of room-temperature water, changing the water every 8 hours. After drying, the seeds are planted in the soil.
- The seeds, wrapped in cloth, are soaked in vodka for 15 minutes, which dissolves the oils without harming the sprouts. After soaking, the seedlings are washed and planted in prepared soil.
- According to the instructions, dilute the biostimulant mixture, which contains the following chemical elements: copper, iron, boron, cobalt, zinc, and magnesium. Ribav-Extra and Kornevin have proven effective for achieving early germination. Place the planting material in the mixture for 24 hours, unless otherwise indicated on the product packaging.
Proper seed treatment allows you to achieve 100% germination as early as 4-6 days after sowing.
To speed up dill germination, there is a recommended rate of mineral fertilizer per hectare of soil that promotes a good harvest:
- 60-70 kg of potassium;
- 78-85 kg of nitrogen;
- 75-80 kg of phosphorus.
Based on these standards, before planting dill, the soil is fertilized with nitrogen to promote vegetative growth. Potassium is added to ensure the plant's efficient absorption of carbon dioxide. To ensure the developing root system absorbs phosphorus, appropriate phosphorus fertilizers are added to the soil. With adequate nutrition, the plant will not only emerge quickly but also produce abundant greenery.
When planting in late autumn, dill seeds are planted 1-2 cm deeper than usual and covered with sawdust or spruce branches to prevent freezing. In the spring, after the snow melts and sunny weather returns, remove the covering and allow the sun to warm the beds.
By following planting guidelines and recommendations for accelerating germination, you can achieve uniform and rapid dill germination both in open ground and in greenhouses. Experienced gardeners advise not chasing the sprouting time, but focusing on ensuring a lush and consistent dill harvest in the garden.