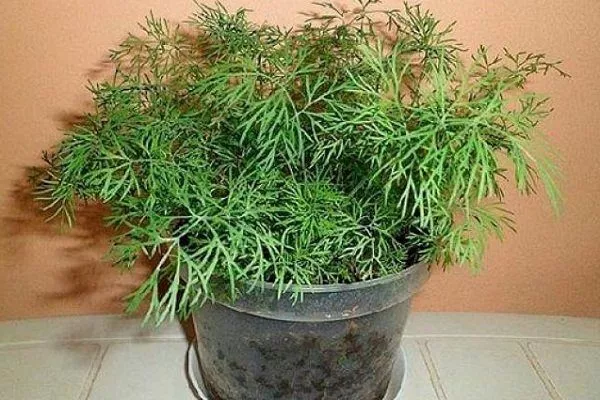
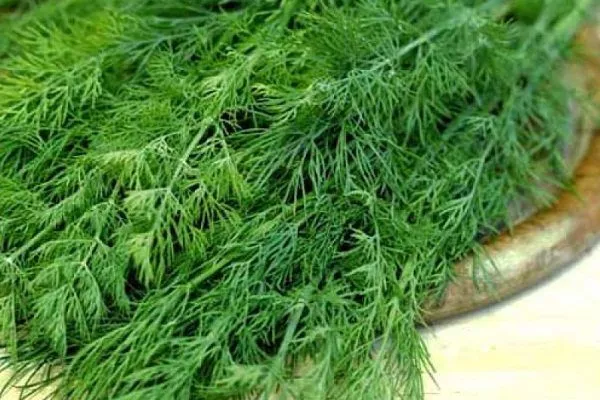
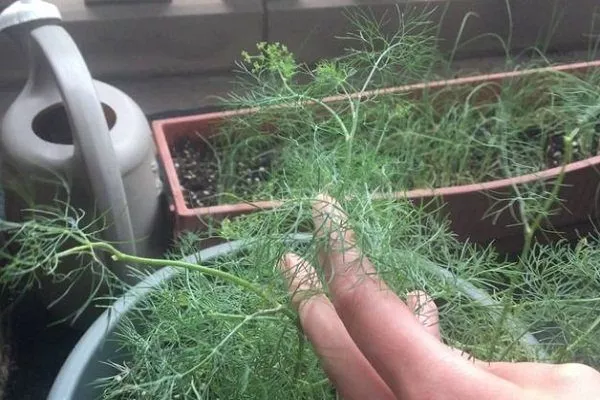
Dill can be grown indoors on a windowsill. This allows you to always have fresh herbs on hand and be confident in their quality. To ensure a bountiful and high-quality harvest, you need to provide the plant with the right conditions and proper care.
Suitable varieties
| Name | Ripening period (days) | Aroma | Leaf color |
|---|---|---|---|
| Gribovsky | 35 | Strong | Dark green |
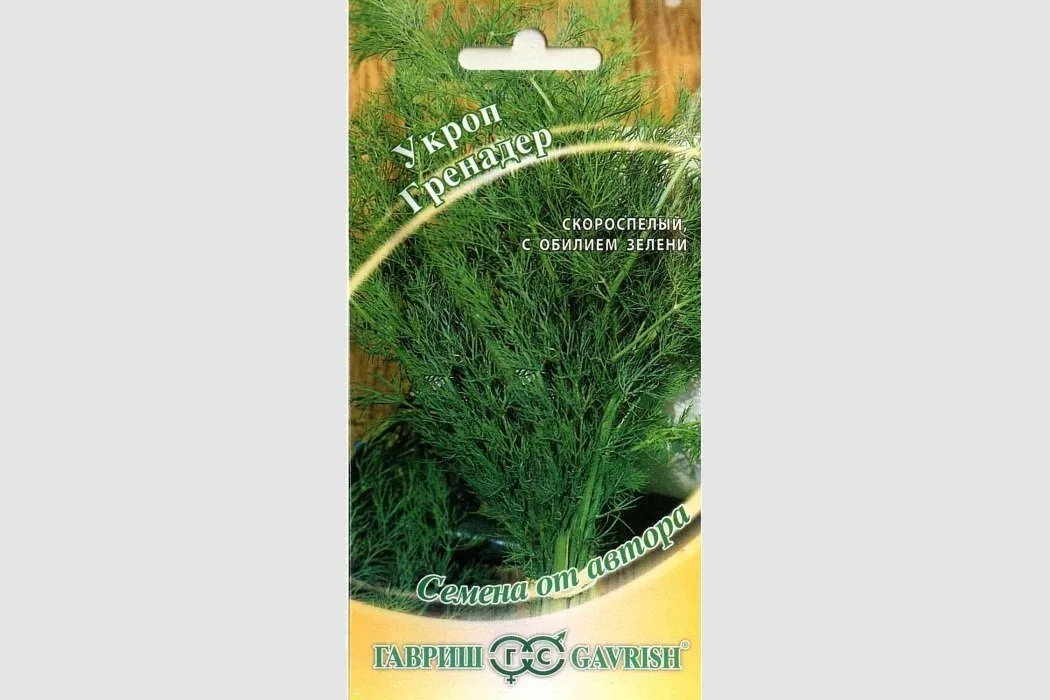
| Grenadier | 30-35 | Very aromatic | Green |
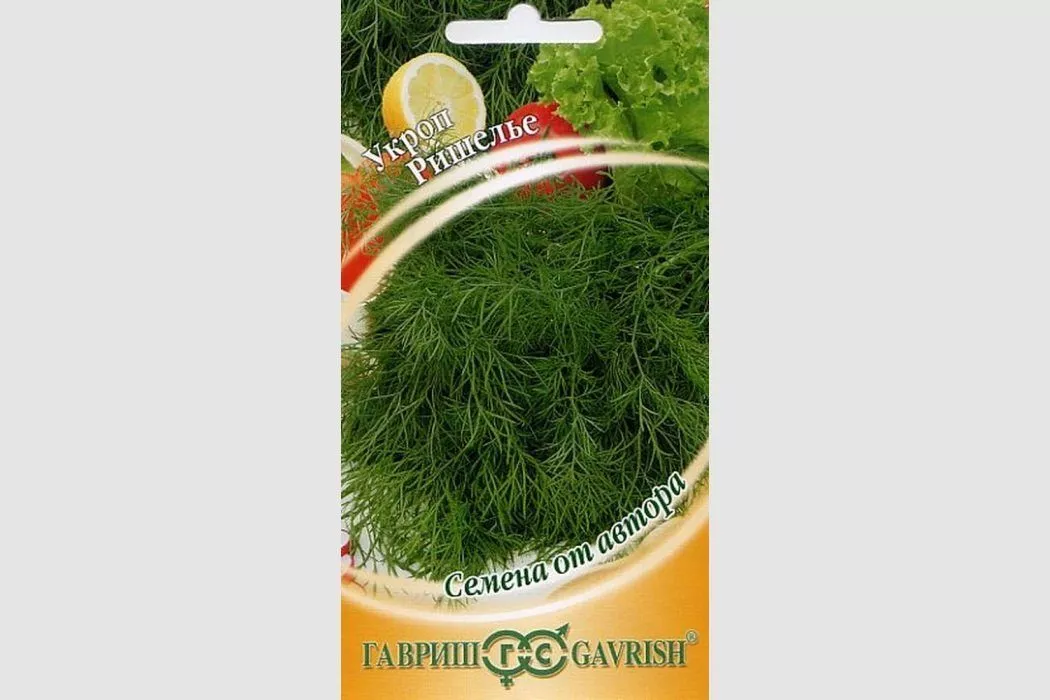
| Richelieu | 40 | Strong | Bluish green |
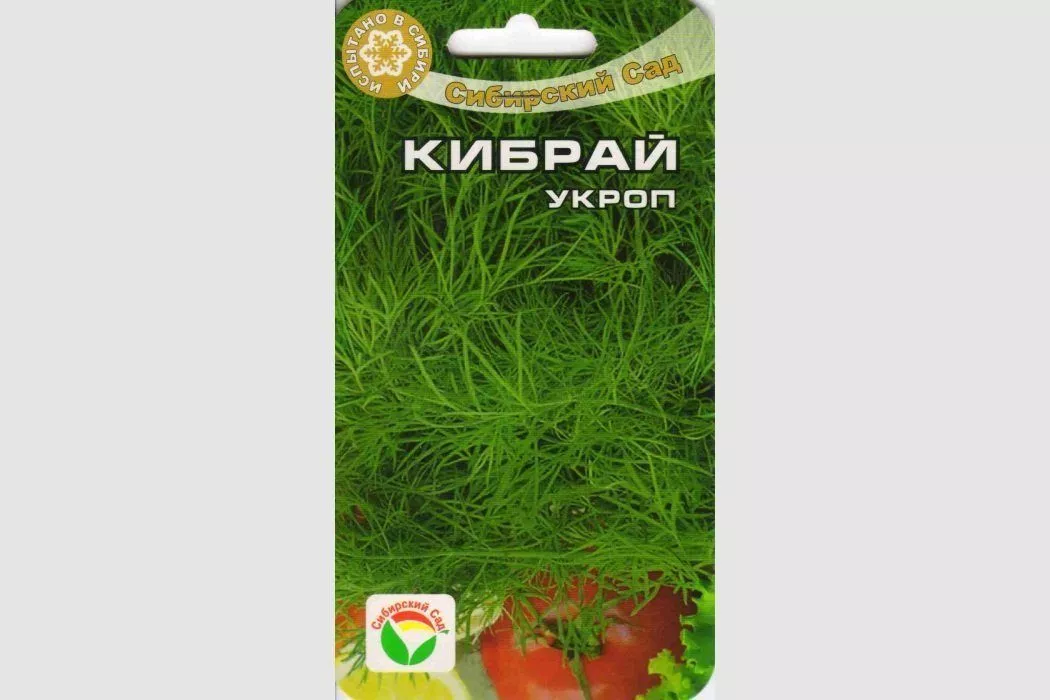
| Kibray | Late-ripening | Strong | Light green |
| Gourmet | 40-45 | Thin | Green |
| Alligator | Mid-season | Long-lasting, rich | Gray-blue |
There are no specific varieties of dill for growing indoors. We recommend choosing from the following:
- GribovskyAn early-ripening crop, harvesting in 35 days. This undemanding variety produces a bountiful harvest and especially fragrant dark green leaves.

- GrenadierEarly maturity, harvest in 30-35 days. The foliage is very juicy and aromatic, green in color.
- RichelieuA mid-season crop, harvesting in 40 days, dill has abundant, bluish-green, lacy leaves and a strong aroma.
- KibrayA late-ripening variety characterized by dense foliage, light green color, a slight waxy coating, and a strong aroma and flavor.
- GourmetA mid-season variety, harvesting in 40-45 days. Dill is characterized by dense foliage, juicy green leaves, and a delicate aroma and flavor.
- AlligatorA mid-season variety with bluish-gray foliage and a persistent, rich aroma.
- ✓ 'Gribovsky': resistant to low light, ideal for winter growing.
- ✓ 'Alligator': slow bolting, ensures a long period of greenery collection.
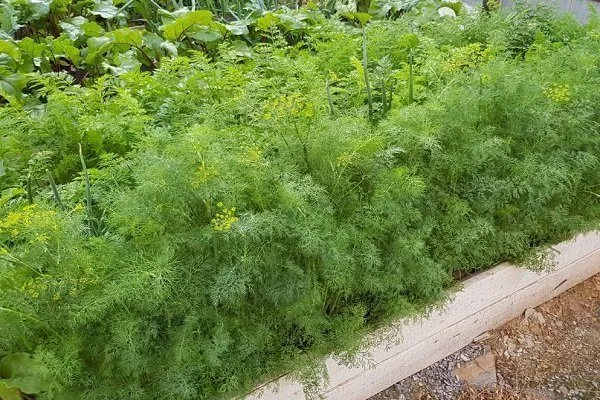
Growing early varieties allows for the fastest possible greenery, but these dills have fewer leaves and flower stalks form more quickly. Late varieties don't require reseeding and take a long time to form an umbel.
Window sill equipment for growing dill
In an apartment, the choice is usually limited, but if possible, a sunny window should be chosen. Dill requires long daylight hours, so additional lighting is necessary. Fluorescent or LED lamps are good choices. It's important that the height of the lamps be adjustable—it will need to be adjusted as the plant grows.
Dill shouldn't grow near heating appliances. If a window without a radiator is unavailable, an openable vent should be a must.
If you plan to place several dill containers on a single windowsill, you should provide one large tray to catch excess moisture. When growing in pots, special stands or saucers will suffice.
Selecting a container
Different containers are suitable for dill:
- plastic containers;
- wooden boxes,
- pots for indoor plants,
- peat pots from which the seedlings will need to be transplanted.
It's important to consider the size of the mature plants to ensure they don't feel cramped in the chosen container. The tray or pot should be at least 10-15 cm high. The optimal pot size is 1-2 liters.
Providing adequate drainage is essential. To achieve this, holes must be drilled in the bottom of the selected container.
Preparation of planting material
One of the keys to growing dill is high-quality planting material. Buy seeds from specialized stores, paying attention to the date when purchasing—the longer the seeds have been stored, the later they will germinate.
The planting material must be prepared as follows:
- Checking germinationThis step is optional, but it will help you understand what results to expect. To do this, place 10 seeds in cheesecloth or toilet paper, place them in a saucer, and moisten them thoroughly. Add water periodically, preventing them from drying out. The average germination rate for dill is 45-60%. If fewer than 4-5 seeds sprout, the seed is of poor quality.
- Washing off essential oilThis coating affects germination time, so it should be removed. To do this, soak the seeds in warm water for two days. Change the water periodically.
- DisinfectionThis treatment reduces the incidence of crop diseases. Potassium permanganate is optimal for disinfection. The solution should be pale pink, and the seeds should be soaked in it for 2-3 hours. Boric acid can be used instead of potassium permanganate: add 1 teaspoon of the solution to a glass of water at 25-30 degrees Celsius. Soak the seeds in this solution for 2-3 hours, then rinse with running water.
Soil preparation
The main requirement for soil is its fertility. You can use garden soil, but be sure to add some peat or sand. A ready-made potting mix for indoor plants or seedlings is also suitable. Ideally, mix it 50/50 with garden soil.
For drainage, a layer of small pebbles, expanded clay or other suitable material should be provided at the bottom of the container.
Landing
Planting dill is easy. Follow these steps:
- Moisten the prepared soil, If it's not damp enough, use a spray bottle.
- Prepare the groovesThey should be planted 2 cm deep, with 5 cm between rows. This planting pattern is not the only one; it is necessary to consider the characteristics of the chosen variety and the manufacturer's recommendations.
- Sow seeds in furrowsThe material is very fine; you can mix it with sand for sowing. If some seeds don't fall into the furrows, you can push them in with a toothpick, match, or pencil. You can also use this method to evenly distribute the material along the furrow.
- Cover the furrows with soilThere is no need to compact the soil.
- Cover the crops with filmDo not harvest it until the shoots appear.
The seeds should be kept at a temperature of 20 degrees Celsius until germination. If all steps are completed correctly and the planting material is of high quality, sprouts will appear in 5-7 days.
Caring for dill grown on a windowsill
Dill is easy to care for. It requires the right temperature, humidity, and light, regular watering, feeding, and thinning after germination.
Watering
Dill is a moisture-loving crop. Watering frequency should be adjusted to the soil conditions and the time of year. If grown in summer, the soil should always be moist. Avoid allowing it to dry out. In winter, water when the soil dries out after the previous watering.
For watering, use settled water. If it contains chlorine, let it sit for at least 24 hours. In winter, melted snow is a good choice.
In addition to watering, dill requires misting. This will ensure more lush greenery. Misting is essential if dill is kept close to heat sources or at temperatures of 25 degrees Celsius or higher.
Top dressing
For dill growing on a windowsill, you can use a universal mineral fertilizer (RosLa, Agro-Mineral, Plantator). Calculate the dosage according to the instructions, and apply fertilizer every two weeks.
Lighting
Dill is a light-loving plant. It requires at least 14 hours of light. In summer, this is provided naturally, but the windowsill should be the sunniest.
- ✓ The optimal light intensity for dill is 5000-7000 lux.
- ✓ The distance from the lamp to the plants should be adjusted depending on the growth phase: 5-7 cm for seedlings, increasing to 50 cm after the first true leaves appear.
In winter or on a non-sunny site, artificial lighting is required. The lamp should be placed 5-7 cm from the seedlings. It's best to turn it on in the morning or evening.
Once the seedlings emerge, the lamp should be placed half a meter away from the plants. It is recommended to turn it on for 5 hours a day. If dill is grown without natural light, the lamp should be on for 14-15 hours a day.
It is recommended to rotate the container with the plantings 180 degrees every day. This ensures even distribution of light.
Humidity
To successfully grow dill on a windowsill, humidity levels of 40-50% are required. If the humidity is too high, there's a risk of fungal infection. Dry conditions, typical of the heating season, are also detrimental to the plant.
Temperature conditions
Seedlings emerge well at temperatures of 20 degrees Celsius, but after that, the temperature regime should be adjusted. Dill thrives in cooler conditions. Temperatures of 8-20 degrees Celsius are sufficient.
Excessively high room temperatures negatively impact the plant's growth. They become thinner and stretchier, and the quality of the greens and flavor are reduced.
Harvesting
Dill can be harvested as needed or all at once. In the first case, the greens are used for food; in the second, you need to take care of preserving them. You can freeze, dry, or pickle them.
To have a constant supply of fresh herbs, dill should be planted at 2-week intervals or re-sown regularly.
Possible problems and their solutions
When growing dill on a windowsill, you may encounter the following problems:
- Lack of germinationThe cause is usually poor-quality seed material. This can be confirmed by testing the seeds for germination.
- Plant stretchingThis indicates a lack of light. It's necessary to increase daylight hours with artificial lighting.
- Premature boltingThis occurs when there's a lack of moisture. It's necessary to increase watering to maintain the required humidity level.
- Red tint of leavesThis indicates unsuitable soil acidity. You can test the pH using litmus paper. If the soil is too acidic, dolomite flour, lime, or ash will correct the problem.
- Yellowing or browning of leavesThe cause may be overcrowding. Thinning is required.
- Yellowing and subsequent reddening of leavesThese are signs of fusarium rot. Diseased plants should be removed, and healthy ones should be treated with a fungicide (Fitosporin, Trichodermin).
To learn how to grow dill on a windowsill, watch the following video:
You can grow different varieties of dill on your windowsill. While some problems may arise during cultivation, they can all be resolved with timely measures.
It's a shame the aroma and flavor of dill can't be transmitted through a computer))) I just don't like all varieties. I tried growing it on the windowsill four times, but for some reason it never worked. It would dry out, wouldn't grow, or, on the contrary, would outgrow. Thank you so much for the information. I enjoyed reading the article.
I didn't know you had to rinse off essential oil, and I had no idea dill needed a drainage layer. And I'd never even heard of fertilizing the greens!
My daughter (in second grade) was excited about growing something herself, but since it's November, outdoor flowers aren't suitable, so we had to grow something on the windowsill. While choosing flowers or greens, we decided to try aromatic herbs like dill and parsley. And your article with its detailed descriptions came in handy. My daughter and I tried sowing according to your method—it's very convenient that there are step-by-step instructions for preparing and sowing the seeds. It turned out to be both a dill sowing project and a botany lesson (we discussed the whys and wherefores of doing things one way or another, why and how to rinse off essential oils, and what they even are, why we need to test for germination and disinfect, etc.). My daughter was interested in everything and learned more. Everything is written clearly, easily, and accessible. Now all we have to do is wait for the shoots to sprout, and we'll have fragrant dill on the table.