Alligator is considered one of the most promising dill varieties. Many gardeners appreciate it for its high yield and abundant, succulent foliage. It's easy to care for and requires minimal cultivation.
Alligator dill is a late-ripening variety.
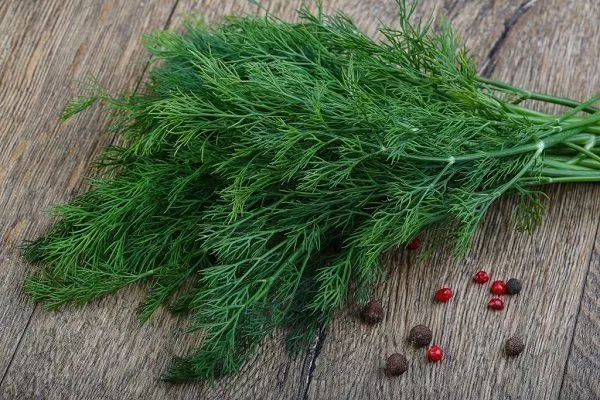
Alligator dill has a strong aroma.

Description of the variety, advantages and disadvantages
The Alligator variety is a relatively new one, added to the State Register in 2002. It can be grown throughout Russia in private gardens and small farms. This dill variety is late-ripening: if grown only for its greens, a full harvest can be harvested in 42-45 days; if the plants are grown for umbels and ripened seeds, it can be harvested in 110-115 days.
Characteristics of the variety:
- bush compact form;
- the height of an adult plant is up to 1.6 m;
- the rosette is large, raised, 30-40 cm high;
- strong foliage;
- the leaves are green, but with a bluish bloom, deeply dissected;
- the aroma is strong;
- medium sized umbrella;
- The yield of bush dill Alligator is 1.45-2.60 kg per 1 sq. m when harvesting greens and 2.8 kg per 1 sq. m when harvesting at the end of the growing season.
Benefits of Alligator Dill:
- high yield;
- the leaves do not turn yellow for a long time: when sown in open ground in spring, the greens can be cut for 25 days in a row;
- the plant is resistant to lodging when watered;
- the crop does not produce flower stalks for a long time, which is why the Alligator variety can be considered one of the best for growing dill for greens;
- Seeds can be sown from early spring throughout the summer, and in greenhouses – all year round.
Site preparation
Dill thrives in full sun but can also grow in partial shade without issue. It can be planted not only in open areas but also near trees, buildings, and fences. This is actually beneficial for the Alligator dill variety, grown for its foliage: in partial shade, its foliage will stay juicy and green longer, and flower stalks will appear later.
- ✓ The optimal soil pH level should be between 6.0 and 7.5 for maximum nutrient absorption.
- ✓ The soil must have good drainage to avoid water stagnation and root rot.
Growing dill begins with preparing the soil in the beds. This is done in the fall (preferably) or spring.
To prepare the soil you need:
- remove from it everything that remains from the previous culture;
- remove weeds;
- Dig up the area to a depth of at least 30 cm.
The next step is fertilizing. Dill's leaves are prized, so generous amounts of humus or nitrogen-rich fertilizer can be applied. Organic fertilizers include composted manure from any domestic animals or birds, and fresh manure can also be used in the fall. Spread 1-1.5 buckets of organic matter per square meter, adding ash at a rate of 0.3-0.5 kg per square meter. Acidic soils should be limed to bring the pH to a neutral level.
If preparing the beds in the fall, avoid breaking up the clods of soil to prevent them from freezing during the winter. In the spring, digging and fertilizing the soil should be done at least one week before planting.
Seed preparation
Dill seeds are difficult to germinate due to the high levels of essential oils they contain, which inhibit germination. To remove these oils, soak the seeds in lukewarm water (40°C/104°F) for 24 hours. As the water cools, it will need to be changed periodically.
After processing, the dill needs to be dried. Soaked seeds should germinate in about three days, while unsoaked seeds will germinate in only 1.5 weeks in warm soil, and even later in cold soil.
Sowing in beds
Dill is an early plant. It can be sown as soon as the snow melts, but it's best to wait until the soil warms up a bit.
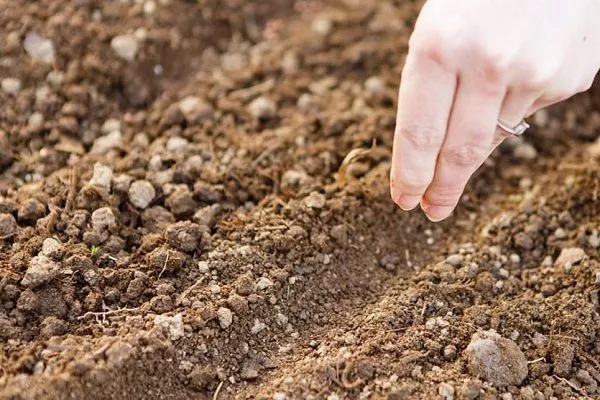
You can sow Alligator dill throughout the spring, but it's best to do so before the soil dries out from winter moisture. After that, the beds will need to be watered during sowing. When timing spring planting, consider that the optimal temperature for this plant's growth is around 20 degrees Celsius.
Seeds can also be sown in the fall—they overwinter well. However, timing is crucial: the seeds shouldn't germinate before the cold weather sets in.
Dill seeds are sown in shallow furrows, leaving a distance of 10-15 cm between them. Within the furrows, the seeds are sown at intervals of 0.5-1 cm. Cover them with a layer of soil or peat. If it's still cold, the soil can be covered with plastic film, and removed once the seedlings appear.
Dill can be sown not only in a dedicated bed but also as an undersowing to early crops. This will allow you to harvest a larger crop from the same area.
Caring for the crop during cultivation
Dill isn't a difficult vegetable to grow. However, it does have its own characteristics that gardeners need to be aware of to ensure proper growth and a good harvest of herbs or seeds.
- ✓ The leaves retain their juiciness and color even in low light conditions, making the variety ideal for growing in partial shade.
- ✓ The variety has increased resistance to lodging, which is especially important with abundant watering.
Watering
Dill, as a green crop, requires a lot of water. Watering should be done so that the soil is always slightly damp. In hot weather, irrigation is essential. Before the seedlings emerge, it's best to water the beds using a watering can with a nozzle to avoid washing away the seeds.
Top dressing
There's no need to fertilize dill grown for its green foliage if it was applied before sowing. You can feed the plants if a deficiency is detected. Complex fertilizers containing mineral elements are well suited for this type of feeding.
Dill seeds are fed before flowering. Fertilize the beds with saltpeter or urea with a small amount of potassium and phosphorus mixtures. For greens, simply dilute 1 tablespoon of nitrogen fertilizer in 1 bucket of water.
For organic fertilizer, you can use a 1:10 infusion of slurry. Let it sit for 2-3 days, dilute it again to a 1:10 ratio, add 0.5 cups of ash per bucket, and water the beds.
Loosening and weeding
Weeds can seriously inhibit dill growth, so weeding is essential. Particular attention should be paid to weed control during the early stages of plant growth.
Loosening the soil will make it more breathable, which will also benefit the plants.
Pest and disease control
Alligator dill is quite resistant to diseases and pests. Aphids are the most common pest. They can be controlled by spraying the plants with tobacco, ash, or garlic infusions. Chemicals are not recommended: many of these products have a long shelf life, making the greens unsuitable for consumption.
Harvesting and storage
You can cut the greens when they reach a height of 10 cm. If the plants are sown densely, it is easiest to pull out excess or tear off the lower leaves, leaving the center to grow.
There's no need to rush to cut dill. Experienced gardeners have noted that it only develops its characteristic aroma when the first 4-5 leaves emerge. The older the plant, the more fragrant it will be.
Fresh green dill should be stored in the refrigerator. Its shelf life is short – no more than 1 week. Excess greens can be dried, salted, frozen, or added to canned foods.
Plants from which seeds are needed are harvested once they are fully ripe. This occurs after the end of the growing season, which can be determined by yellowed and dried leaves and darkened umbels. Seed readiness is also easy to determine: pick the umbel, and if the seeds fall easily, they are ripe. After harvesting, they must be thoroughly dried. To do this, dill plants should be uprooted or cut above ground and placed in partial shade to dry.
Dried seeds should be stored in small jars, plastic food containers, or linen bags. They should be kept in a dark, dry place during storage. Seeds can be used for cooking while they retain their aroma, and for sowing, they can be used within 2-3 years (it's best to use last year's seeds, which have the highest germination rate).
For a video review of the Alligator variety, watch the following video:
Sowing and growing Alligator dill is easy. All it requires is proper planting, timely watering, fertilizing, and loosening the soil. For a regular supply of fresh greens, you can sow seeds every 2-3 weeks from the onset of spring warmth until the end of summer.