Celery is renowned worldwide for its aromatic, pleasant flavor and numerous medicinal properties. It's an easy-to-grow crop, so growing it is straightforward if you follow established planting guidelines and care methods. Domestic gardeners cultivate three types of celery: stalk celery, leaf celery, and root celery.
Description of the culture
Celery is a well-known herbaceous plant. It is a perennial and belongs to the Apiaceae family. This vegetable is characterized by a sweet and spicy flavor and a rich aroma. Originally native to the Mediterranean region, it has spread throughout the world.
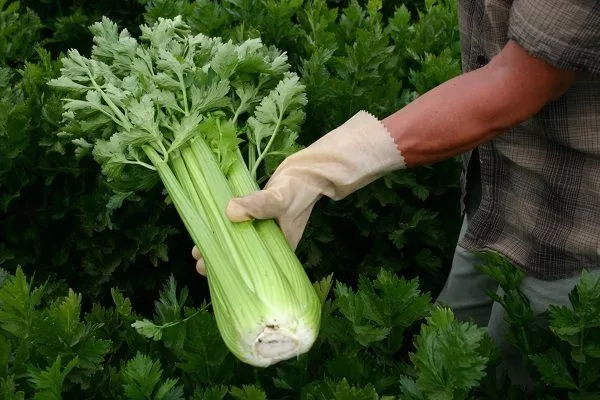
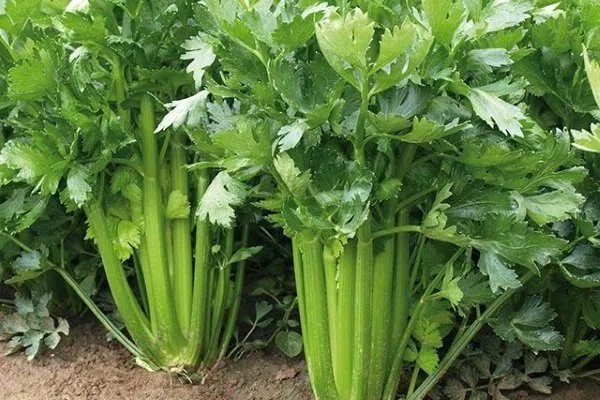
Petiole celery is prized for its juicy, aromatic stalks. Their stalks can be light green or white. If the stalks are covered with soil during cultivation, they grow white. They have a very delicate flavor, are less bitter, and have a longer shelf life.
Advantages and disadvantages
Stalk celery has many benefits, making it so popular among gardeners. Among the most important are:
- juicy stems;
- beautiful color;
- long-term storage after harvest;
- frost resistance;
- can be planted next to many vegetables.
It is also worth noting some of the disadvantages of stalk celery:
- does not like abundant watering and this must be carefully monitored;
- long growing season;
- average seed germination.
The best varieties and types
| Name | Ripening period | Color of stems | Productivity |
|---|---|---|---|
| Gold | 5 months | Light green | 5 kg/sq.m |
| Tango | 6 months | Green with a blue tint | 1 kg/socket |
| Malachite | 3 months | Light green | More than 1 kg/socket |
| Atlas | 6 months | Requires bleaching | 3 kg/sq.m |
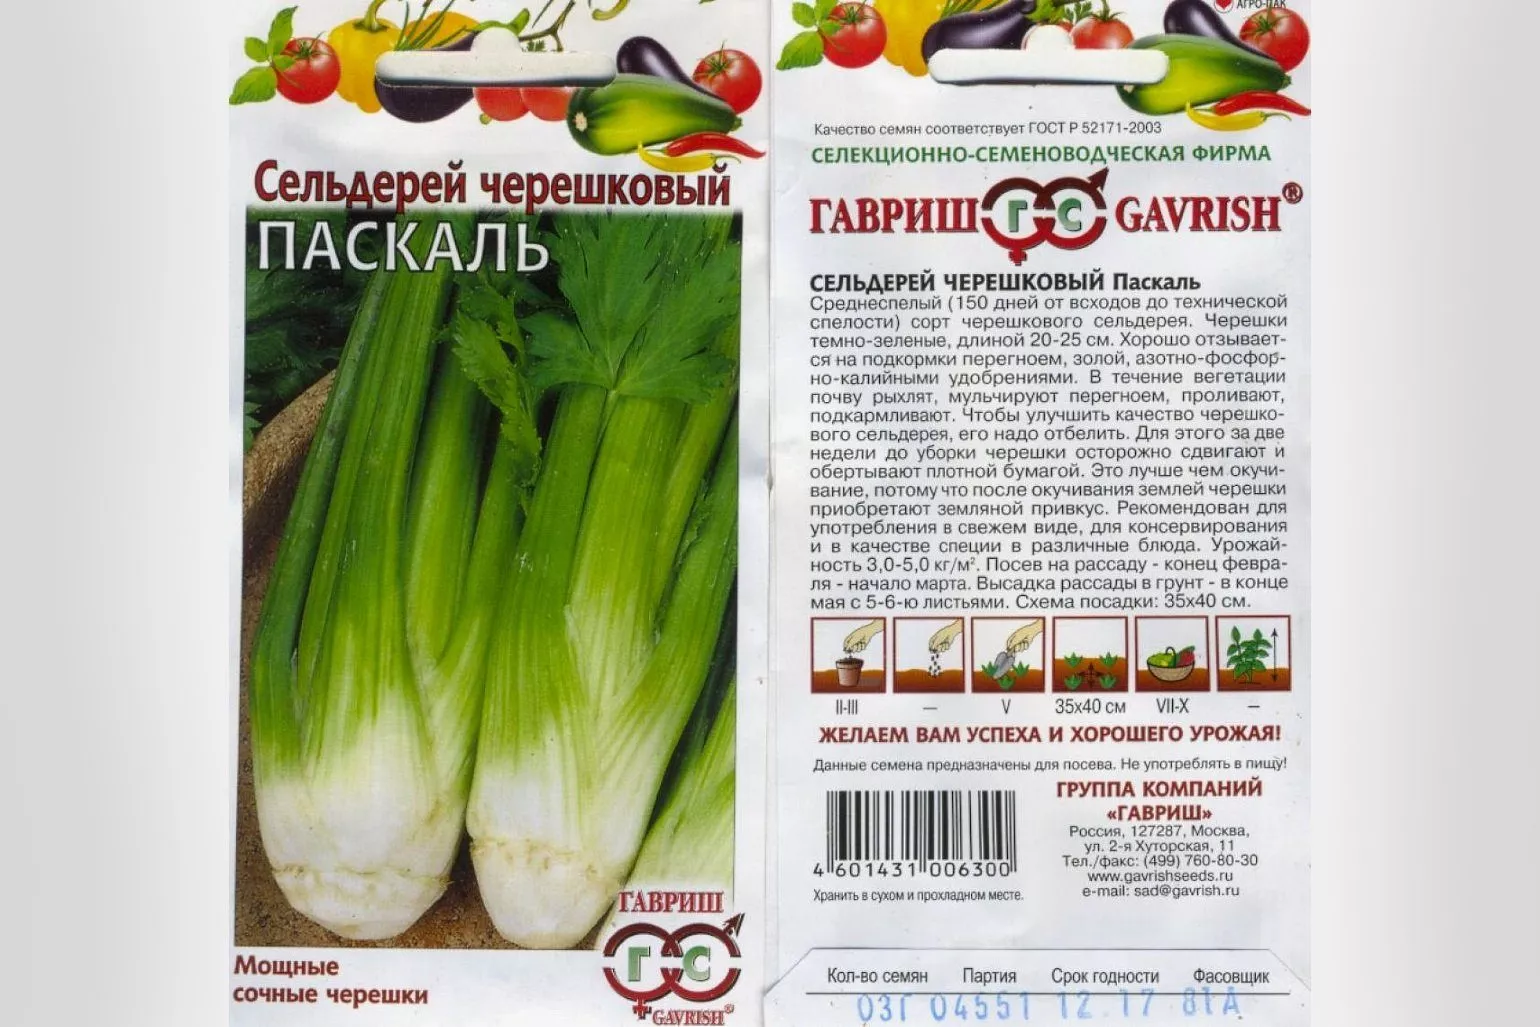
| Pascal | 3 months | Requires bleaching | Cold-resistant |
The most popular types of celery are:
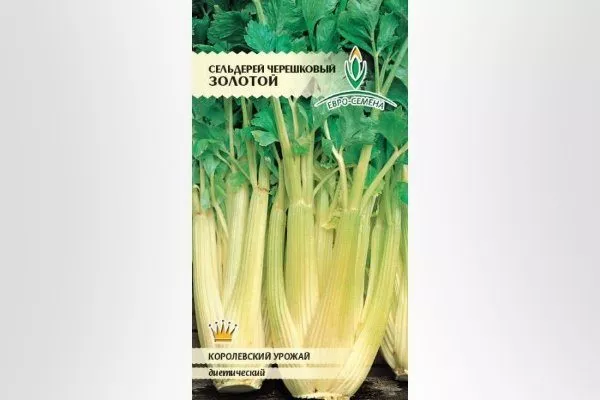
- "Gold". The plant is characterized by self-bleaching. Ripening occurs over a period of 5 months. The stems are light green and slightly ribbed. Yields are up to 5 kg per square meter.
- "Tango". The plant is characterized by self-bleaching. Ripening occurs over the course of six months. The stems of this variety are green with a blue tint, and lack coarse veins. The yield is good—one so-called "rosette" can weigh 1 kg.
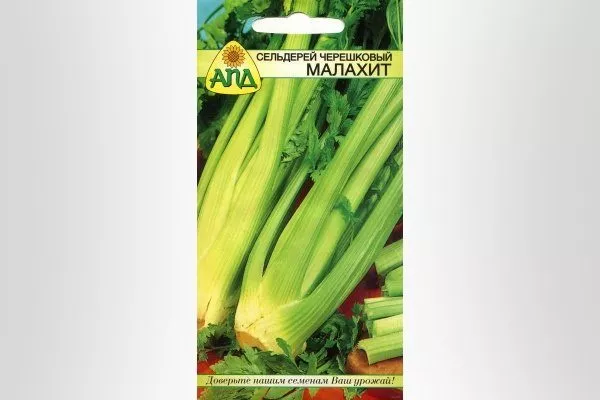
- "Malachite". The plant is self-bleaching, and ripening takes three months. The stems are light green and slightly ribbed. The yield is better than the previous variety – a single rosette can weigh over 1 kg.
- "Atlas". The plant requires bleaching. Ripening takes up to 6 months. The yield is such that up to 3 kg of this crop can be grown per square meter.
- "Pascal". The plant requires constant bleaching and ripens over the course of three months. This variety of celery is considered a cold-hardy crop.
celery variety "Golden"
celery variety "Tango"
stalk celery variety "Malachite"
stalk celery variety "Atlant"
celery variety 'Pascal'
Planting petiole celery
Gardeners recommend planting celery as seedlings to ensure larger roots. It's important that the seedlings have 4-5 leaves and are about 15 cm tall.
Some small celery varieties can be planted directly into the ground before frost. However, small seeds tend to have poor germination rates and require high temperatures to germinate. Therefore, the best planting option is to grow seedlings.
This crop grows best in loose, fertile soils with moderate moisture. Celery will not thrive in acidic soils. To ensure a good harvest, the planting site must be properly prepared. This will require:
- dig up the beds in advance in the fall and fertilize them with humus;
- for planting, choose a well-lit area (the plant loves a lot of sun);
- Plant the “right” neighbors in the surrounding area (beans, tomatoes, cucumbers, white cabbage, lettuce).
- ✓ Soil pH should be between 6.0-6.5 for optimal growth.
- ✓ The soil should be well drained to avoid water stagnation.
Deadlines
The time for planting celery varies across Russia. This is due to varying climatic conditions. For example, in the Urals and Siberia, seedlings are planted at the end of the last month of spring. In the Moscow region, planting should begin in early May.
When determining the planting date, consider the temperature. The average daytime temperature should be at least 10°C, with no severe frosts at night.
Seed preparation
To maximize germination, the seeds must undergo a special treatment before planting. To do this, they are placed in a weak potassium permanganate solution for a couple of hours, then placed on damp cheesecloth to germinate. After a few days, they will sprout.
Sowing for seedlings
There are several methods for sowing seeds. The standard method is as follows:
- Prepare the soil and container.
- For the soil, mix peat, sand, humus and leaf soil in equal proportions.
- Before sowing, moisten the soil placed in the container.
- Scatter the seeds evenly over the soil surface (do not bury them too deeply) and lightly sprinkle them with peat moss. Then cover the container with plastic wrap.
Watch the video below to see how to sow celery seeds for seedlings:
Seeds of petiole celery are always planted in early March.
Caring for seedlings
Growing seedlings is carried out as follows:
- Place the containers with planted seeds in a sunny spot on a windowsill in your apartment, greenhouse, or balcony (during the first 7 days, the air temperature in the greenhouse/balcony should not be below +17°C).
- Water the seedlings through a sieve, as they are demanding in terms of watering method.
- Once two leaves appear, transplant the plant. This involves cutting the central root to strengthen the root system. After transplanting, plant the cutting in a separate pot or a regular cup.
Transplanting seedlings into the garden bed
Planting of these plants in open ground occurs 90 days after sowing the seeds. This is typically around early May.
Before planting, leave the crop in the shade outdoors for several days. By the day of planting, the bushes should have formed at least 5-6 leaves.
If the seedlings haven't been pricked out, they will be tightly packed together. To avoid damaging them, thoroughly water the container, wait for the soil to soften, and only then carefully separate the roots.
You can use an additional container of water to separate the seedlings. Before planting, be sure to loosen the soil and remove any weeds.
Petiole celery is planted in rows spaced 20 cm apart, with at least 30 cm between rows. The seedlings should be planted 6 cm deep into the soil. After planting, the soil is compacted and thoroughly watered.
Caring for celery in open ground
In open ground, petiole celery requires some care. First, plants should be planted in furrows approximately 30 cm deep, spaced 40 cm apart. Be sure to add humus to the trenches. Planting in furrows allows for the petioles to bleach, giving them a delicate flavor.
Self-bleaching varieties don't need to be planted in trenches. They also don't require hilling. However, the downside of these varieties is that they don't tolerate cold well and have a weak flavor.
The care process follows the following pattern:
- In early spring, before planting, scatter mineral fertilizers over the beds.
- One month after planting the seedlings, water the soil with urea (1 tablespoon per 1 sq. m.).
- As the seedlings grow, hill them up and water them, preventing the soil from drying out.
- After watering, weed the soil.
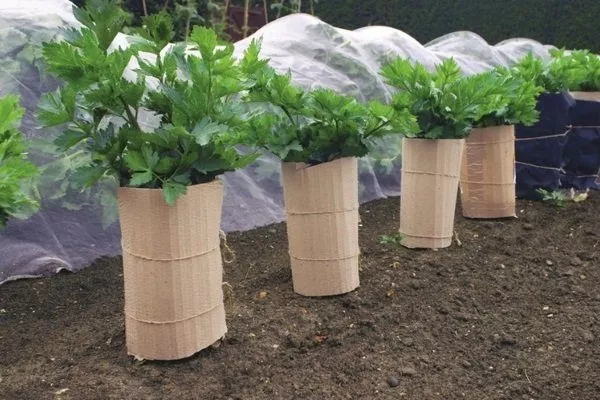
- When the plant branches grow to 30 cm, they are carefully tied into bundles and wrapped in dark paper to whiten them and give them a distinct sweetness.
Self-bleaching varieties are much easier to care for, as they do not require tying the bushes or wrapping them in paper.
Top dressing
The first feeding of celery outdoors is always done after planting, when the plant has clearly established itself. A ready-made complex fertilizer can be used, but you can also make your own:
- mix superphosphate, ammonium nitrate and potassium salt;
- each component should be 20 g;
- dissolve all ingredients in 10 liters of water;
- Pour the solution under the root.
Once the celery begins to grow vigorously, the procedure will need to be repeated. A third application is necessary when the stems begin to strengthen. A complex fertilizer is prepared in different proportions (superphosphate – 50 g, urea – 15 g, potassium chloride – 15 g).
Organic fertilizers also produce high yields. For celery, you can use the following mixture: water, slurry, and bird droppings in a ratio of 10:2:1. The fertilizer is applied to the roots at a rate of 1 liter of solution per square meter.
When fertilizing plants, it's important to remember not to allow the solution to come into contact with the leaves. This can cause disease.
Bleaching of petioles
To keep celery stalks light in color and with a delicate flavor, protect them from direct sunlight. There are many methods for bleaching the soil. The simplest is to mound it with moist soil. Add soil as the plant grows, leaving the growing point and leaves exposed. The downside of this method is that the stalks become imbued with an earthy taste.
Another, more effective bleaching method can be used. What's the process? The procedure is performed in mid-September, approximately 20 days before harvest. The plant stems are tied with soft cloth, then wrapped in paper (excluding the leaves), and tied into a rope. There should be no gap between the paper and the soil.
| Method | Advantages | Flaws |
|---|---|---|
| Hilling up with soil | Ease of implementation | The petioles have an earthy taste |
| Binding with fabric and paper | No earthy taste | Requires more time and materials |
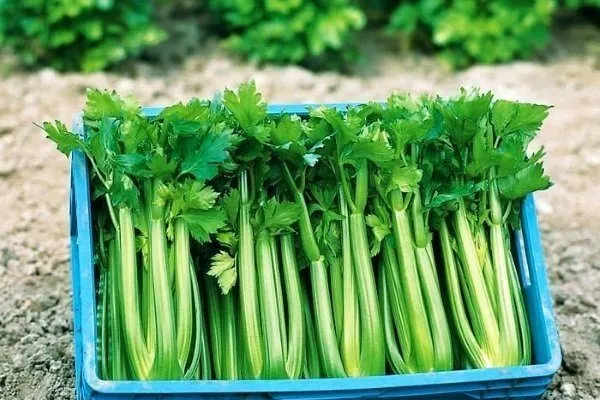
Harvesting and storage
To ensure that the stalks of celery are juicy, sweet, and aromatic, it is necessary to adhere to the technology of proper planting and harvesting of the plant.
Compared to root vegetables, this vegetable crop is quite sensitive to low temperatures. Therefore, it is harvested in September before frost.
It is not recommended to leave the plant for more than 11-16 weeks after planting, as it will lose its flavor and fibrous tenderness.
Store stalk celery with the root removed. The plant can be stored in various conditions:
- it can be stored in the cellar for up to 2 months (this is the best option);
- does not spoil in the refrigerator for 2-3 weeks (if you store the stem without leaves);
- in the freezer;
- in dry form (stored for about 12 months).
What diseases does celery suffer from?
The most common diseases of celery include:
- Rust. In this case, reddish-brown spots appear on the plant's leaves and petioles. Affected branches lose flavor and dry out. To prevent the disease, treat seedlings with Fitosporin or Baktofit. Treatment is carried out with Fundazol.
- Septoria. It manifests itself as yellow spots resembling a burn. It appears on celery stalks and petioles. Affected leaves dry out, and the stalks break. The disease persists in the soil for three years and begins to manifest itself during rainy weather. In this case, treat the plants with Fundazol one month before harvest.
- Cercospora leaf spotThe disease manifests itself similarly to septoria leaf spot, but the spots are lighter in color. Treatment is with Fundazol.
- Downy mildew. This fungal disease manifests itself as white spots with black specks. The infection causes the entire plant to rot. The disease thrives in acidic soil. Alkalizing acidic soil with lime and disinfecting the soil in the spring will help prevent infection.
- Cucumber mosaic. The viral disease manifests itself as rings of varying sizes. All affected plants must be removed from the garden. The virus is transmitted by mites and aphids. Disease control involves eradicating these insects.
Gardeners' reviews
By following simple growing rules and recommendations, even a novice gardener can plant stalk celery in their garden. All it takes is timely watering, fertilizing, and pest control.