People tending their gardens often need to use a special soil sieve. In many cases, it's indispensable, primarily for removing debris from compost. While they're readily available at the store, making your own doesn't require much effort.
What is a soil sieve and what is it used for?
A soil sieve is a frame made of wood or other material with a mesh screen inside. The mesh openings can have varying diameters. It is designed for sifting compost, soil, or sand to remove various stones, sticks, and other debris.
After sifting, the soil becomes loose and oxygenated, making it a pleasure to use. You can also pass seeds and much more through this sieve.
There are two types of soil sieves: manual or stationary.
A high-quality sieve, tailored to the user's needs, will allow its owner to sift large quantities of soil. A sieve can be purchased or made at home in a short period of time, and it will last a long time.
What does a sieve look like?
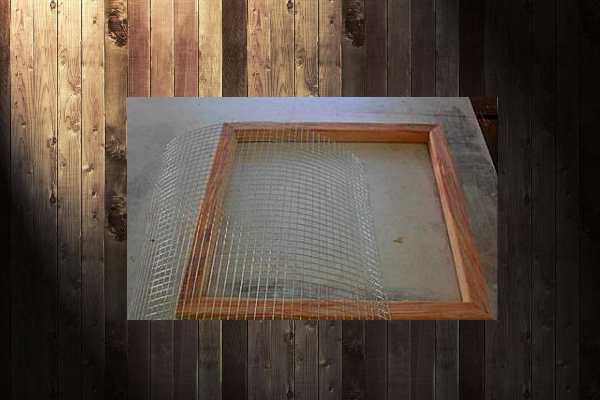
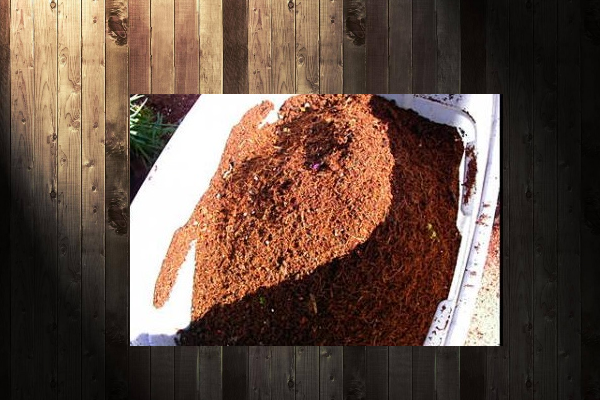
Photo example of a hand sieve:
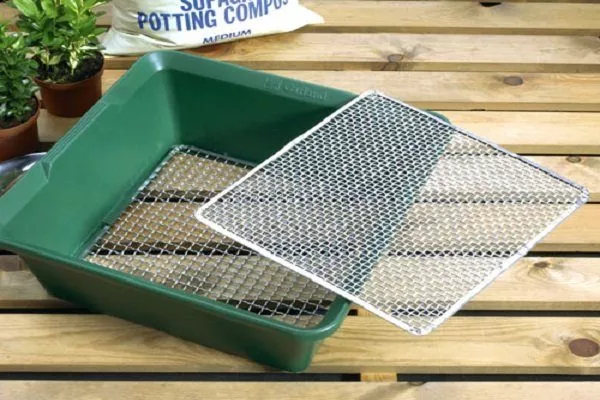
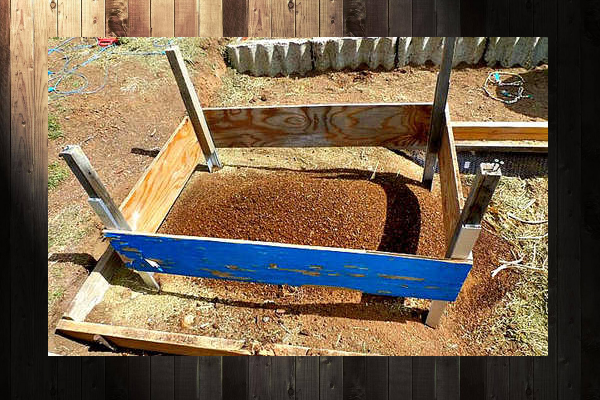
Photo example of a stationary sieve:
Is it possible to purchase the equipment?
A manual soil sieve can be purchased at any store that sells gardening tools. You can also find a wide selection online, including Ozon, AliExpress, and others.
Sieves vary in size and diameter, with diameters averaging between 16 and 20 cm. The equipment costs from 200 rubles. They are typically light green in color, but silver, black, and blue models are also available.
How to make it yourself?
Step-by-step instructions for making your own soil sieve.
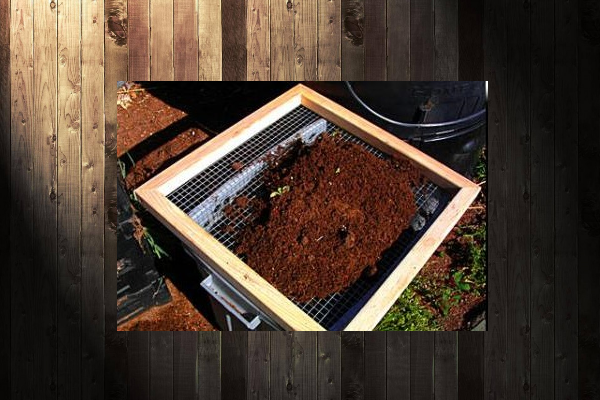
The first option is the simplest.
This is the simplest device, which can be made from scrap materials in 15-20 minutes. It will be useful for summer residents and gardeners.
You will need:
- birch or beech wooden beams 5x5 cm (the quantity depends on the size of the future product);
- wire mesh or its substitute with a cell diameter of 6-12 mm;
- a tank/square bucket, etc. of suitable size;
- nails or staples;
- 16 self-tapping screws, 75-85 mm long;
- saw and miter box;
- nippers;
- drill;
- hammer;
- construction tape measure.
- ✓ The mesh diameter must correspond to the size of the particles that need to be separated from the soil or compost.
- ✓ The mesh material must be resistant to corrosion, especially if the screen will be used outdoors or for wet materials.
Manufacturing instructions:
- Prepare all materials in advance so you don't have to worry about searching for screws, etc.
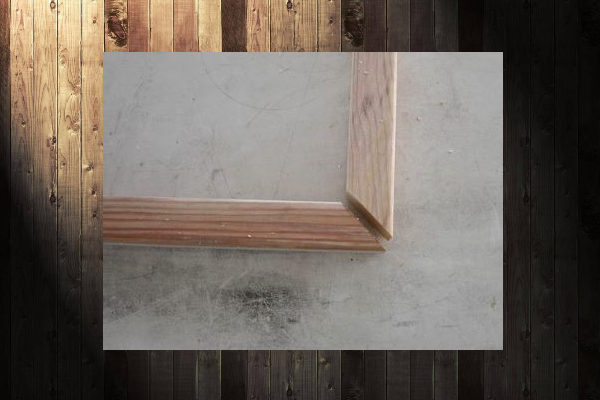
- Using a saw and miter box, cut the wooden block into four equal pieces. Cut the ends at a 45° angle to create the frame.

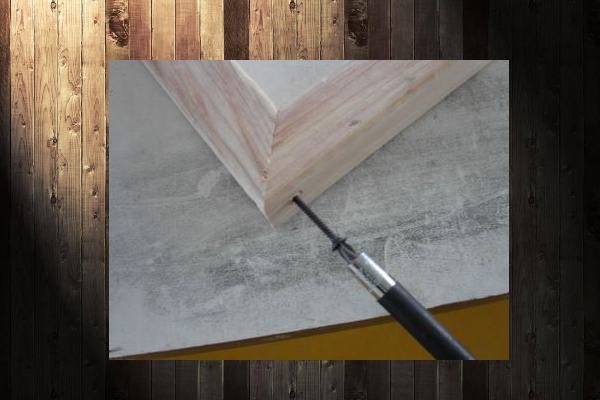
- Drill holes for the screws in the corners of the frame. The depth should be at least half the screw's length. This prevents the frames from splitting during assembly. After inserting the screws, coat the corners with glue for added security.
- Assemble the beams into a picture frame and secure them with screws from the outside. For added strength, it's best to screw two screws on each side of the corner, for a total of four in each corner. You can apply glue to the ends for added security (after the screws are inserted but not yet tightened).
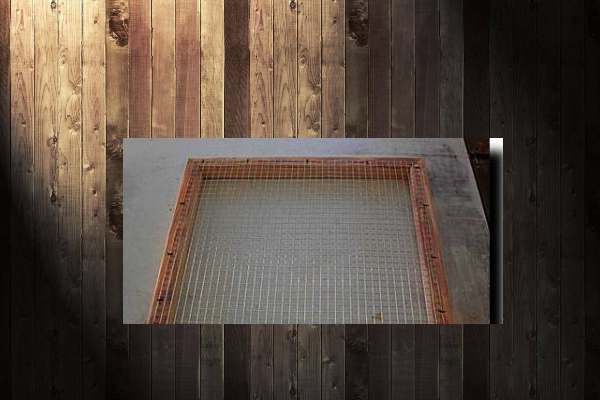
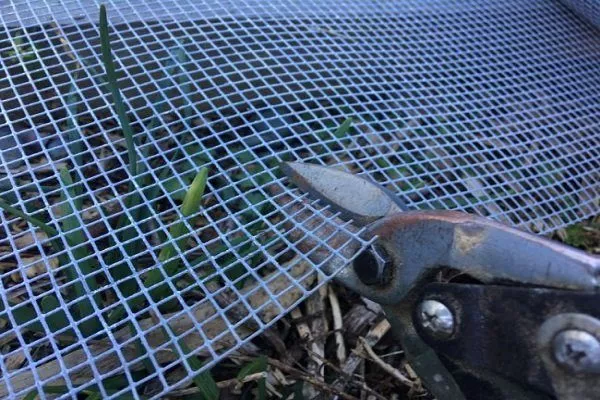
- Place the finished frame on the metal mesh. Mark and cut the piece to the desired size using wire cutters. To speed up the process, you can use a grinder. The mesh should not exceed the frame's dimensions. Ideally, it should be 2 cm smaller. In this case, the mesh size is 54 x 54 cm.
- Turn the sieve upside down and place the mesh on top. Nail or staple it to the frame at intervals of at least 50 mm. You will need 5 mesh pieces per side.
- Place the finished sieve on a tank, bucket or other container of similar or slightly smaller size.
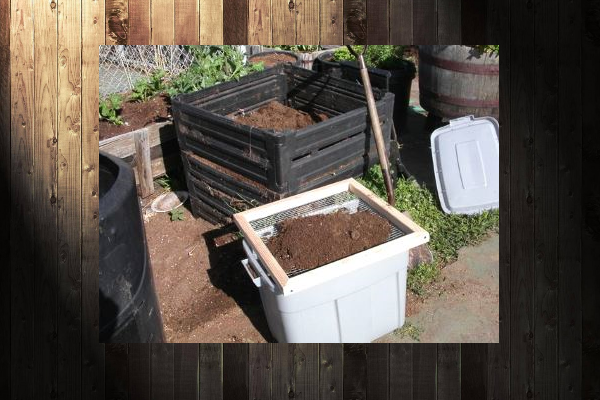
The sieve is ready, you can start using it.
The second option is stationary
Making a stationary sieve yourself. Sometimes using a manual version can be extremely difficult, so it's best to make a fixed one. This will require more time and effort.
You will need:
- plywood for the base (the dimensions depend on the dimensions of the future sieve);
- the posts on which the structure will be supported;
- profiles and self-tapping screws designed for plasterboard;
- 4 beams for legs;
- metal mesh;
- a small piece of rope;
- wood for handles;
- saw and miter box;
- nippers;
- drill;
- construction tape measure.
Manufacturing instructions:
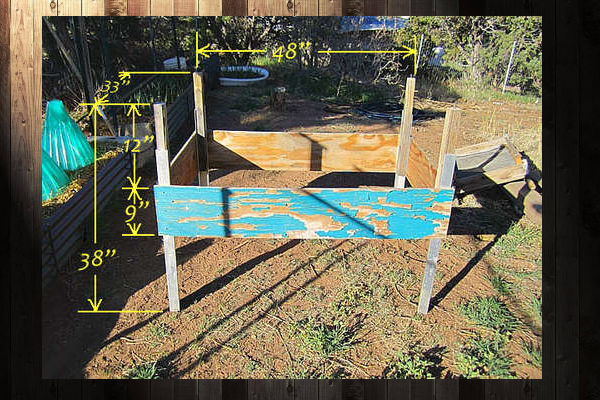
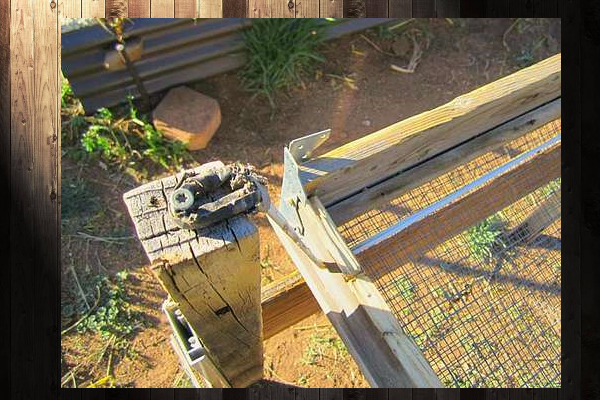
- Drive the stakes into the ground. Their length depends on the height of the person using the sieve. The person should be able to comfortably work with the structure without bending over. Otherwise, their back will get tired, and prolonged use is out of the question.
- Create a base for the screen by securing plywood around the perimeter of the posts. It should be strong and lightweight at the same time. Use channel profiles and screws to secure the plywood base. The horizontal part of the plywood should be sufficiently wide.
- Make a sieve. For this option, it should be 55 cm wide and 110 cm long (the size can be adjusted if necessary). The tray should also be very light, as you'll be filling it with soil, which is already heavy.
The process for making this screen is virtually identical to the previous one. However, it's best to secure the mesh to the beams with screws for added security. Otherwise, follow the same principles.
- Add handles to the sieve to make it easier to shake and clean.
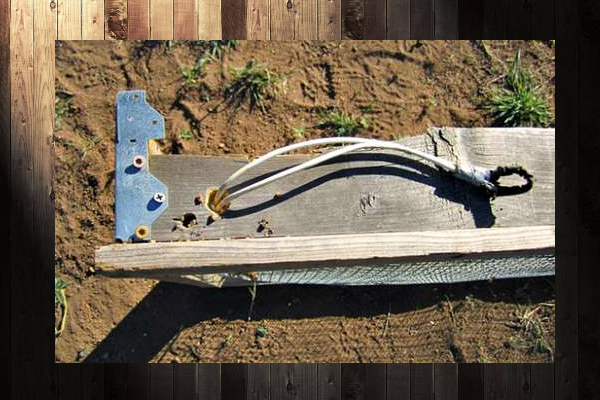
- Attach ropes to the corners of the sieve to hang it from the base. This will make the structure mobile, allowing you to sift the soil without physical strain.
- Screw the screws halfway into the ends of the beams and hang the sieve on them using the attached ropes.
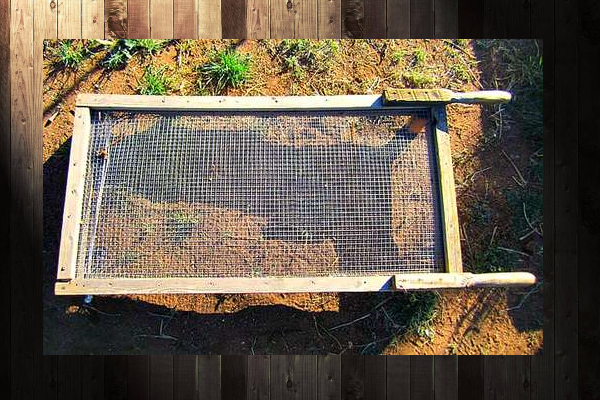
The finished structure looks like this:
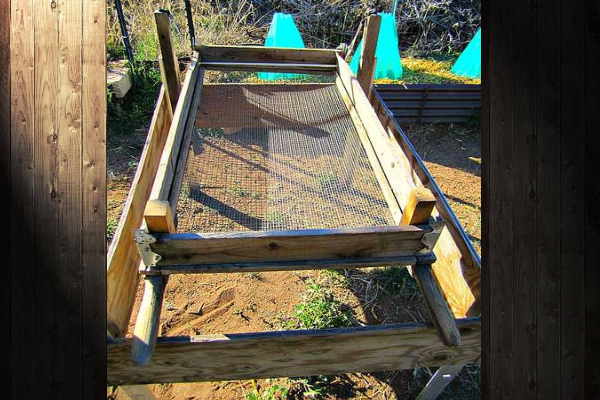
The cleared soil is poured out here without any reason. If desired and necessary, you can construct a special tray—the same plywood—to catch the soil. It will look like this:
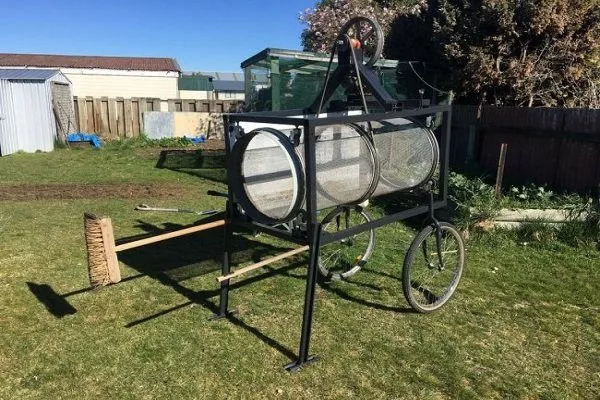
The third option is for true masters
The most complex soil sieve model. Only those who are used to making things with their own hands and enjoy it will be able to accomplish this. An old bicycle is usually all you need for this project.
You will need:
- bicycle wheel rims – 3 pcs;
- wire mesh and the wire itself;
- cable ties;
- 8 pcs. cart wheels;
- electric motor;
- pulley (friction wheel with a rim around its circumference);
- drive belt;
- fasteners;
- two bicycle forks with wheels;
- metal sheet;
- drill;
- nippers;
- metal shears;
- welding device;
- profile pipe;
- clamps;
- construction tape measure;
- marker;
- vice.
Manufacturing instructions:
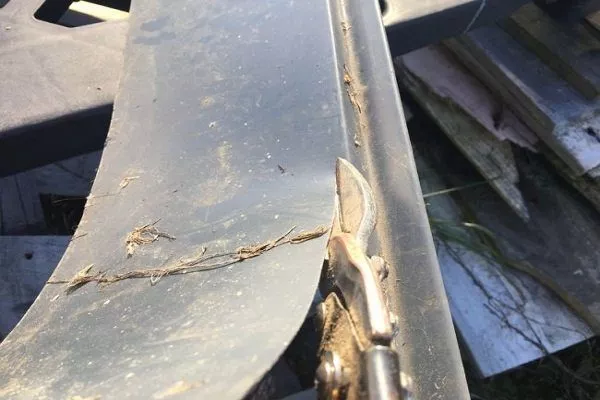
- Cut the sheet metal into three equal parts using special scissors.
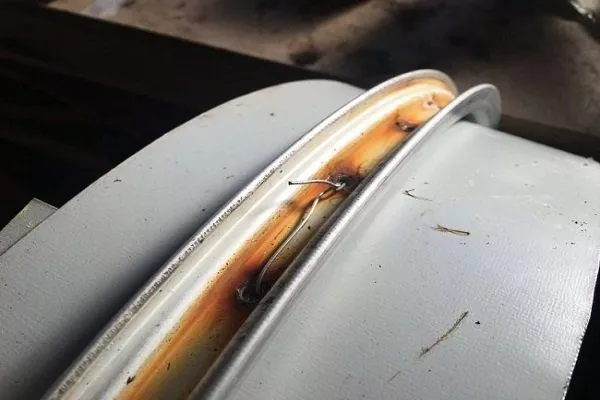
- Bend the resulting strips into rings and then secure them to the inside of the rim using wire.
- Cut the required amount of wire mesh using wire cutters.
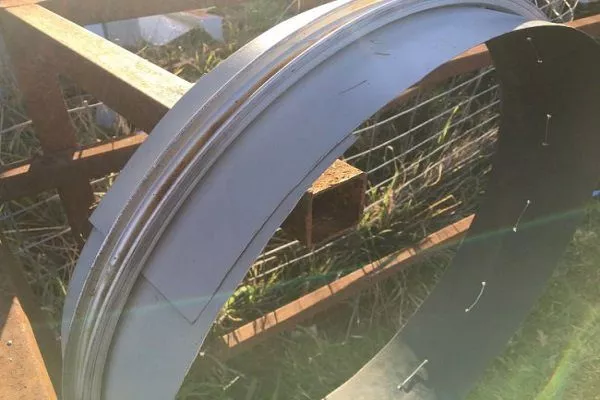
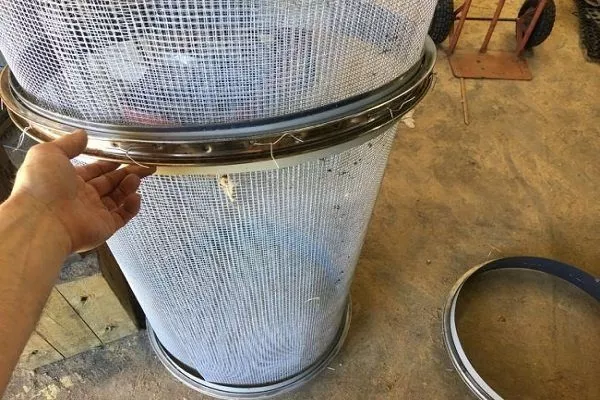
- Roll the mesh into a cylinder. Place the rims on it. Place one in the middle and two on the edges.
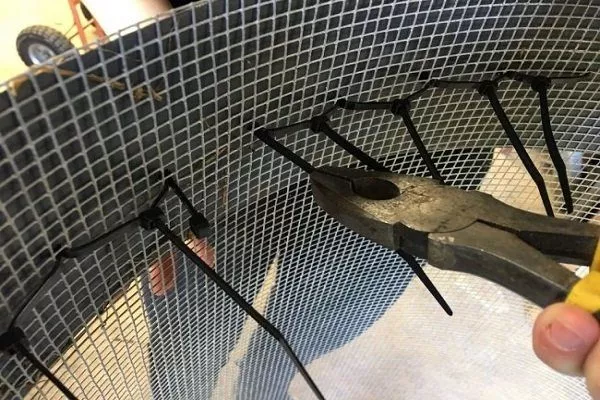
- Attach the mesh to the rims using cable ties.
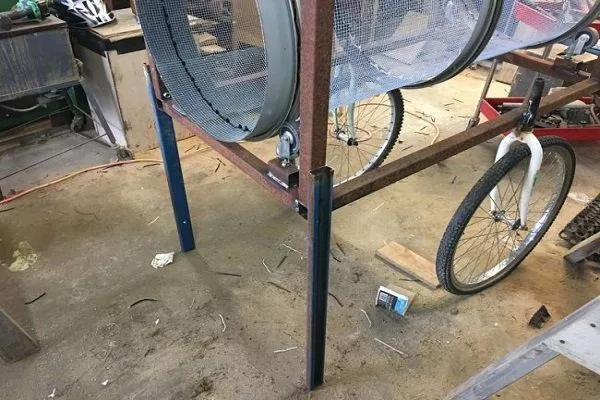
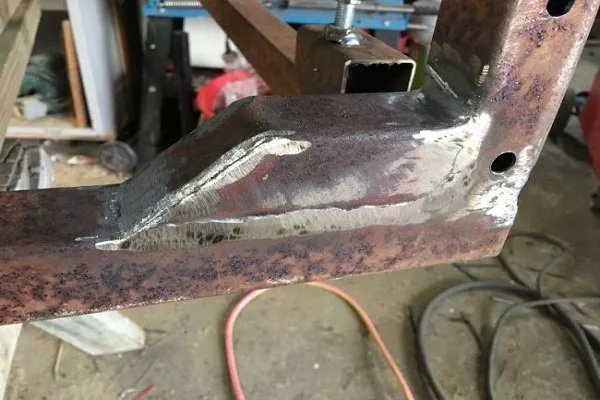
- Weld a frame from a profile pipe. When constructing the frame, remember that the screen should protrude from both sides of the frame and not touch it. The screen is supported by eight cart wheels attached to the top and bottom of the inner frame.
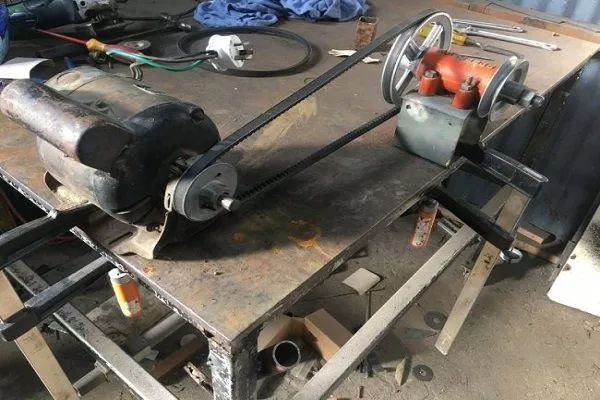
- Mount the pulley above the engine and secure the two profile pipes in an Ʌ-shape. The diameter of the large belt is approximately two meters. The drive belt tension is adjustable.
- Attach the supports to the bottom of the frame. Weld two forks with wheels to the front, and make two sections of profile pipe at the back. The pipes are bolted to the frame and can be rotated 90 degrees, converting them into handles when needed.
- Weld two pieces of pipe across the bottom of the frame.
- Weld a metal sheet on one side.
- Test the assembled unit. If everything is in order and the device works, paint it.

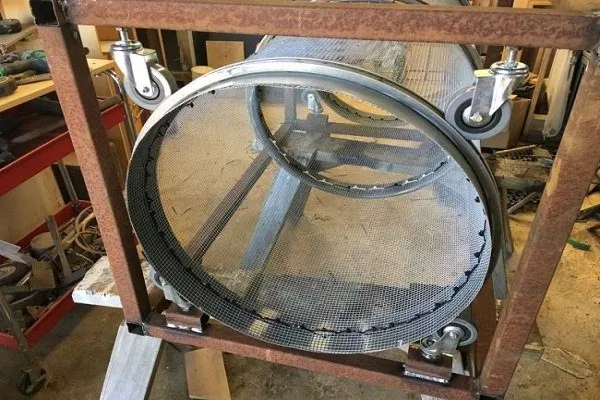
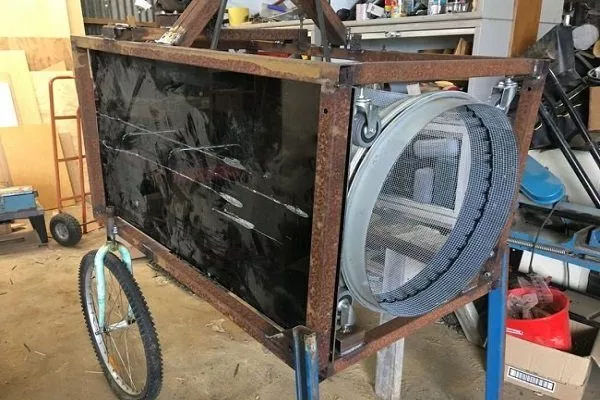
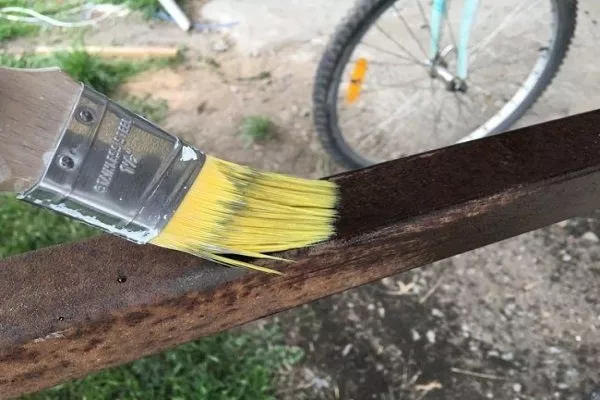
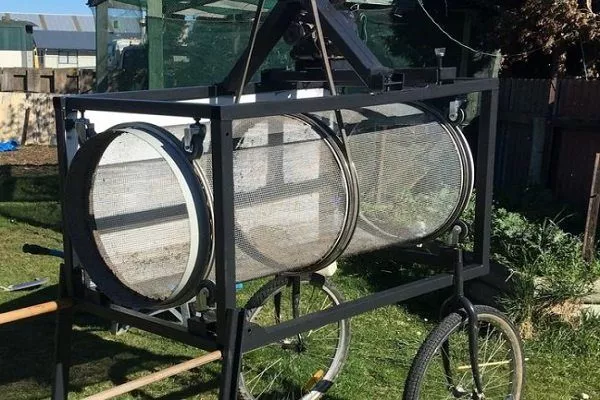
This is the stylish and mobile sifter that we end up with:
Video instructions for use:
How to use it correctly?
There is nothing complicated about using a soil sieve.
The following must be done:
- Place dry compost/soil in a sieve.
- Wait for the contents to sift into the container. This usually takes no more than 3-5 minutes. You can help it along by gently shaking the sieve from side to side.
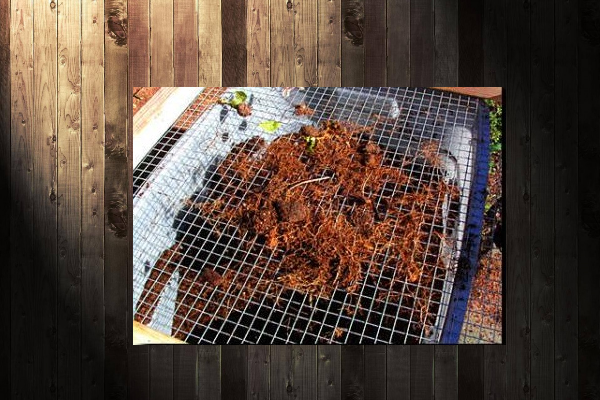
- Shake out any remaining stones, plant roots and other debris from the sieve, and pour the cleaned soil into a container for further use.
A soil sieve is useful in any garden. You can buy one—it's inexpensive—or make one yourself. The simplest version takes just 15 minutes. The tools and materials for a homemade sieve are readily available. A permanent version is also possible.