The Orange Sun pumpkin is an ideal choice for gardening enthusiasts. This variety has gained popularity thanks to its aromatic qualities and culinary versatility. Growing the Orange Sun requires no special skills, and you'll be rewarded with a bountiful and delicious harvest of bright, unusual fruits.
Description of the plant and fruits
Orange Sun is one of the most popular pumpkin varieties, characterized by increased productivity and abundant fruit. However, the Orange Sun pumpkin should not be confused with the Orange Summer F1 variety. The latter is registered in the State Register as a distinct hybrid variety.
Description of the appearance of the plant and its fruits Orange Sun:
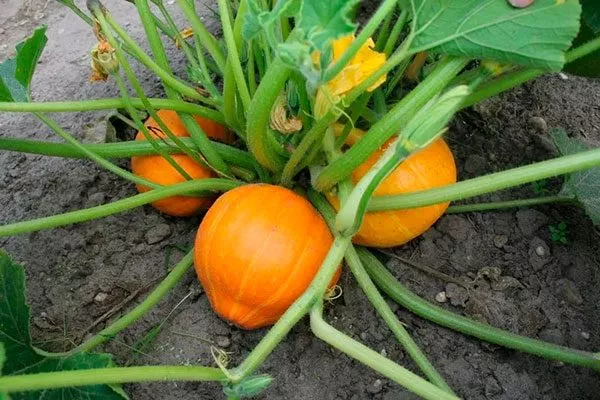
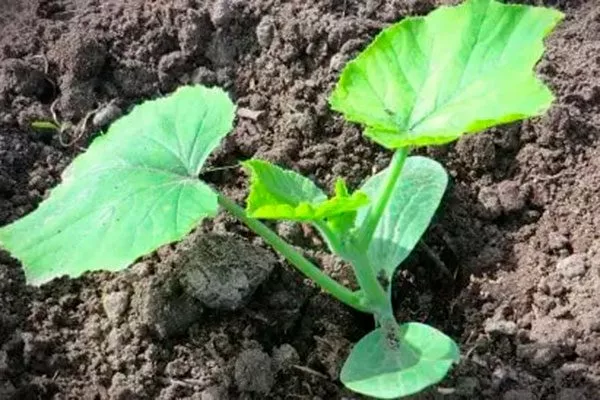
- The plant's stems are strong, spreading, and knobby. A single shoot can reach 80-100 cm in length. The leaves are large, with a deep green hue.
- The root system is well developed. The main root penetrates deep into the soil, while lateral shoots spread across the surface.
- Each shoot produces one or two buds in the shape of narrow sepals with elliptical petals. The flowers are large, elongated, with wavy edges and a ribbed surface pattern. They are bright yellow. A plant typically produces 6 to 8 buds, most of which are female, and 3 to 5 ovaries, making their cultivation effortless for vegetable growers.
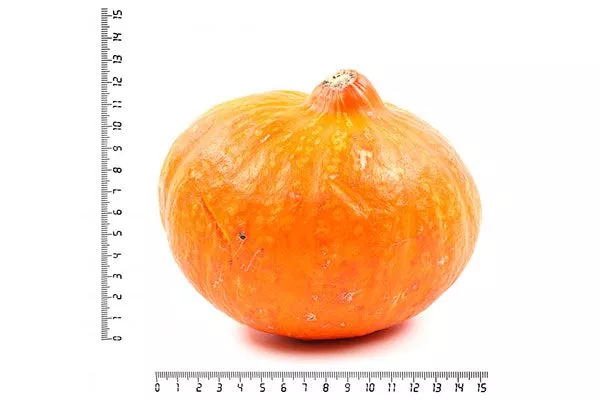
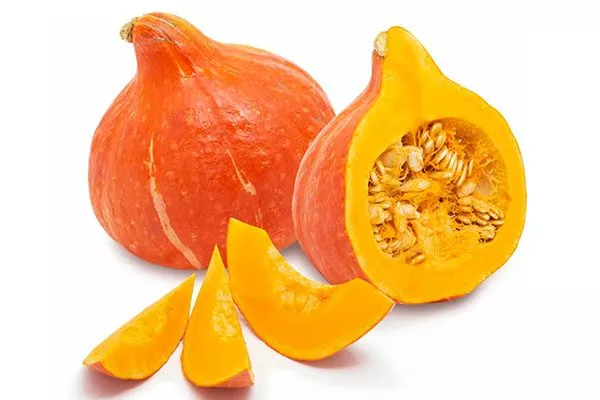
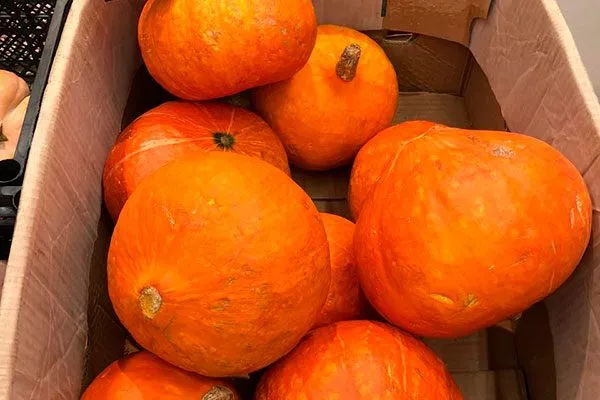
- The pumpkins are round and bright orange. Each pumpkin weighs between 1.2 and 1.5 kg. Pumpkins of this variety can reach 5-10 kg, but only with strict agricultural practices and favorable conditions.
- The surface of the Orange Sun pumpkin shows slight wrinkling, and its skin is thin and dense.
- This variety is rich in vitamins and minerals, including vitamins A, C, E, B6, and B9, as well as iron, calcium, magnesium, and potassium. These elements not only support overall well-being but also strengthen the immune system, have a beneficial effect on vision and skin, and promote normal heart and nervous system function.
The rich antioxidant content of Orange Sun pumpkin helps combat the negative effects of free radicals and reduces the risk of serious diseases, including cancer and cardiovascular disease.
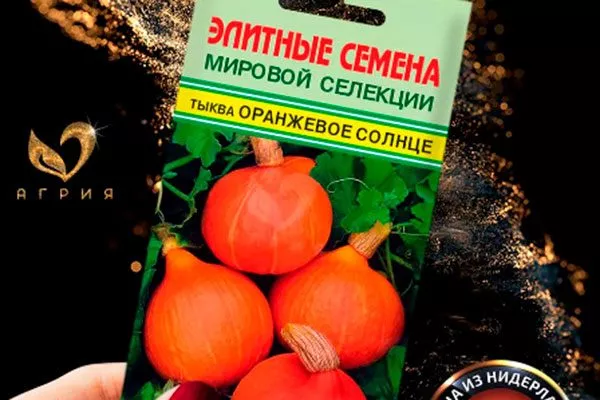
To achieve the maximum yield of this pumpkin variety, it's important to carefully study the varietal characteristics and care instructions. The Orange Sun variety, developed in the United States in the early 20th century, received its name from the bright orange skin and flesh, reminiscent of the sun's rays.
Since then, this variety has gained popularity around the world due to its bright aroma and taste, as well as its high nutritional properties.
Ripening and fruiting, productivity
Harvesting takes place when the fruits are fully ripe, which occurs approximately 90-105 days after the first shoots appear.
There is no precise data on the yield level of this variety, but based on reviews from vegetable growers, the crop pleases with an abundance of fruits.
Taste, purpose and use
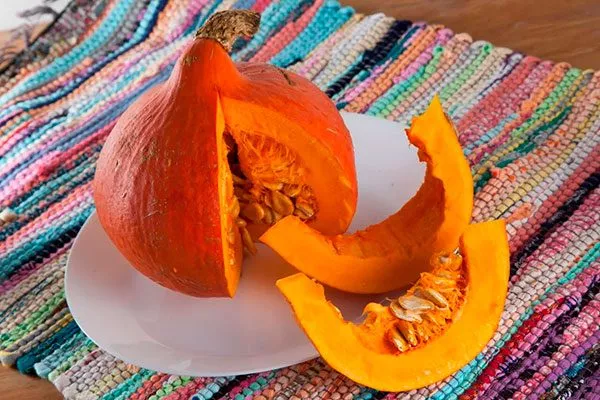
Orange Sun pumpkin is a versatile ingredient, perfect for both raw and cooked dishes. Its soft, rich flesh is especially valuable for children's nutrition.
The flavor is delicate and sweet, with subtle nutty undertones. Thanks to its shelf life until spring, pumpkin is an indispensable ingredient for winter preserves.
Pumpkin is the perfect complement to dishes made with meat, vegetables, rice, and many other ingredients. It's a wonderful addition to hot creamy soups, sweet porridges, and a variety of casseroles and pies. Its sweet flavor and rich nutritional content are especially appreciated by babies and their parents when used in purees and juices.
Landing features
Pumpkins can be grown using two main methods: sowing in an open garden in southern climates and using seedlings in cooler regions. The latter method ensures earlier ripening of the crop, while the former produces more resilient plants.
Requirements
Orange Sun is sold by many producers under various names. Officially, the pumpkin is registered as Orang SUN, but sometimes you'll find packages labeled as Orange SUN or Orange SUN.
For successful cultivation, it's important to select areas in the garden that receive full sun and haven't been planted with other vegetables during the year. The best options are beds previously used for growing legumes, nightshades, or root vegetables.
Pumpkins require fertile, loose soil. Soil preparation for growing begins early, in the fall, with digging, weed removal, and fertilization:
- Cow manure is used to fertilize the soil in the amount of 8-10 kg per 1 sq. m;
- To reduce the acidity level, use ash or dry limestone, mixing them with the soil during digging;
- to lighten heavy soil, river sand is added to the top layer;
- to enrich depleted soils, manure is used, placing it near the garden bed;
- In spring, it is not necessary to dig up the soil; it is enough to level it with a rake and clear it of weeds;
- Before planting, the beds are watered with a solution of copper sulfate;
- It is useful to add 15-20 g of potassium chloride per 1 sq. m and as much superphosphate as indicated in the product instructions.
Preparation of planting material
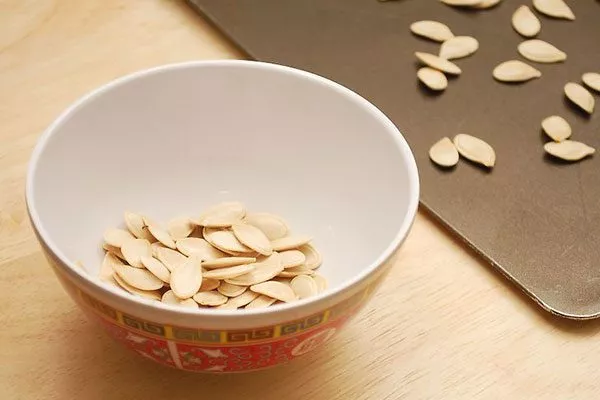
Before sowing, the seeds are carefully sorted, selecting only whole, strong, and defect-free seeds. The following steps are mandatory if using your own planting material (their varietal group allows this):
- To increase the chances of successful germination, the seeds are wrapped in a piece of natural fabric, which is then placed in the sun or on a heated surface, such as a radiator, to warm up.
You can use an oven preheated to 20 degrees Celsius. Increase the temperature by 10 degrees Celsius every hour, and the preheating process lasts for 5 hours. - Then the planting material is soaked in water at a temperature of 40 to 50 degrees for 3 hours, while it is important that the water does not cool down.
- To disinfect, the seeds are placed in a pink solution of potassium permanganate for 20 minutes, after which they are thoroughly rinsed under running water.
- To speed up the emergence of the first green shoots, they are pre-germinated. The seeds are placed in damp cheesecloth and placed in a saucer, covered with plastic wrap. This process continues until the seeds sprout. To prevent the cheesecloth from drying out, warm water is added periodically.
- Once the seeds have sprouted, they are placed in the refrigerator for 11-12 hours to increase their ability to withstand low temperatures.
Seedling method
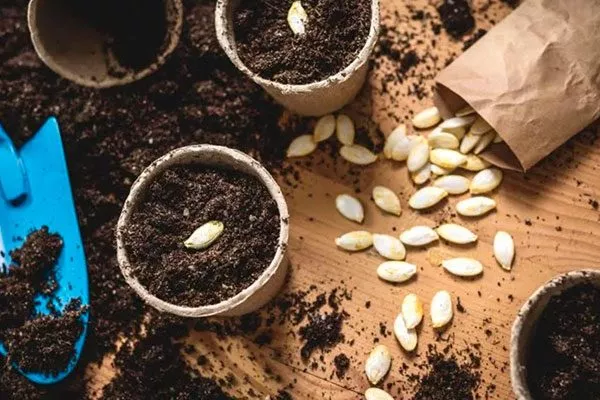
Sowing begins in mid-April. Three to four weeks after the seeds germinate, they are planted in garden beds. It's not recommended to share a container, as pumpkins don't like being transplanted. It's preferable to use individual containers—pots or peat pellets—so the plants don't have to be removed when replanting.
Pumpkins require a nutrient-rich and well-aerated substrate. You can use a ready-made universal seedling mix or make your own by mixing equal parts sand and peat. Add 1 teaspoon of fly ash and the same amount of superphosphate to 5 kg of this mixture.
Before filling the pots, the soil is disinfected using one of the following methods:
- warm up in the oven;
- impregnated with a dark pink solution of potassium permanganate;
- pour boiling water over it;
- treated with a hot solution of copper sulfate.
Sowing and care:
- Pour a 3 cm layer of sand into the container, and fill the remaining space with potting soil, thoroughly moistening it with warm water.
- Place two seeds in each pot, burying them to a depth of 3.5-4 cm.
- Cover the plantings with film, which is completely removed when the first green shoots appear.
- Place in a dark but warm place.
- After removing the cover, move the seedlings into a light area, for example, onto a windowsill, and if there is insufficient natural light, supplement with artificial light using fluorescent lamps.
Further cultivation:
- water as the soil dries out, using warm water;
- After the first true leaves appear, remove weak shoots;
- two weeks after the seedlings have sprouted, start applying fertilizer using nitrophoska;
- 10 days before transplanting, the seedlings are acclimatized by taking them outside every day and gradually increasing the duration.
To ensure that the seedlings are strong and healthy, it is necessary to strictly adhere to the temperature regime:
- until the seeds germinate, maintain a temperature of +25…+30°C;
- the first seven days after germination – +15…+25°C;
- next week – +15…+18°C;
- the rest of the time – room temperature.
When the seedlings have three true leaves, they are ready for transplanting to their permanent location. The bushes are planted in holes spaced 90-100 cm apart.
Seeds
In regions with mild climates, the direct-seeding method is often used. The planting process begins when the soil temperature at a depth of 12-15 cm reaches 15°C, which usually occurs in mid-May.
The algorithm of actions is classic:
- Prepare holes 5 to 10 cm deep. Experienced gardeners recommend creating holes of varying depths to allow the seeds to germinate in a variety of weather conditions. The hole width should be 25 to 30 cm.
- Place two seeds in each hole, distributing them at different ends.
- Cover with soil, not too tightly, moisten with warm water.
After planting, the seeds are covered with plastic film. It is opened for ventilation during warmer periods of the day and removed when the seedlings develop true leaves.
Growing and caring for the garden bed
The care procedures are standard for pumpkin crops, but it is important to take into account some features regarding varietal requirements.
Watering and fertilizing pumpkins
The Orange Sun pumpkin is incredibly heat-tolerant, but it prefers to be kept in adequately moist conditions. Regularly moisten the soil around the plant, avoiding standing water. Water with warm, settled liquid, avoiding contact with leaves, flowers, and ripe fruit.
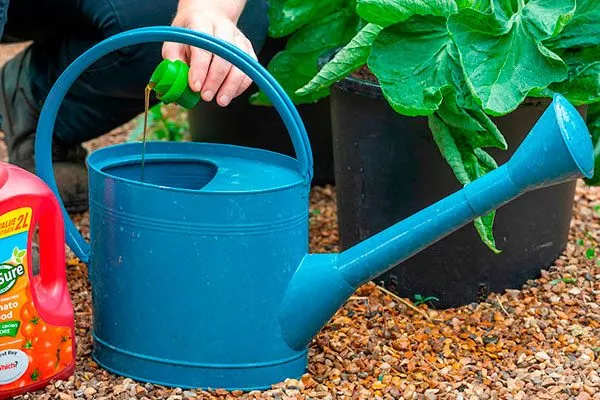
The variety responds well to complex nutrient supplements, cow manure, and ash. Fertilizing should be done two to three times during the growing season, with nitrogen-based fertilizers recommended at the beginning of the growing season and phosphorus and potassium fertilizers at the end of the growing season.
Forming a pumpkin bush
Bush pumpkins don't require any special training. However, to optimize conditions for fruit ripening, be sure to prune the main shoot. This usually happens after the first bud appears.

Other actions:
- Remove leaves that obscure the flowers and then the fruits, allowing oxygen and light to enter;
- In August, trim all the growing points of the bush so that the plant's energy is focused on development and maturation, and not on further growth of the plant.
Tips for increasing yields
To get the maximum harvest, experienced gardeners use several proven methods:
- During the flowering period of vegetables, the amount of irrigation is increased, while special attention is paid to ensuring that the water does not flood the leaves and stems, so as not to disrupt the pollination process, which can cause the pollen to stick together;
- To minimize the risk of pumpkins becoming moldy, wooden mats are placed underneath them;
- To ensure a richer flavor of pumpkins, watering is turned off during the period of their maturity;
- To prevent the fruits from falling, they are fixed to a net or other similar structure.
Possible difficulties
When caring for this pumpkin, gardeners most often encounter the following difficulties:
- Problems with seed germination occur when they are buried too deeply or planted in overly compacted soil. Insufficient soil warmth may also be the cause.
- After watering, plants begin to wilt or "wither." This may be due to using water that is too cold.
- If plants appear unhealthy and are growing slowly, this may indicate poor soil. To improve the situation, it is recommended to add organic matter.
- Pumpkin plants begin to weaken after fertilization due to burns, so use the golden rule: first thoroughly water the soil, and then fertilize.
- A lack of ovary set can be corrected through hand pollination. To do this, remove male flowers and apply their stamens to the stigmas of female buds. The reasons for this vary, but most often, the plant fails to pollinate due to constant rainfall or waterlogging during irrigation.
- If pumpkins do not turn yellow due to an abundance of leaves, it is recommended to remove them from around the fruit.
- If you use fertilizers too often, especially nitrogen ones, the vegetable may not produce fruit, but instead actively develop foliage.
Pest and disease control
The Orange Sun pumpkin variety is characterized by good disease resistance, but its leaves are often susceptible to powdery mildew and bacterial blight, which interferes with normal fruit development. If disease appears, the leaves should be cut off and the pumpkin itself treated with fungicides, colloidal sulfur, or copper-based preparations.
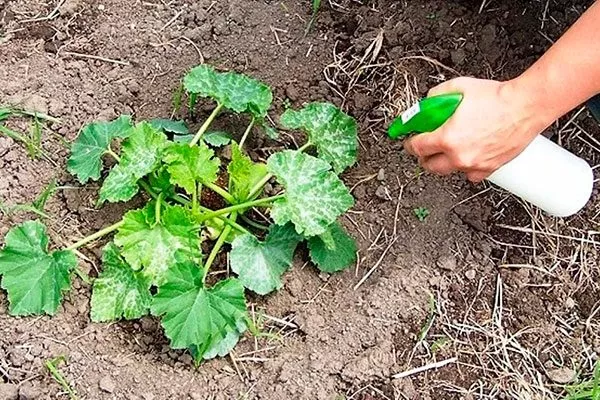
Among pumpkin pests, aphids and spider mites pose a particular threat. To combat them, you can use an infusion of tar soap, onion peels, or tomato tops. In cases of widespread infestation, chemical treatments are used.
To minimize the risk of injury, preventative measures should be taken:
- disinfect garden tools, seeds, containers and soil to prevent the transmission of infection;
- carry out pruning work on bushes in the morning or evening, avoiding watering on these days;
- To protect against pests, it is recommended to spray the pumpkin with a soap solution (mixing a bar of laundry soap with water) or a decoction of wormwood.
Harvesting and storage
In August and September, it's time to harvest the Orange Sun. Fruit maturity criteria include:
- dry and hard stalk;
- yellowing and falling leaves;
- bright orange hue of pumpkins;
- dense and hard crust.
When picking vegetables from the bush, it's recommended to remove them with the stems attached. After harvesting, pumpkins don't need to be washed; simply wipe them with a dry cloth or napkin to preserve their freshness, aroma, and nutritional properties. The optimal humidity for storage is 80%.
Despite its relatively thin skin, the Orange Sun pumpkin can retain its flavor and appetizing appearance for up to four months when properly stored in a cool, dark place. Furthermore, the thick-walled pumpkins are excellent for long-distance transportation.
Pros and cons
The Orange Sun pumpkin is deservedly popular among gardeners. Its advantages are as follows:
There are also some disadvantages - a relatively low yield and comparatively small fruit sizes.
Reviews
The Orange Sun pumpkin is a sweet variety that makes a wonderful addition to any diet. It's rich in vitamins and minerals, has a rich flavor, and can be grown in a variety of conditions. The small fruits are convenient for individual servings. This variety is easy to care for and highly resistant to diseases and pests.