Many gardeners doubt that growing radishes on a balcony is possible. In fact, numerous experiments have proven the feasibility of this approach. To ensure a good harvest, adhere to important agricultural guidelines, which differ from those for growing radishes outdoors or in a greenhouse.
Preparing for landing
You can grow radishes on a balcony or windowsill at any time of year, but the best period is considered to be the second half of December – February and subsequent months.
- ✓ Resistance to temperature fluctuations: especially important for balcony cultivation, where temperatures can vary significantly.
- ✓ Lighting requirements: some varieties may require less light, which is critical during the winter period.
What varieties are suitable for growing on a balcony?
| Name | Ripening period (days) | Root size (cm) | Root color | Peculiarities |
|---|---|---|---|---|
| Diego | 20-25 | 5 | Red | Withstands low temperatures |
| 16 days | 16-18 | Large | Bright red | Hardness when overripe |
| Champion | 30 | Average | Red | No voids inside |
| Deca | 30 | 3 | Crimson | Small fruits |
| French breakfast | 20-25 | Average | Pink | Delicate, crispy texture |
| Carmen | 20-25 | Average | Deep red | Spicy taste |
| Dabel | 20 | Average | Red | No voids, cold resistance |
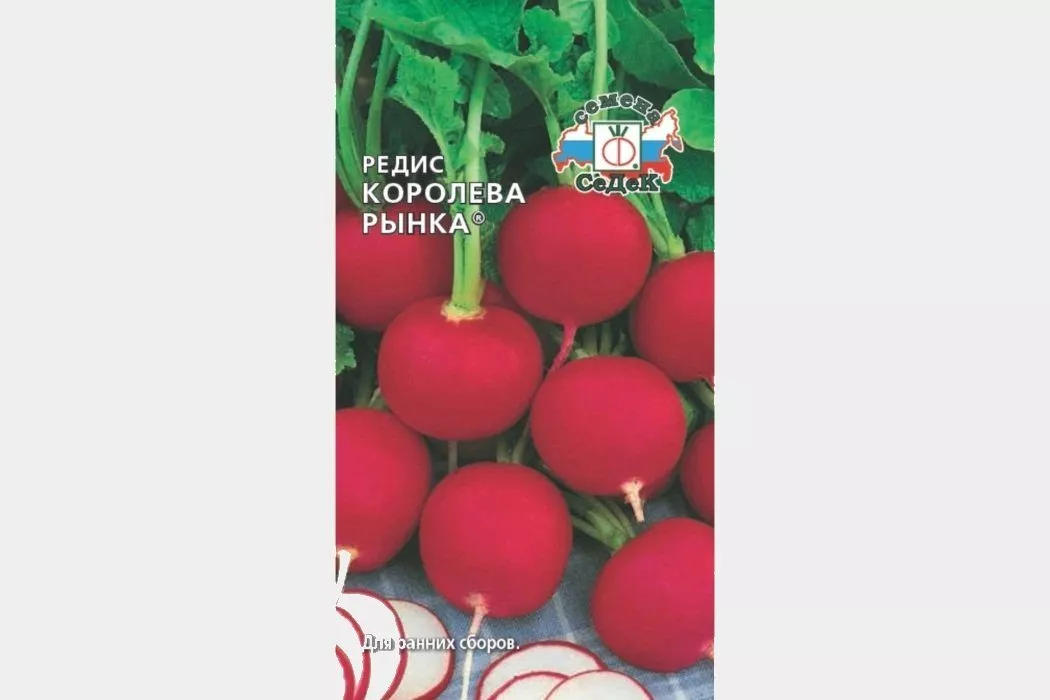
| Queen of the Market | 17-18 | Average | Red | Early ripening |
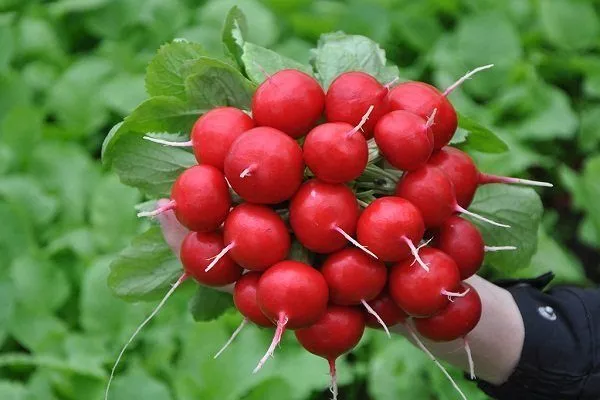
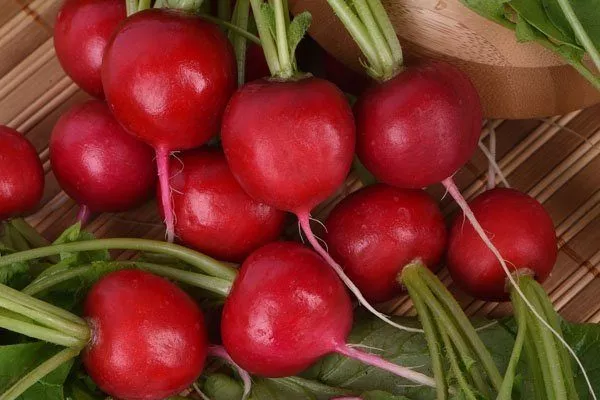
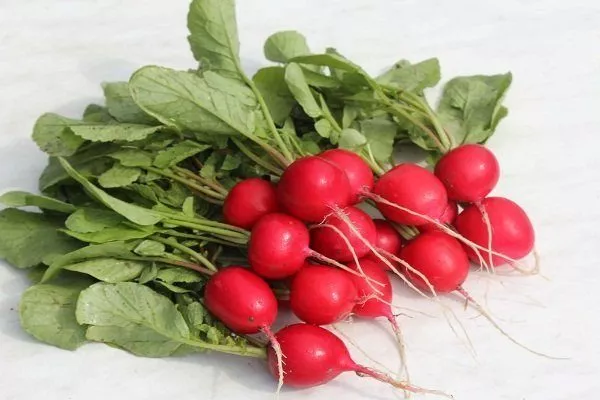
To harvest more frequently and quickly, it's important to choose the right variety. Radishes are classified by root size, shape, color, and ripening time. This last factor should be the most important when choosing a radish variety for growing at home.
Radishes come in early, mid-season, and late varieties. The latter two are not recommended for planting, but early varieties are considered the best option. Early varieties typically mature within 20-30 days, so several harvests can be made before summer.
Experts recommend giving preference to the following varieties:
- Diego – a hybrid variety growing up to 5 cm in diameter. Ripens in 20-25 days, withstands low temperatures, and remains crisp and juicy for a long time.

- 16 days – the earliest variety with large fruits. The maximum ripening period is 18 days, and the fruits are bright red. It's important to harvest within the specified time. Otherwise, they become tough.
- Champion – ripens about a month after sowing the seeds. A distinctive feature is the absence of voids inside.
- Deca – The harvest can be completed in 30 days. The distinctive feature is the small (3 cm) raspberry-colored fruits.
- French breakfast. Ripening period is 20-25 days, the color of the root crop is pink, the structure is tender and crispy.
- Carmen. The ripening period is identical to the previous one, the color of the fruit is deep red, the taste is sharp.
- Dabel. The average ripening period is 20 days, and the roots are red. Distinguishing features include no voids and cold resistance.
- Queen of the Market – early ripening (17-18 days) red color.

Necessary conditions
When growing radishes on a balcony or windowsill, the most challenging task is maintaining the optimal temperature, especially in early spring when the weather changes dramatically. The following conditions are essential for the crop:
- Immediately after sowing, the air temperature should be around 20 degrees.
- Once fully developed shoots with three leaves have formed, the temperature should be between 12 and 16 degrees Celsius. It's not advisable to raise the temperature any higher, as the young shoots will begin to stretch and become crooked.
- As the fruits form, the temperature rises by 2 degrees.
- Night temperatures can be at least +8 degrees.
- To help seedlings adapt to balcony conditions, harden them off after the shoots reach 2-3 cm. To do this, open the film daily for a few hours, then leave them uncovered for 3 days.
- During short daylight hours (until the end of January), plants are provided with supplemental lighting using phyto- or fluorescent lamps. Without this, root vegetables will not develop or will grow too small. The lighting duration is 12-14 hours.
- In winter, the optimal location for a balcony is the south side, in spring – the east and west.
- Avoid installing artificial beds near heating appliances, as they can dry out the air. This can negatively impact the growth and structure of the fruit.
- In spring and summer, if the balcony is exposed to direct sunlight, the radish is shaded.
How to select and prepare seeds?
If you purchase planting material from a specialist store, no special preparation is required. The only exception is germinating the seeds, if desired.
If the seeds were purchased from a private seller or taken from your own garden, carry out the following manipulations:
- Carefully inspect the seeds for any spots, mold, or plaque unusual for radishes. To determine germination and detect any hollow parts, soak the seeds in warm water for 3-4 hours. During this time, healthy seeds will settle to the bottom, and the remaining ones should be discarded.
- To accelerate plant growth, the planting material is warmed and disinfected. Both procedures can be combined. To do this, prepare a hot solution of water (200 ml) and baking soda (1 teaspoon), and place the selected seeds in boiling water for half an hour.
- You can disinfect the seeds with a weak solution of potassium permanganate by keeping the grains in it for 20 minutes.
- Before planting, the planting material is washed with running water and planted immediately.
To speed up germination, seeds can be placed in a moistened cloth to germinate. The time required depends on the quality of the seed; sometimes 12 hours is sufficient.
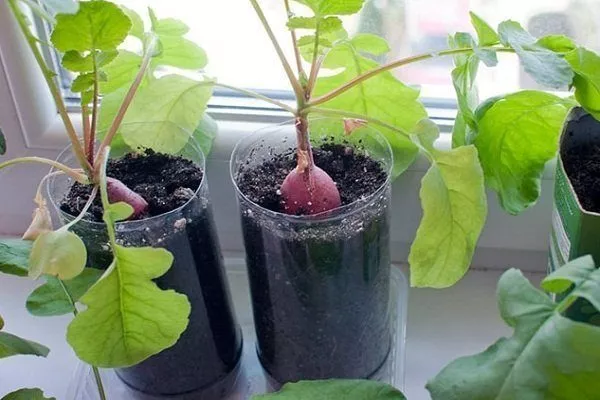
What kind of container is suitable?
Any container is suitable for growing radishes—flower pots, peat cups, boxes, or plastic containers. The main thing is that they are at least 15 cm high. If pots are used, grow 1-2 radishes in each. This option is not very convenient, as it takes up a lot of space on the balcony.
The best option is a special container with cells, which has many advantages: it takes up little space, and each root vegetable has a separate compartment, so that if the plants become diseased, infection does not occur.
Perforations on the sides and bottom are mandatory to ensure oxygen access. Place drip trays under the containers to allow liquid to drain. Treat the containers with an antiseptic solution before use.
Soil preparation
Radishes, like any vegetable, thrive in fertile, nutrient-rich soil. You can buy this at the store—a substrate called "Universal." If this isn't available, prepare your own soil mixture. What you'll need:
- garden soil – 2 parts;
- peat – 1 part;
- coarse sand – 1 part;
- humus or compost – 3-4 parts.
Mix the ingredients thoroughly and heat in the oven for 10-20 minutes, which will destroy the pest larvae.
Planting seeds
The seeds are planted in the following sequence:
- It's best to place a thin layer of expanded clay stones on the bottom of the container. Then, add the prepared substrate to about half the container's height. Immediately water generously and let it soak in for 1-2 hours.
- Add soil mixture to the top, moisten again, but not too much.
- Make furrows or holes 1.5-2 cm deep. The distance between plants should be at least 10-15 cm.
- Place 2-3 seeds in one place, cover the containers with plastic wrap, glass, or a lid.
- After about 4-5 days, the cover is removed as sprouts appear.
Don't plant seeds too close together - the roots will not have enough nutrients and oxygen, causing them to grow small.
You can see how to select and plant seeds in egg trays for balcony growing in the following video:
Care
Agrotechnical requirements for growing radishes at home (on the balcony):
- Since the light in the balcony area is only on one side, it is recommended to periodically turn the container with seedlings towards the window, so that all the vegetables will grow evenly.
- In the first 12-15 days after planting, loosen the soil to allow oxygen to enter.
- If the air temperature on the balcony drops below +2-0 degrees in winter, be sure to cover the crop with plastic film.
- Once the seedlings emerge, thin them out, leaving only one seed—the strongest and most viable one. When removing the seedlings, be careful not to damage the healthy seedling.
- Radishes are very sensitive to light, so they need to be exposed to light for a maximum of 14 hours, but no more. Otherwise, they will bolt and flower, which will stop root growth. To prevent this, cover the vegetables with a dark cloth in the evening during long daylight hours. Remove the cloth when it gets dark.
Watering
Radishes thrive in moisture, so water them regularly. Overdoing it will cause the fruit to rot.
- First watering after planting: generously, until the soil is completely moistened.
- Subsequent watering: every 2-3 days, depending on the temperature and humidity on the balcony.
- During the formation of root crops: increase the frequency of watering to daily, but in small portions.
The soil should be kept moist, not soggy, at all times. During the germination period, water to a depth of 7-8 cm. Once the roots emerge, more water will be needed, as the watering depth doubles.
The water should be at room temperature and allowed to settle. To do this, fill a container with tap water and leave it in the room for 3-4 days with the lid open to allow the harmful substances to evaporate.
Top dressing
Fertilizers are applied during watering. The vegetable is considered low-maintenance in terms of fertilizer, but to increase yield, it is recommended to fertilize it as follows:
- After the sprouts have formed, approximately 7-8 days later, add mineral and organic matter. For 5 liters of water, you will need 2.5 liters of slurry, 2.5 g of potassium salt, and 3.5 g of superphosphate.
- Second feeding radishes This is done a couple of weeks before the root crops are harvested. Potassium salt diluted with water is used (10 g of the substance per 5 liters of liquid).
- Additionally, you can add wood ash by sprinkling it under the roots.
- If the tops grow abundantly, but the fruits remain small, add a mixture of 5 liters of water, 100 g of wood ash, 10 g of potassium sulfate and 20 g of superphosphate.
- When leaves turn pale, nitrogen is required: 0.5 teaspoon of urea per 5 liters of water.
Thinning of seedlings and hardening
Thinning is done after the first two leaves have formed, which should be fully developed. Hardening off is necessary to boost the plants' immunity in case of a sudden cold snap.
Seedlings need to be hardened off after sprouts emerge. To do this, reduce the air temperature to 8-10 degrees Celsius for 3-4 days (during the day).
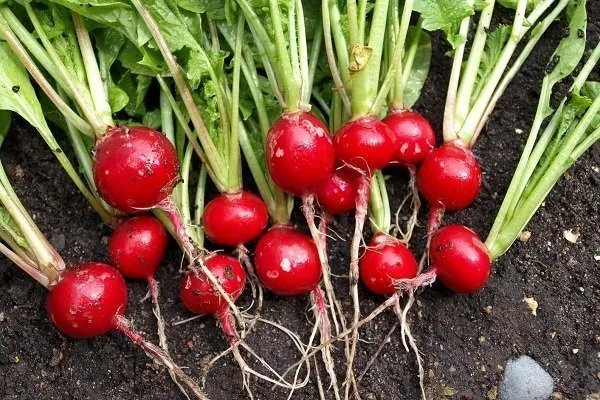
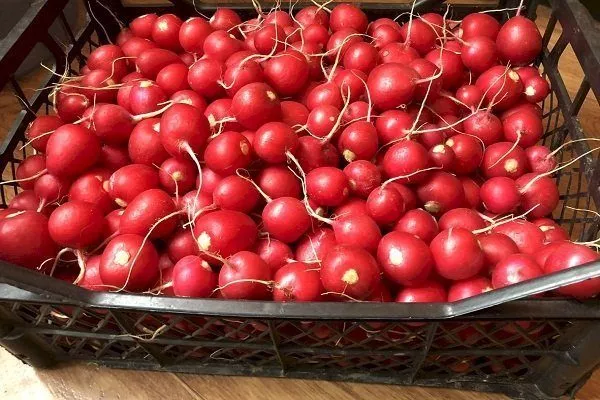
Harvesting
Radishes are harvested as they ripen (each variety has its own timeframe). To determine if they're ready, dig a little around the head to determine their size (this can vary depending on the variety).
Deadlines
The entire harvest must be collected within a maximum of five days, otherwise the fruit will begin to crack and become tough. It's important to harvest the ripe fruit within the timeframe specified by the variety (some fruits ripen in 18 days, while others require a month).
The best way to determine harvest time is to carefully examine the roots. If they're just above the ground, they're ready to harvest.
Collection rules
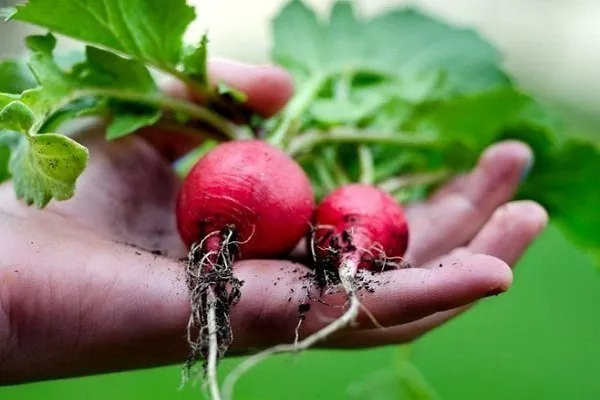
How to properly pull radishes out of the ground:
- loosen the soil slightly;
- pull the tops;
- pull out the root vegetable.
How to store radishes?
The shelf life of radishes depends on the variety – on average, it's a week. If you plant a lot of radishes on the balcony, you're unlikely to eat them within a few days, so you can use some storage tips.
At room temperature in the open air, root vegetables wilt, so a refrigerator or basement is used.
In the cellar:
- Prepare a wooden box – treat it with an antiseptic (manganese solution).
- Remove the tops from the radishes so that 2-3 cm of stalks remain.
- Do not wash the vegetable, just dry it for 3 hours.
- Place moistened river sand (can be replaced with sawdust) at the bottom of the container to a height of up to 3 cm.
- Place a layer of radishes, then add more sand on top, but so that the root vegetables are completely covered.
- Continue this process until the drawer is full. The shelf life is 1-3 months, depending on the type of vegetable.
Radishes can be stored in the refrigerator using both dry and wet methods:
- Prepare the radishes by cutting off the green part. Be sure to leave the roots intact. Take a thick plastic bag, moisten the inside, and poke a few holes. Place the radishes in the bag and tie it shut. Store for 10 days.
- Fill a glass jar with boiled water and rinse the trimmed radishes. Place the vegetables in the container and cover with a lid. They can be stored for 1-2 months, changing the water every 5 days. This storage method is convenient, but it has a significant drawback: it reduces the nutritional value.
- Moisten the bag and place the radishes inside, along with the tops, positioned at the "entrance." Don't tie the bag shut; spray the tops with water periodically. The shelf life is 6-7 days.
By growing radishes on your balcony, you can enjoy this vegetable almost year-round. This is especially true in winter and spring, when vitamin deficiencies can be felt. Choose the right variety, care for your radishes, and surprise your guests with fresh vegetables.