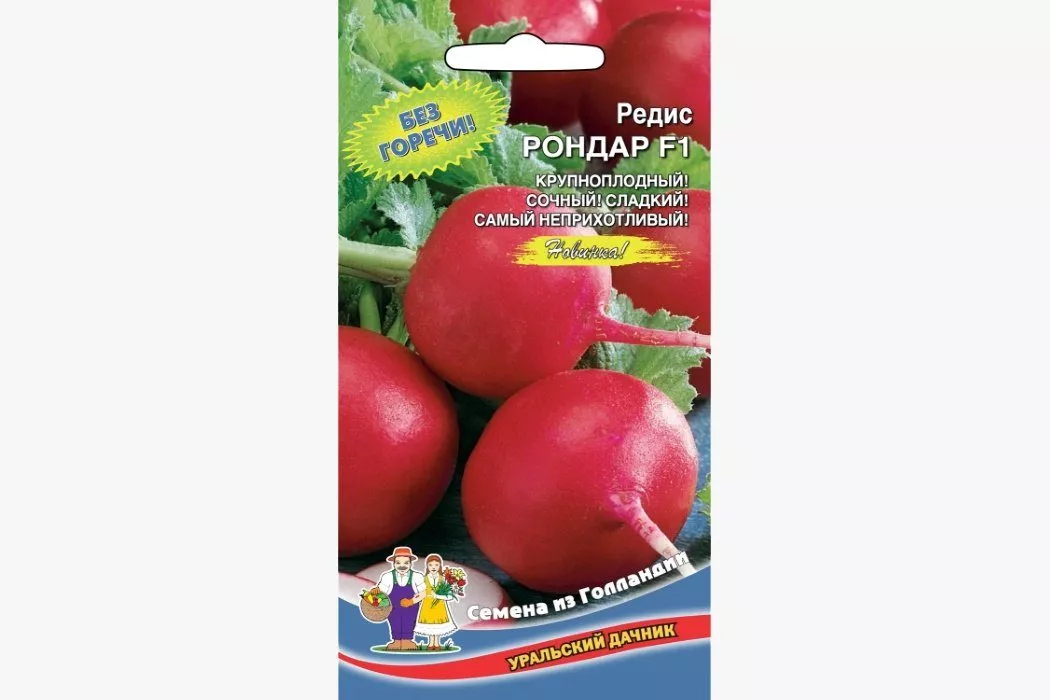
Rondar radish is an ultra-early maturing Dutch hybrid that is deservedly popular with our gardeners. Let's find out what makes this variety so appealing and how to grow it to get plenty of tasty and juicy radishes.
Radish Rondar
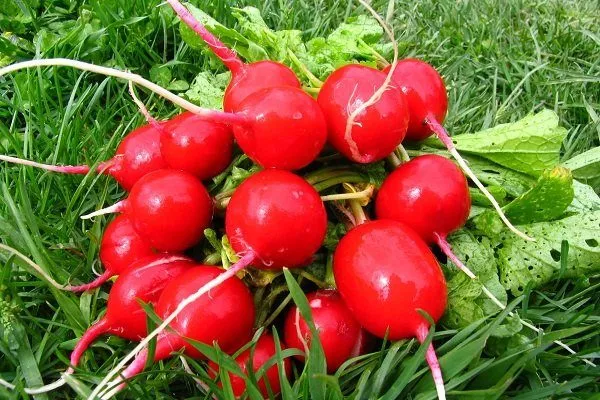
Radish Rondar has a pleasant taste
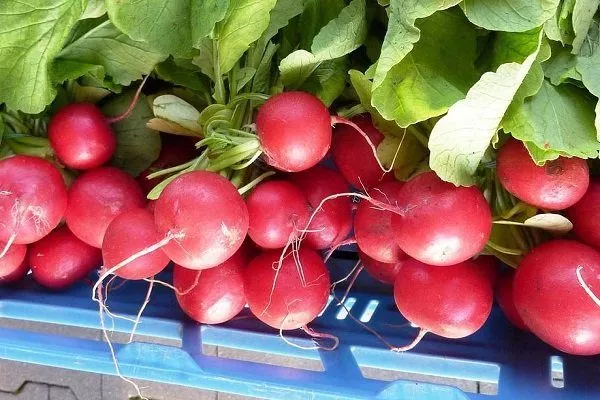
Radish Rondar stays fresh for a long time

Characteristics of the variety
Rondar F1 is a Dutch-bred hybrid. It is owned by Syngenta. Since 2002, the hybrid has been included in the State Register and has been actively cultivated in Russia since then.
Appearance
Rondar has bright red, rounded roots with white stems. A brief description of its appearance:
- Aboveground part. The compact, semi-erect rosette consists of short, semi-oval, green leaves with rounded tips.
- Underground part. The roots are round, shiny, and deep red. Radishes reach up to 3 cm in diameter. The flesh is white and delicate in flavor. A mature radish weighs between 15 and 30 g.
Crop yield indicators
Rondar's roots reach 2-3 cm in size when ripe. Therefore, the hybrid's yield is moderate – from 1 to 3 kg per 1 sq. m.
Avoid allowing radishes to grow too large to gain weight. As they grow larger, they transform from round to ovoid. More importantly, they develop voids inside, losing their flavor.
Ripening time
Rondar is an early-ripening variety. The ripening period, from germination to harvest, is 18-20 days.
The hybrid is planted in early spring. Planting occurs in mid- to late April, when the soil warms up to 5°C. The exact timing depends on the climate in the specific region.
Disease resistance
Thanks to its early maturity, the Rondar hybrid is virtually invulnerable to most diseases and pests. The crop's growing season is 20 days, and during this short period, insects and diseases simply don't have time to attack it.
Where is the best place to grow?
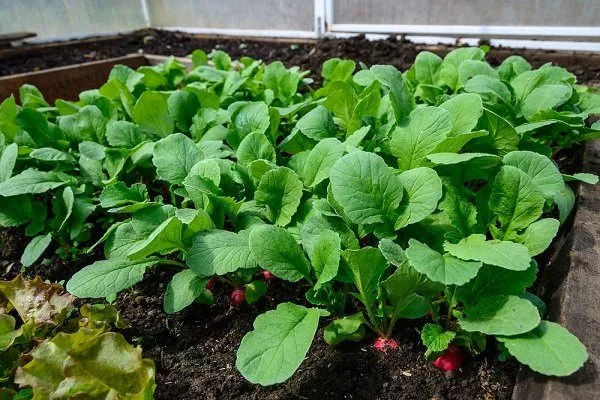
Rondar is one of the new varieties that can ripen as in open ground, as well as in greenhouse conditions.
The yield and flavor of radishes depend largely on soil conditions. To grow plenty of tasty root vegetables, you need good, loose, and fertile soil.
Relation to soils:
- Rondar grows well in sandy loams. Cultivated peatlands are also suitable.
- The optimal soil acidity is neutral or slightly acidic. It can be reduced by adding lime.
- Heavy clay and sandy soils deficient in nutrients are not suitable for radishes. Radishes in such soils grow small and tasteless.
Fresh manure or droppings are not added to the soil prepared for Rondar. Adding fresh organic matter will degrade the appearance and flavor of the radishes.
Advantages and disadvantages of the variety
The Rondar hybrid is popular with gardeners for good reason. This radish has a long list of advantages and very few disadvantages.
Advantages:
- long-lasting freshness;
- friendly ripening;
- one-dimensionality of root crops;
- pleasant taste;
- early maturity;
- high yield;
- plant compactness;
- resistance to flowering;
- the fruits do not crack;
- cold resistance;
- beautiful appearance.
Flaws:
- Delay in harvesting leads to a change in shape - the radish becomes ovoid, and voids form in the root crops;
- grows poorly on heavy and acidic soils;
- increased demands on lighting and watering.
Planting and growing Rondar radish
Radish Rondar grows well in any conditions - in the sun and in light shade, in open ground and in greenhouses.
Site selection and soil preparation
Rondar grows best in open, well-lit areas. Light shade before or after lunch is tolerated.
- ✓ The optimal depth of soil loosening before planting should be at least 25 cm to ensure good aeration of the roots.
- ✓ To prevent water stagnation and improve drainage, it is recommended to add sand to the soil in a ratio of 1:3 to the volume of soil.
Preparing the soil before planting:
- In open ground. Superphosphate and potassium sulfate are scattered over the soil - 20 g per 1 sq. m, and urea - 5 g. The same amount of fertilizer can be dissolved in 10 liters of water and watered per 1 sq. m of soil.
- In the greenhouse. Add 30 g of potassium magnesium sulfate, 15 g of potassium chloride, and 40 g of superphosphate per 1 sq. m.
Acidic soils are leached with lime (1-4 kg per 1 sq. m, depending on the soil type) or horse manure (15 kg per 1 sq. m).
Preparation of seed material
It's recommended to prepare radish seeds before planting. Proper treatment hardens the seeds and accelerates germination, making them stronger and more consistent.
The procedure for preparing seeds:
- The seeds are immersed in water and all those that float to the surface are removed – they are not viable.
- Using a special sieve, seeds are sorted by size. Seeds of the same diameter will germinate at the same time.
- The selected seeds are wrapped in a damp cloth and kept in a warm place for 24 hours.
- Warm the seeds by immersing them in hot water (50°C) for 20 minutes. This treatment disinfects the seeds and prevents the development of many diseases.
- Warmed seeds are enriched with microelements by immersing them in a growth stimulator.
- Before planting, seeds can be soaked in plain, lukewarm water for 8-12 hours.
- After soaking, the seeds are dried by spreading them out on a cloth.
Sowing seeds
Radishes can be planted in a variety of ways—in rows, in pits, or between rows of other crops. The simplest and most efficient method is row planting.
Planting order:
- Immediately before planting, loosen the soil to a depth of 20 cm.
- Make shallow rows—3 cm deep is enough. The rows should be 4-5 cm wide. Leave 8-10 cm between adjacent rows.
- Water the rows with warm water.
- Plant seeds at intervals of 3-4 cm.
- Cover the rows with soil, applying a layer 1.5-2 cm thick. Covering the seeds with a thicker layer of soil will take longer for them to germinate.
- Moisten the soil from above to make it easier for the seeds to break through.
Seedling method
In regions with cool, short summers, radishes, like tomatoes and cabbage, are often grown from seedlings. Seedlings can be grown in the ground or in bundles.
How to grow radish seedlings in soil:
- Fill the plastic cassettes with loose and fertile soil - loams and sandy loams with neutral acidity are suitable.
- Place one seed in each tray. Cover with soil and compact lightly.
- Cover the seedlings with plastic wrap and place them in the light. Once the seedlings emerge, water them regularly. Radish seedlings do not require additional feeding.
The finished seedlings are transplanted into the soil, into the furrows made. Each seedling is removed from the trays along with a lump of soil and planted in rows spaced 3-5 cm apart. The plantings are covered with plastic film for 2-3 days until the seedlings take root.
Care Features
Radishes grow quickly and require daily monitoring. Care is simple, but regular, and depends on the growing method.
In the greenhouse
In the greenhouse Choose the sunniest spot for radishes. Avoid planting Rondar in the shade, as the leaves will stretch, sapping the plant's energy. This will result in small roots.
Features of watering radishes in a greenhouse:
- water the radish as much as necessary, every other day;
- the best time for watering is early morning or late evening;
- it is necessary to moisten the soil to a depth of 10 cm;
- 3-4 days before harvesting, watering is stopped.
Other conditions for growing radishes in a greenhouse:
- The temperature is maintained at +18 °C.
- If radishes are grown in heated greenhouses, supplemental lighting is used in winter. Radishes require 12 hours of daylight for normal growth. The recommended illumination level is 1,500 lux.
In open ground
Radish seedlings emerge 3-14 days after sowing, depending on temperature. Once the seedlings emerge, gardeners begin caring for them.
Features of caring for radishes in open ground:
- Watering. Radishes love moisture, so it's important to maintain moderate soil moisture at all times. It's important to maintain a balance. If you overdo it, excess moisture will cause the radishes to rot. If you don't water enough, the radishes will grow small and bitter.
The greatest need for water is observed during the period when root crops are filling out. - Hilling. Once the radishes have sprouted, it's recommended to hill them up. A flat-top harrow is convenient for this purpose.
- Loosening. While radishes are growing, the soil must be loosened regularly to allow air to reach the roots. After each watering, be sure to loosen the soil between the rows to prevent crusting.
- Weeding. Weeds are removed promptly, as they hinder the growth of root crops and take away nutrients from the radishes.
- Thinning. When the first true leaves emerge, thin out the radishes. This is done in densely planted situations; if planting was done exactly as planned, thinning won't be necessary. Leave 5 cm between adjacent plants.
- Top dressing. The radish growing season is so short that fertilizer applied to the soil before planting is sufficient for root growth. If, for some reason, fertilizer was not applied, fertilizing is done a week after emergence. A single application of ammonium nitrate (15-20 g per bucket of water) is sufficient. During root formation, radishes can be fed with an ash solution (100 g per 10 liters of water) steeped for a day.
Many gardeners are categorically against fertilizing radishes, as nitrates accumulate in the root crop.
Harvesting and storage
Radishes are harvested gradually, as the roots grow. The entire crop is harvested in 2-3 stages, spaced one week apart. Readiness for harvesting is determined visually by the size of the roots protruding from the soil.
Features of harvesting and storing radishes:
- Water the beds two hours before harvesting. This simplifies the uprooting of the vegetables and speeds up the harvesting process.
- The pulled out root vegetables are cleared of tops and the ends are shortened - this prevents wilting.
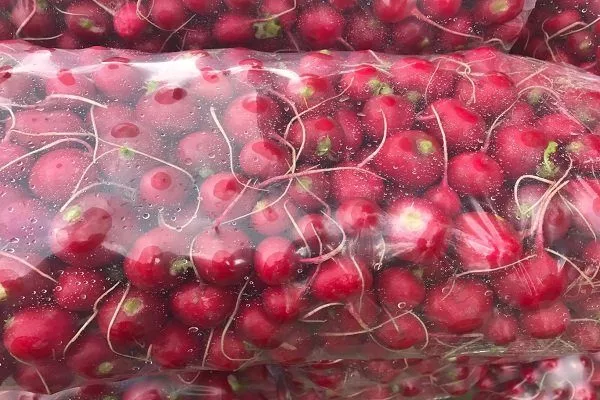
- Radishes are placed in plastic bags and stored in a cellar or refrigerator.
- Radishes are stored in bags for no more than a week. After that, lateral roots appear at the tips, and the root becomes tough, fibrous, and tasteless.
- Radishes are stored in vacuum-sealed containers with the ends completely trimmed. Before storing, the roots are washed thoroughly. Radishes can be stored this way for up to two weeks.
Potential problems when growing
Radish cultivation techniques are simple and accessible, but novice gardeners often encounter difficulties when growing it.
Common mistakes when growing radishes:
| Problems | Causes of the problem | Solution |
| The roots are bitter in taste and have a fibrous structure. | Water shortage. | The recommended watering rate per square meter is 10 liters (0.7 gal) with daily watering. If watering every other day, the recommended watering rate is 15 liters (0.7 gal). |
| The tops are growing, but the roots are not forming. | Crowding, deep seeding, late sowing, shading. | Maintaining the proper planting pattern and depth. Selecting a well-lit area. Trimming the tops. |
| Voids in root crops | Overdosing on organic fertilizers. Nitrogen causes excessive growth of tops, which negatively impacts root crops. | Add wood ash – 100 g per 1 sq. m. Or add a solution of potassium sulfate (20 g per 1 liter of water). |
| Formation of arrows | Daily weeding and thinning. | Compliance with agricultural practices for radishes – frequency of weeding, etc. |
Diseases and pests
Rondar, like most hybrids, has high immunity to diseases and pests. However, it is not immune to problems; the most serious threat is the cruciferous flea beetle.
- Immediately isolate affected plants from healthy ones.
- Treat the plants with an ash solution (200 g per 10 l of water) or tobacco dust.
- Deep till the area in the fall to kill pest larvae.
Pests of Rondar radish and measures to control them:
| Pests | How do they cause harm? | How to fight? |
| Cruciferous flea beetle | These small, dark beetles eat the tops of plants, slowing plant growth. They appear in warm, windless weather. |
To prevent this, sprinkle the foliage with wood ash or tobacco dust. Covering the plantings with plastic film can help prevent insect attacks. |
| White butterflies | It is not the white butterflies themselves that cause harm, but their caterpillars. | Spray with a solution of ash (200 g per 10 l of water), a decoction of tomato tops (1/2 bucket of tops is poured with boiling water and left for half an hour). |
| Cabbage fly | Fly larvae eat root vegetables, boring passages into them. | Remove plant debris and deep-till in the fall. Crop rotation is important—don't plant radishes after cabbage. |
It is not recommended to use insecticides when growing radishes, as the poisons actively accumulate in the roots.
Diseases that can affect Rondar radish:
| Diseases | Symptoms | How to fight? |
| Powdery mildew | White coating on leaves, deformation and drilling of leaf blades. | Treatment with fungicides “Ridomil Gold”, “Ditan”. |
| Bacteriosis
| Leaf veins turn black. Leaves dry out and crumble. | Disinfection of planting material in hot water. |
| Gray mold | Brown spots appear on the root crops, causing them to rot. | Culling diseased plants. Preventative spraying with fungicides. Collection of plant debris. |
A video review of the Rondar radish variety can be seen in the following video:
Reviews from gardeners
To ensure high-yielding Rondar radishes produce high-quality roots, it's essential not only to purchase branded seeds from the original manufacturer but also to follow the recommended growing practices. This Dutch hybrid, while requiring little effort and investment, has shown good results in various regions of Russia.