The "Finger-Lickin'" tomato is a popular variety thanks to its unique color, interesting shape, and large size. Its fleshy texture and minimal seed count make it ideal for fresh eating and canning. Many gardeners grow this variety for abundant harvests.
Description of the plant and fruits, taste and purpose
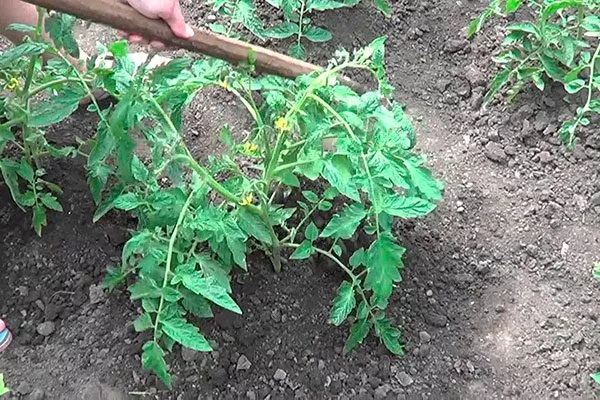
The bushes grow up to 140 cm in height. A distinctive feature of this variety is its flexible stem, which can support the weight of heavy tomatoes without damage.

Distinguishing characteristics:
- The plant's leaves are long and rich dark green.
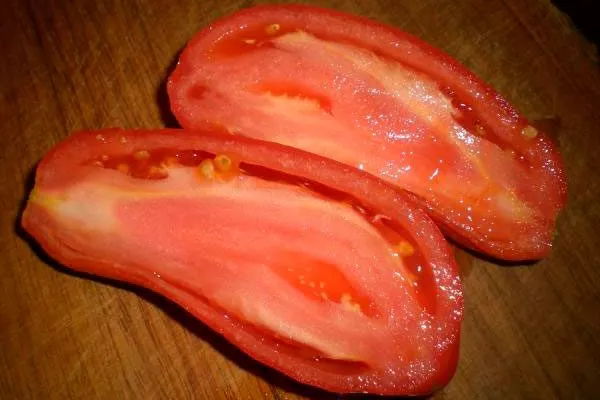
- The inflorescences are simple, and the number of nests in the fruits varies from 4 to 6.
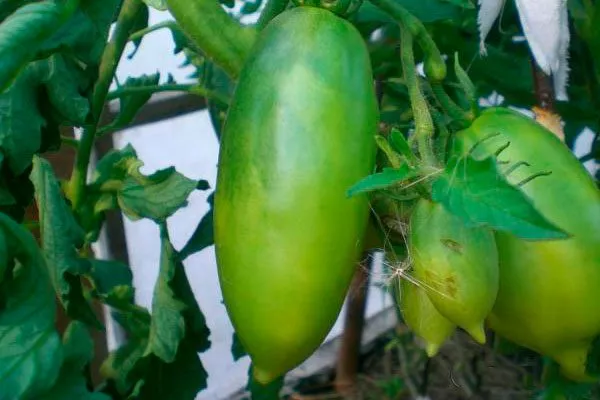
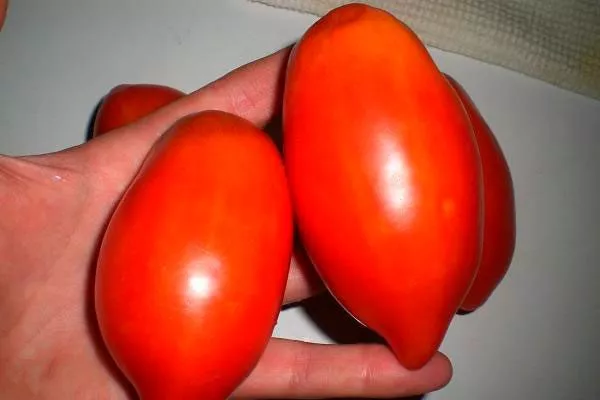
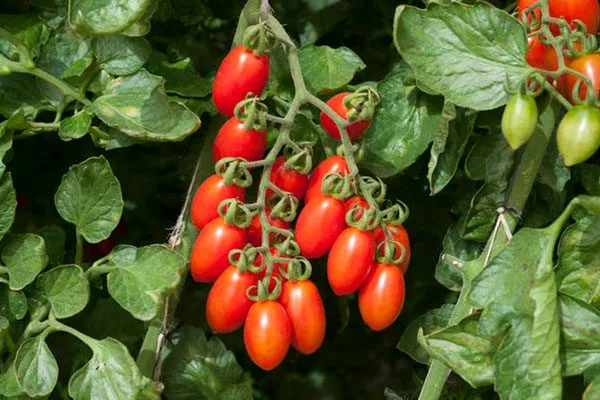
- Tomatoes have an elongated elliptical shape. When unripe, they are green with a dark spot at the base, and when ripe, they turn orange or light pink.
- The weight of one vegetable ranges from 103-110 g to 150-240 g depending on growing conditions.
- The pulp has a tender, meaty texture, high density and a small number of seeds.
- The taste is distinct, rich, sweetish, with a bright tomato hue.
The Finger-licking tomato is versatile in use: it is ideal for eating fresh, pickling, and preserving in slices and whole.
Characteristics
To achieve maximum yield, the Palchiki Oblizhesh variety is grown in open ground or under film shelters.
The variety has many positive qualities:
- The ripening period is 103-110 days, which allows the variety to be classified as early ripening.
- The yield averages 5-6 kg per bush, which corresponds to 15-18 kg per 1 square meter when agricultural practices are followed and grown in optimal conditions.
The crop is resistant to major fungal, bacterial, and viral diseases. For additional plant protection, preventative treatments with specialized products are necessary.
The process of planting seeds
To successfully grow tomatoes, it is important to properly prepare and plant the seeds to obtain high-quality seedlings.
Follow the recommendations:
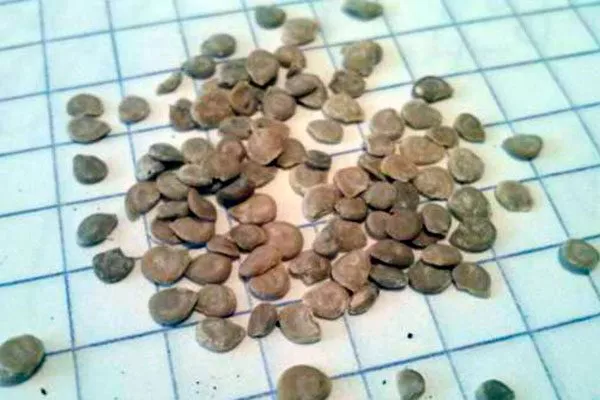
- Calibrate the seeds, selecting large and healthy ones, then soak them for 15-20 minutes in a weak solution of potassium permanganate to disinfect. Rinse them with water and soak them in a growth stimulator for 12 hours.
- Prepare the soil by mixing equal parts garden soil, peat, and humus, adding a little wood ash and superphosphate. To disinfect, treat the soil with boiling water or bake it in the oven.
- Fill the containers with the prepared soil mixture. Make furrows 1-1.5 cm deep. Scatter the seeds 3-4 cm between rows and 2 cm apart. Cover with a thin layer of soil and compact lightly.
- Moisten the soil with warm water from a spray bottle and cover the containers with plastic wrap or glass. Place them in a warm location with a temperature of 22…25°C.
By following these steps, you will be able to grow healthy and strong seedlings.
Caring for seedlings
To ensure the full development of seedlings, it's important to follow several key rules. Follow these recommendations:
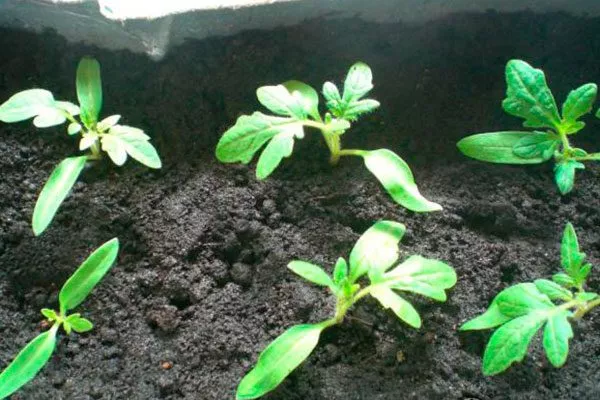
- Immediately after the first sprouts appear, move the containers to a well-lit location. If natural light is insufficient, use grow lights to provide 12-14 hours of daylight.
- During the first days, maintain the temperature at +18…+20°C during the day and +16…+18°C at night to prevent the seedlings from stretching.
- Water the plants with warm, settled water when the top layer of soil dries out. Avoid overwatering to prevent the development of fungal diseases.
- Provide a regular supply of fresh air, avoiding drafts. This strengthens the crop and reduces the risk of disease.
- 10-14 days after germination, apply the first fertilizer using a weak solution of a complex fertilizer, such as nitrophoska. Repeat every 2 weeks.
- Once the seedlings have developed 1-2 true leaves, transplant them into separate containers. This will ensure the development of a strong root system.
Transplanting seedlings into the ground
Transplanting seedlings to a site requires following certain rules to ensure they quickly adapt and begin growing vigorously. Here are a few guidelines to follow:
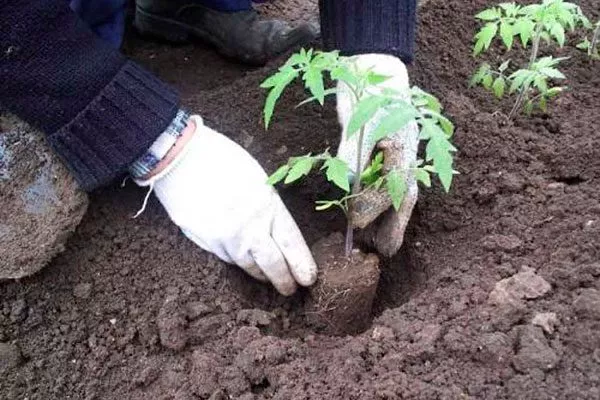
- Transplant the seedlings when the danger of frost has passed and the soil has warmed to 12–15°C. The plants should be 50–60 days old, have 6–8 true leaves, and have strong stems.
- In the fall, dig up the area and add organic fertilizer (humus or compost). In the spring, add a complex mineral fertilizer and loosen the soil.
- Dig holes 15-20 cm deep, spaced 30-40 cm between bushes and 50-60 cm between rows. Add a handful of wood ash to each hole and mix it thoroughly with the soil.
- A few hours before transplanting, thoroughly moisten the plants to facilitate removal from the container and preserve the root system. Place the seedlings in the holes, deepening them to the first true leaves. Cover with soil, compact lightly, and water with warm water.
- Place stakes or trellises next to each bush to further support the stems to prevent them from lodging.
Cover the surrounding soil with a layer of organic mulch (straw, peat or humus) to retain moisture and prevent weed growth.
Growing
This tomato variety isn't particularly demanding and grows well under standard conditions. However, to achieve a bountiful harvest, it's important to follow simple cultivation practices.
Tying up bushes and watering
Use a vertical or horizontal trellis, low fences, or metal or wooden stakes. For horizontal staking, follow these steps:
- Install support elements onto which you will stretch wire or cord.
- Tie the plants to a taut wire, securing both the trunk and the brushes.
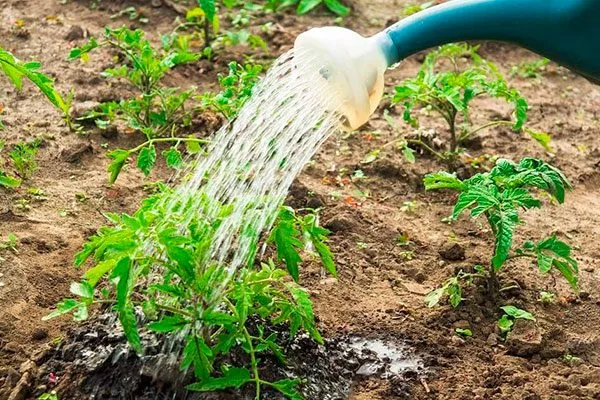
In spring, the soil usually retains sufficient moisture, so water the plant every 7-8 days. If more frequent watering is required, use a hose with a flow rate of 40-45 liters of water per square meter (for 7-8 plants). Avoid watering in rainy or cloudy weather.
Top dressing
Fertilize the seedlings for the first time three weeks after transplanting them into open ground. Fertilize them a second time a month later, when active flowering and fruit formation begin.
Experienced vegetable growers recommend using ready-made fertilizer mixtures containing nitrogen (5 g), potassium (10 g), and phosphorus (10 g). Work the dry matter between the rows.
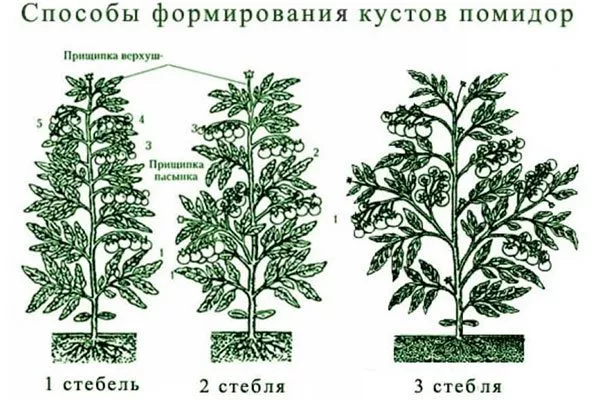
Bush formation and pinching
The first tomato cluster appears above the ninth leaf, and each cluster produces up to seven fruits. The stalk is strong, so leave all the ovaries on it. Thinning the fruits is not necessary.
Follow these steps:
- Remove the lower leaves gradually up to the first brush, and no more than 4 pieces can be removed at a time.
- When tomatoes reach blanched ripeness, trim off the lower leaves, as they take away nutrients needed for the development of the vegetables.
Leave the top leaves, as plants receive minerals not only from the soil, but also from the green mass.
Loosening, weeding
Soil care is an important step in crop cultivation. Several measures can improve plant health and increase yields:
- Loosening. Helps maintain soil structure, improves air and moisture access to the roots, and prevents surface crusting. Loosen the soil regularly, especially after rain or watering, to ensure optimal conditions for root growth.
- Weeding. Weed removal is necessary to remove weeds that compete with tomatoes for light, water, and nutrients. Weeds can also be a source of disease. Weed by hand or with a cultivator, being careful not to damage the tomato roots.
Start the procedure after rain or watering, when the soil is soft and easy to work.
Caring for the Finger-Lickin' Good variety ensures the plant's immunity is strengthened and the ability to produce high-quality vegetables.
Diseases and pests
The Finger-licking tomato is resistant to most diseases and insects, but problems may arise under poor agricultural practices or unfavorable weather conditions. The main challenges that can affect this variety are:
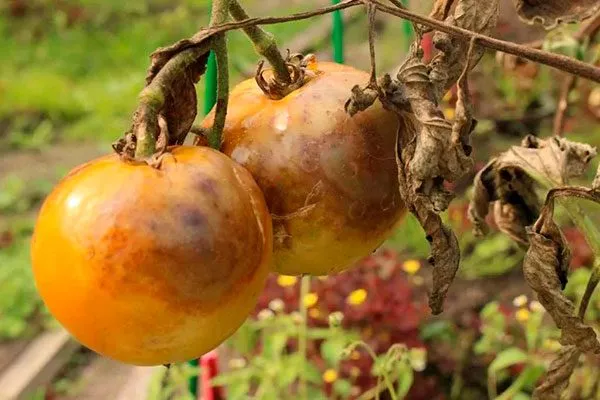
- Late blight. A fungal disease that causes spots on leaves and stems, as well as fruit rot. To prevent this, use fungicides and regularly remove diseased leaves and fruit.
- Powdery mildew. Whitish spots on the upper side of leaves, causing them to turn yellow and fall off. For treatment and prevention, use antifungal agents such as Topaz or Skor.
- Stem rot. This occurs due to high humidity and can lead to stem death. To prevent this, ensure proper watering, avoid overwatering, and maintain adequate ventilation in the greenhouse.
- Aphid. These are small insects that suck the sap from leaves and stems, weakening plants. Garlic or tobacco infusions, or chemicals, can help combat this pest.
- Colorado beetle. It damages leaves, causing them to become holey and yellow. To eliminate pests, treat the bushes with insecticides or collect them by hand and destroy them.
- Spider mite. These are small arachnids that spin webs on all parts of the plant and suck the sap from the leaves, causing them to turn yellow and dry out. Control involves using acaricides and creating favorable conditions for plant growth (reducing temperature and humidity).
To prevent diseases and pest infestations, follow proper care procedures, regularly inspect your plants, and take preventative measures promptly.
Pros and cons
Before you begin growing a crop, carefully study its advantages and disadvantages. This will help you avoid any difficulties in the future.
Advantages of the cultivar:
The variety has few disadvantages: it requires structuring and gartering, and requires the removal of lateral shoots to achieve optimal results.
Reviews
Finger-licking good – a reliable variety that requires little care and has a strong immune system. Its consistent yield and excellent flavor make it one of the best options for both small plots and large-scale cultivation. The key is to provide comprehensive care and follow the recommendations of experienced growers.