The Lampochka tomato is an original variety bred in Russia. It got its name for a reason: its fruits are shaped like traditional "Ilyich light bulbs." The unusual fruit isn't the only advantage of this "lamp-shaped" tomato; it boasts excellent flavor, high yields, and low maintenance.
Description of the Lampochka variety
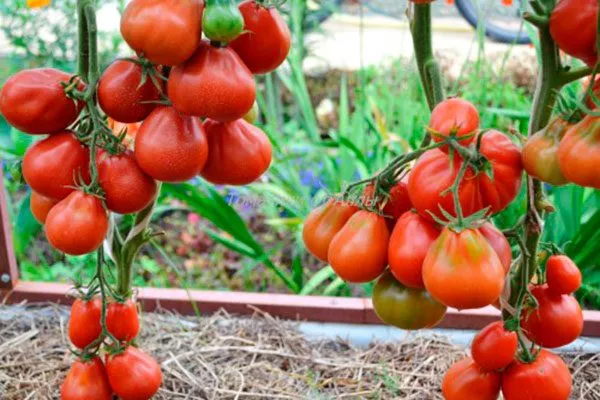
The "Lampochka" tomato plant is semi-determinate (limited in growth). Plants reach 65-90 cm in height. The fruits are small, tapering at the base.
Brief description of fruits:
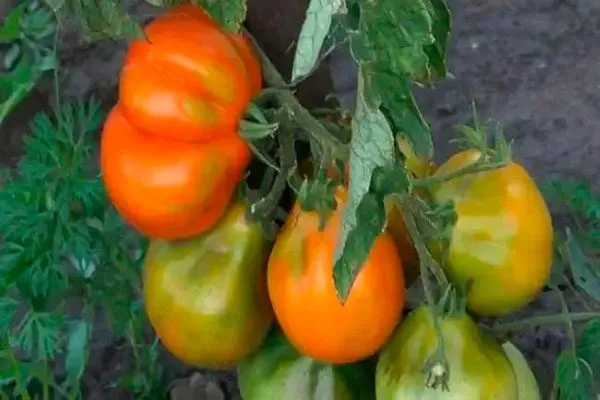
- Color of unripe fruit: light green
- Colour of ripe fruit: red.
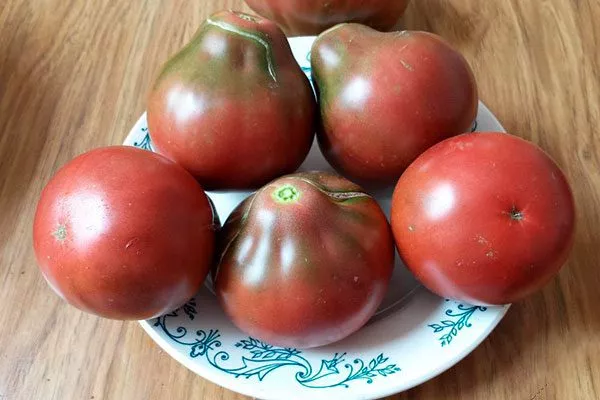
- Shape: pear-shaped, slightly ribbed.
- Weight: 90-110 g.
The history of the creation of the Lampochka variety
The agrofirm "Semena Altaya" is currently considered the originator of the Lampochka tomato. In 2020, this variety was added to the State Register of the Russian Federation for cultivation in both open and closed ground.
The "Lampochka" tomato was previously considered a hobby variety, and the name "Lampochka" is a popular one. It was described as a variety, for example, in the Baikal-Info newspaper in 2004. It was later given the names "Marmalade" and "Marmalade Lampochka."
Taste and purpose of fruits
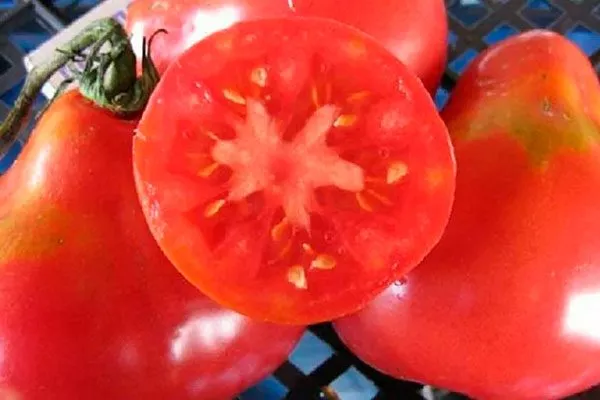
The "light bulb" fruits have very fleshy and moderately juicy pulp. It tastes sweet with a moderate tartness, and the sugar content reaches 5.6%. The fruits contain few seeds. They are ideal for fresh eating and canning.
Main characteristics
The Lampochka tomato is a mid-early variety. The first fruits ripen 110-115 days after planting. This variety has a good yield—up to 8 kg per square meter. A single bush can yield 4 to 6 kg of tomatoes. It has typical resistance to cold, drought, and other weather conditions.
Pros and cons
The variety with light bulb-shaped fruits, along with its advantages, also has some disadvantages that you need to be aware of before planting.
Landing
The Lampochka tomato, like the crop in general, is recommended to be grown using seedlings. The finished seedlings are then planted in open ground, a greenhouse, or under plastic cover. It's important to plant the seedlings on time, properly prepare the site, and plant according to the prescribed technique.
Seed preparation
To obtain healthy seedlings and high germination rates, seeds are carefully calibrated, sorted, and prepared for planting.
How to prepare seed material for sowing:
- You can calibrate the seeds by size using a sieve with cells of the appropriate size.
- A 1% saline solution will help to discard non-viable seeds; poor-quality specimens will float to the top.
- For disinfection, use a 1% solution of potassium permanganate or a 3% solution of hydrogen peroxide - the seeds are kept in them for 20 and 10 minutes, respectively.
- To speed up germination, soak the seeds in diluted wood ash (1 tablespoon per 250 ml of warm water) for half a day. Various growth stimulants, such as Epin or Zircon, can also be used.
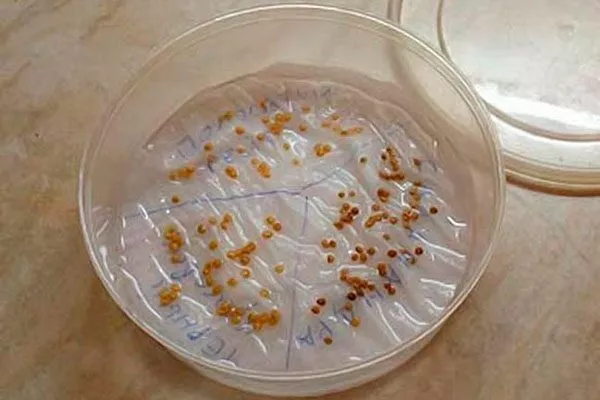
- To speed up germination, wrap the seeds in damp paper towels or cotton pads before sowing. Water temperature: 20…25°C.
Selecting a site for planting
Tomatoes are heat-loving and thrive in sunny areas protected from drafts and north-facing winds. The "Lampochka" variety is no exception; it requires a level, shade-free site. Tomatoes can also be grown at elevated sites, but low-lying areas are not suitable for them.
Legumes, greens, cabbage, onions, and cucumbers are considered good predecessors for tomatoes. Potatoes, tomatillos, peppers, and eggplants are considered undesirable. Tomatoes should not be grown in one location; they should be rotated each season.
If you constantly plant tomatoes in the same area, your yield drops by about a third or more. Dangerous phytotoxins accumulate in the soil where nightshades are constantly growing, causing it to lose its physical and nutritional properties.
Soil preparation
Tomatoes grow best in light, moisture- and air-permeable soils with a neutral or slightly alkaline pH. Soil preparation for tomatoes begins about a year before planting, adding the necessary fertilizers and other components to improve its quality. However, gardeners typically begin soil preparation in the fall—several months before planting.
Features of soil preparation:
- After harvesting, the soil is dug to a depth of 20–25 cm. In heavy soils, in addition to organic matter, sand is added during digging at a rate of 10 liters per square meter. Suitable organic fertilizers include rotted manure, compost, or humus. The dug soil is left undisturbed until spring.
- As soon as the snow melts and the weather warms up, the soil is dug over again, adding wood ash at a rate of 250-300 ml per square meter. It enriches the soil with potassium and various microelements and reduces acidity. If the soil is acidic, ash is an ideal soil component for growing tomatoes.
- Before planting, disinfect the soil. A solution of potassium permanganate can be used, for example. Various biological preparations are also suitable, as are solutions of HOM, Fitosporin, and similar substances.
Growing seedlings
Seedlings are grown for 60-65 days. They are sown according to the planting dates: in the south – in the last ten days of February, in the northern European part of the country – not earlier than early April.
Features of growing seedlings:
- Containers must be disinfected by scalding with boiling water or rinsing with a solution of potassium permanganate (hydrogen peroxide can also be used). If containers or glasses lack drainage holes, make them with a sharp awl.
- For growing seedlings, you can use peat pots or pellets, which are placed in the holes along with the seedlings. This option allows for stress-free transplanting; the only drawback is the high cost of peat pots.
- Empty containers are filled with a growing medium—either store-bought or homemade. The former contains all the nutrients the seedlings need, while the latter is less expensive. You can prepare a potting mix from equal parts garden soil, peat moss, and compost.
- The containers are filled with potting soil and moistened with warm water. Furrows are made in the containers, and the seeds are placed in them, keeping intervals of 2 cm, with 3-4 cm between rows. Three seeds are placed per cup to ensure 100% germination. The seeds are covered with plastic wrap and placed in a shaded area with a temperature of 25 to 27 °C.
- Seedlings emerge within 3-5 days. Once this occurs, the film is removed and the temperature is adjusted abruptly. Daytime temperatures are maintained at 12 to 15°C, and nighttime temperatures are maintained at 9 to 12°C. After 5 days, the seedlings are returned to a room with a temperature of 23 to 25°C. This approach prevents the seedlings from becoming elongated.
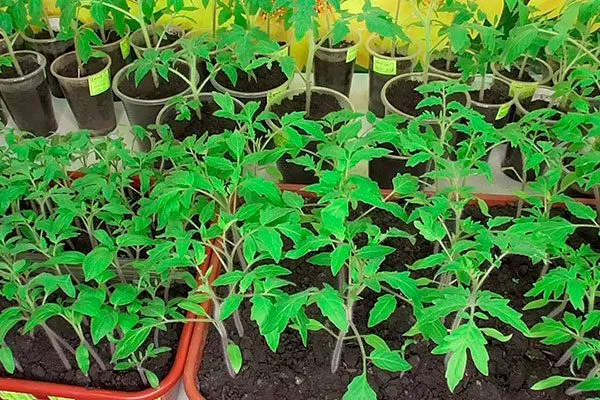
Caring for seedlings
For two months, the gardener must carefully care for the seedlings, otherwise the work will go to waste - under unfavorable growing conditions, the seedlings can become sick, weaken, stretch out, and even die.
What to look for when caring for tomato seedlings:
- Before transplanting, water the seedlings infrequently, about once a week. During this period, it's convenient to use a spray bottle, but aim it so that the water hits the soil and not the leaves. Generally, tomato seedlings respond well to misting, but this should be done with caution; overwatering increases the risk of fungal diseases.
- Pricking out is done after the seedlings develop one or two true leaves. From containers, seedlings are transplanted into individual containers, and from cups, into larger containers. When pricking out, pinch off the ends of the roots to encourage lateral branching.
- If light levels are insufficient, seedlings are provided with supplemental lighting, including phytolamps. Daylight hours should be at least 11-12 hours.
- After transplanting, watering becomes more frequent. The soil should not dry out, but overwatering is also unacceptable—it's necessary to closely monitor the condition of the substrate.
- Before planting, seedlings are fertilized twice: two weeks after transplanting, and again two weeks later. Special complex seedling fertilizers are used for this purpose.
- About a week before planting the seedlings outdoors, harden them off. They are placed outside for about 20 minutes at first, then gradually increase the time spent outdoors to several hours.
Planting seedlings in the ground
The seedlings are planted in the phase of 6-7 true leaves; in addition, the seedlings should have formed at least one flower cluster.
Features of planting seedlings in the ground:
- In the south, planting takes place in early May, in temperate climates - in mid-May, in regions with a short summer - in late May - early June.
- Seedlings are planted when the soil temperature at a depth of 20 cm reaches +14°C. The air temperature should reach +20°C.
- For planting, dig holes approximately 15 cm deep and 20 cm wide. The optimal planting pattern is 40 x 40 cm.
- Place a handful of humus and wood ash at the bottom of the holes. You can also add bone meal, onion skins, or garlic peelings. Water the holes before planting and let them sit for 30-60 minutes to allow the soil to settle.
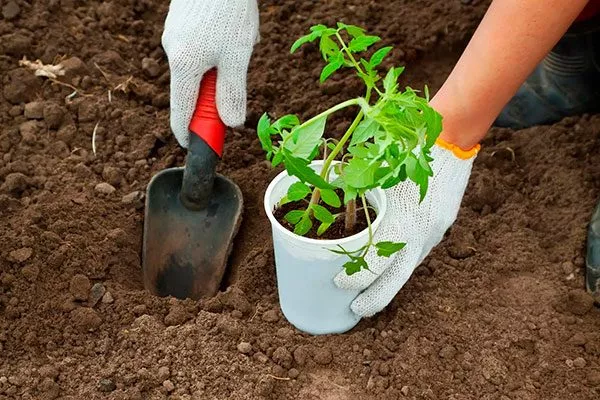
- Place the seedling in the hole along with the root ball. Cover the roots with soil, compacting it without pressing down on them. The stem is buried 3-4 cm deep. Water the tomatoes again, then take a break for a few days to allow the seedlings to focus all their energy on rooting.
Care
The Lampochka tomato is not the most demanding variety; standard care is sufficient for its growth, development, and fruiting. To ensure a good harvest, tomato plants need to be watered, loosened, and fertilized regularly, along with other necessary agricultural practices.
- ✓ Optimum soil temperature for planting seedlings: +14 °C at a depth of 20 cm.
- ✓ Interval between waterings in hot weather: every 2 days.
Watering
In normal weather, water the bushes every 3-4 days; in hot weather, water more frequently. It's important that the top layer of soil doesn't dry out too much, but it also doesn't become overly waterlogged.
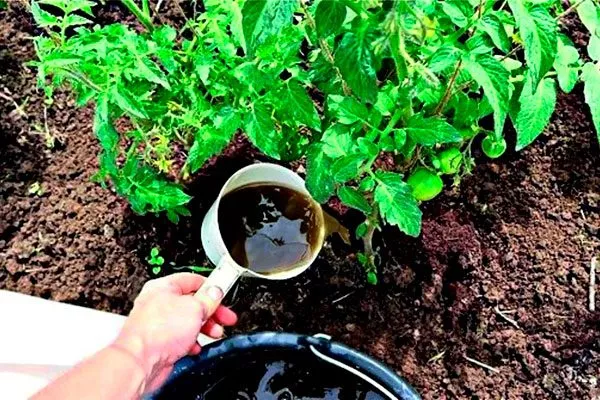
Fertilization
Fertilize tomatoes every two weeks. Fertilizers include diluted mullein (500 ml per 10 liters of water), chicken manure, nitrophoska, superphosphate, and potassium humate. Mineral fertilizers such as Agricola, Kemira, and others can also be used.
- 2 weeks after planting: apply a complex fertilizer with a high phosphorus content.
- During flowering: use fertilizer with a high potassium content.
- During fruiting: apply potassium fertilizers to improve the taste of the fruit.
Approximate feeding regime:
- The first feeding is done 2-3 weeks after transplanting tomatoes into the soil. Fertilizers containing nitrogen and phosphorus, such as urea or superphosphate, are added.
- The second feeding is carried out during the flowering and fruit formation phases. Chicken manure, superphosphate, and potassium sulfate are used.
- The third fertilizer is aimed at accelerating tomato ripening and improving their flavor. For example, you can add monopotassium phosphate.
Loosening and weeding
After watering, it's recommended to loosen the soil in tomato beds to ensure the roots receive sufficient oxygen. Loosen the soil to a depth of 5-7 cm.
At the same time, emerging weeds are pulled out. To reduce the amount of loosening, weeding, and watering, the soil is mulched with peat, straw, hay, etc.
Garter and shaping
Lampochka tomato bushes require support as they are semi-determinate. Their stems are also pinched in mid-August. In open ground, they are trained to 1-2 stems; in a greenhouse, to 3-4.
Diseases and pests
The Lampochka tomato has good immunity, but under unfavorable growing conditions and exposure to negative factors, it can be affected by late blight, brown spot, blossom-end rot, and other common tomato diseases. To prevent these diseases, spray them with Hom, Oxyhom, and various biological preparations.

Among the pests that pose a danger to the Lampochka tomato are aphids, spider mites, thrips, and whiteflies. Ammonia, ash solution, and biological preparations such as Fitoverm, Biokill, and others are used against them.
Harvesting and storage
The fruits are harvested between August and October. Tomatoes for consumption are harvested when they have reached biological maturity. If the fruits are intended for storage or transportation, they are harvested at the technical maturity stage.
To ensure that the harvested crop does not lose its commercial and taste qualities, it is placed in a single layer in boxes and transferred to a room where the temperature is maintained at +10…+15 °C.
Reviews
The "Lampochka" tomato is an acquired taste, with its very unusual fruits and less-than-ideal disease resistance. This tomato will surely be appreciated by lovers of unusual varieties and experienced gardeners who are thoroughly familiar with the cultivation techniques of this nightshade crop.