The Elena tomato is a variety with excellent tolerance to adverse conditions and excellent flavor. It is ideal for growing both outdoors and under plastic covers. Early ripening and good productivity make it an attractive choice for both novice and experienced vegetable growers.
History of creation
The hybrid was developed by Russian breeders in 1999. In 2000, it was officially added to the State Register of the Russian Federation. Since its introduction, it has enjoyed consistent demand among both farmers and amateur gardeners.
Description of the plant and characteristics of the fruits
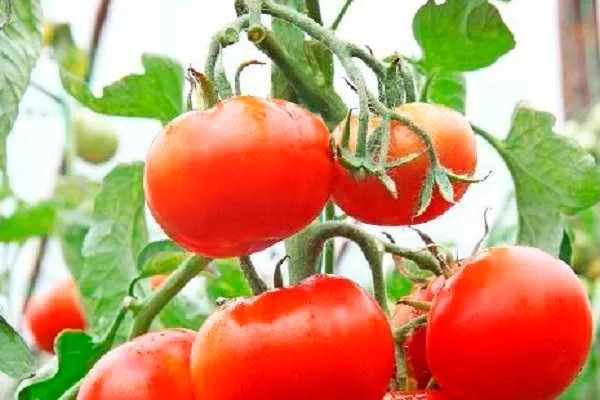
Characterized by compact, low-growing bushes 50-60 cm tall. They have dense, well-developed branches and large, glossy leaves, colored dark green.
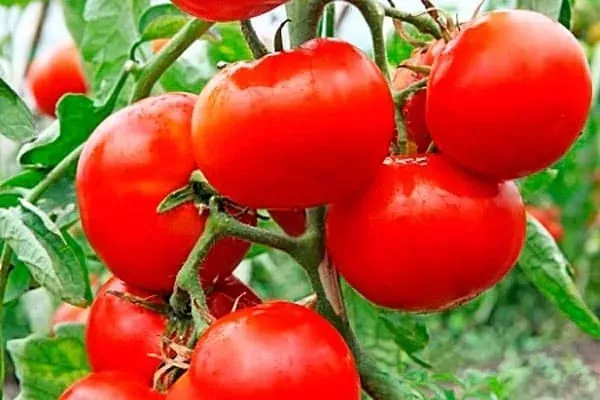
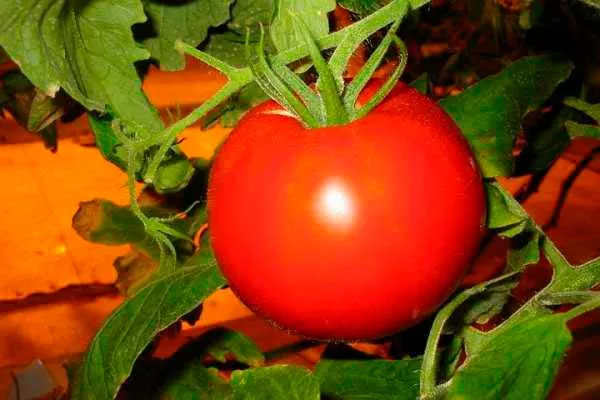
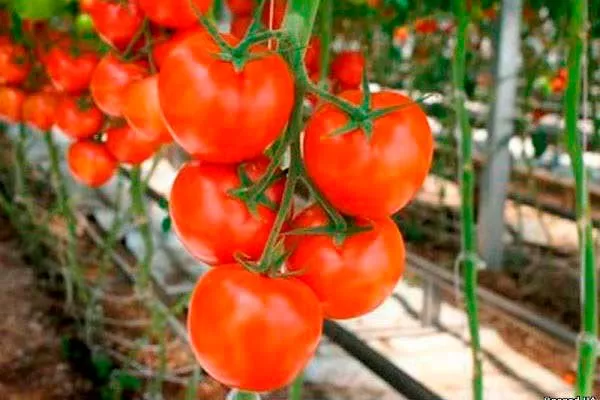
The tomatoes are small, weighing between 90 and 100 grams. The fruits are classic round in shape and bright red when fully ripe. The flesh is firm and meaty. The skin is thick and resistant to cracking.
Key characteristics of the variety
The Elena tomato is characterized by high yields and excellent flavor. This variety is easy to care for and boasts many positive qualities. It's important to carefully study its characteristics before planting.
Taste and purpose
Tomatoes have a rich, sweet flavor with a hint of tartness that adds a piquant note. Their rich flavor profile makes them ideal for eating fresh, in salads, hot dishes, juice, sauces, ketchup, and pasta.
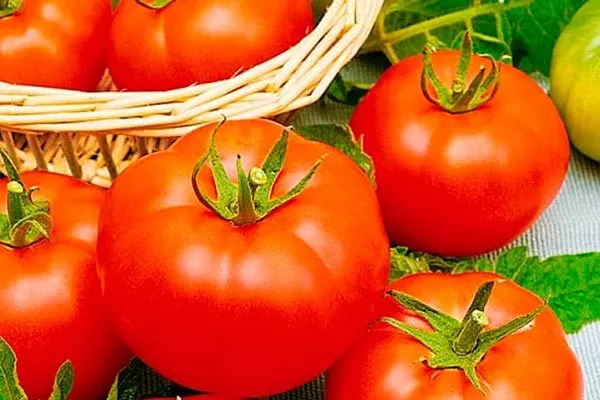
Tomatoes are used for pickling and canning. Their thick skin makes them suitable for long-distance transportation.
Ripening, fruiting and productivity
Elena is an early-ripening variety—the first fruits begin to be harvested just a few months after sowing the seeds. The tomatoes ripen in late June, continuing to provide generous harvests until mid-September, depending on the region's climate.
With proper care and adherence to agricultural practices, vegetable growers can produce up to 4 kg of fruit per square meter.
Weather resistance and regions
One of the key advantages of the Elena tomato is its ability to produce a stable harvest even in drought or heavy rainfall. The crop is successfully grown in most regions of Russia:
- Southern regions. Kuban, Rostov region, Krasnodar region – cultivation in open ground.
- Central regions. Moscow, Tula, Ryazan regions – film shelters are recommended.
- Northwestern regions. Leningrad region – preferably in greenhouses.
- Siberia and the Urals. Growing in greenhouses or under cover due to sudden temperature changes.
The variety's adaptability allows for a stable harvest even in areas with challenging climatic conditions.
Specifics of cultivating the variety
To obtain a bountiful and high-quality harvest, it's important to properly prepare the seeds, care for the seedlings, and transplant them to their permanent location. Most importantly, follow the basic steps for cultivating the hybrid.
How to prepare seeds?
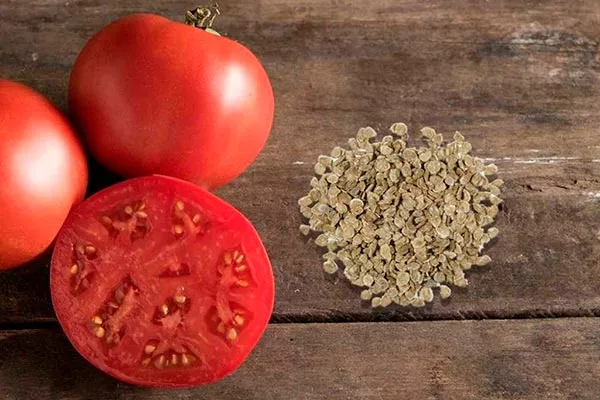
Before sowing, prepare the seed. First, select large, plump seeds, removing any damaged ones.
Next, follow a few steps:
- Soak the seeds for 20-30 minutes in a weak solution of potassium permanganate or hydrogen peroxide.
- Rinse with clean water.
To speed up germination, soak the seeds in water or a growth stimulant solution, such as Epin or Zircon, for 6-12 hours.
Sowing seeds
Sow seeds 50-60 days before you plan to plant seedlings. Follow these instructions:
- Prepare containers with fertile soil mixture (humus, garden soil, sand in a ratio of 2:1:1).
- Moisten the soil and make furrows 1-1.5 cm deep at a distance of 3-4 cm from each other.
- Place the seeds at 2 cm intervals and cover with a thin layer of soil.
- ✓ Optimum soil temperature for sowing seeds: +23…+25°C.
- ✓ Required seeding depth: 1-1.5 cm.
The final step is to cover the container with plastic wrap or glass. Place it in a warm place (23…25°C).
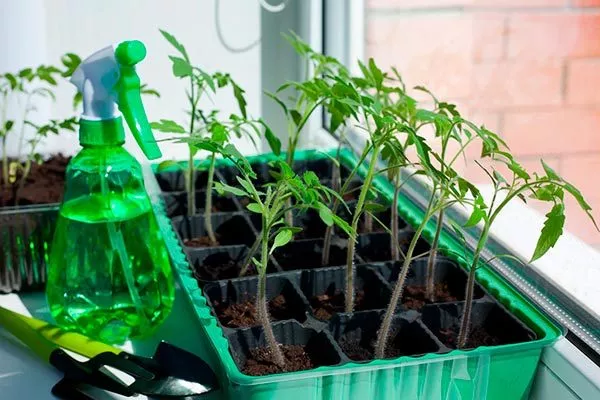
Caring for seedlings
After the seedlings emerge (5-7 days), move the containers to a bright location with a temperature of 18 to 20°C. Water moderately, avoiding overwatering. After 2-3 true leaves appear, transplant the seedlings into individual cups.
The best predecessors
To achieve a high yield, it's important to maintain crop rotation. The best precursors for tomatoes are:
- legumes (beans, peas);
- root vegetables (carrots, beets);
- green crops (lettuce, spinach, dill).
Do not grow tomato seedlings after potatoes, eggplants or other nightshades.
Transplanting tomatoes to a permanent location
Prepare the area in advance: dig the soil and add organic fertilizer (humus or compost). Make holes 20-25 cm deep and spaced 40-50 cm apart.
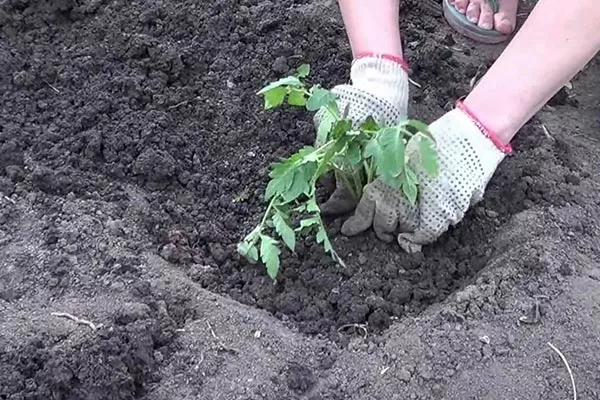
Moisten the holes with warm water and carefully transplant the seedlings, burying the stems down to the first leaves. Mulch the soil to retain moisture and prevent weed growth.
Further care
Proper plant care guarantees good results. It's important to follow standard agricultural practices to ensure abundant harvests throughout the season.
Watering and fertilizing
The plant requires moderate but regular watering. During the active growth phase, water the bushes every 3-4 days, increasing the frequency during dry weather. Use only settled water or water warmed to 22-25°C, avoiding sudden temperature changes.
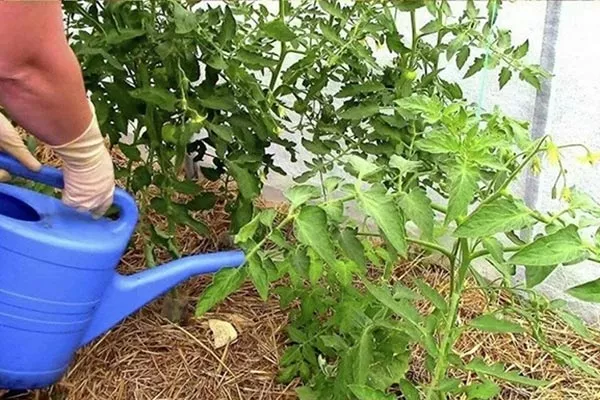
Apply liquid at the root, avoiding moisture getting on the leaves to prevent the development of fungal diseases.
Fertilize the crop several times per season:
- The first feeding should be carried out 10-14 days after planting the seedlings using organic substances, such as mullein infusion or bird droppings.
- During the flowering period, apply phosphorus-potassium compounds to stimulate fruit formation.
Repeat the procedure every 2-3 weeks, alternating organic and mineral fertilizers.
Loosening, hilling and removing weeds
These procedures help improve growing conditions for tomatoes, preventing waterlogging and ensuring air access to the roots. Loosen the soil after each watering or rain to break up any crust that has formed and improve aeration. Loosen the soil to a depth of 5-7 cm to avoid damaging the root system.
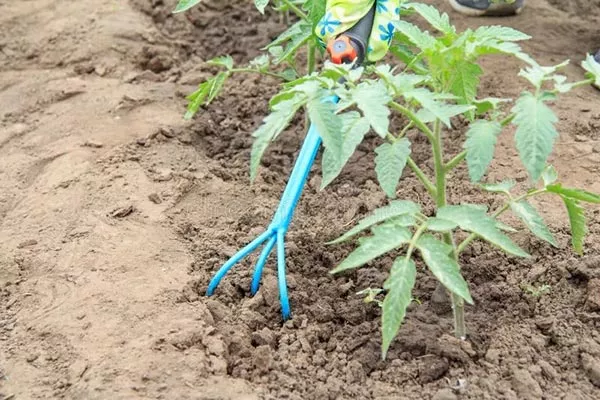
Hilling stimulates the formation of additional roots. Do it twice a season: two weeks after planting the seedlings and during the active growth period. Regularly remove weeds, which compete with tomatoes for moisture and nutrients.
Bush formation
This procedure directly impacts crop yield and health. Follow these recommendations:
- Regularly remove side shoots (suckers) when they reach 3-5 cm in length. They rob plants of nutrients, which can reduce yield.
- Train the bush into two trunks. Tie the shoots to supports to prevent them from lodging and preventing the fruit from coming into contact with the ground, which reduces the risk of rot.
After the first clusters have formed, gradually remove the lower leaves to improve ventilation and reduce the risk of disease.
Collection and storage
Tomatoes begin to ripen 90-100 days after planting. Harvest the tomatoes when they are fully colored, but do not leave them on the vine for too long to avoid overripening and loss of flavor.
You can harvest the green berries if cold weather or frost is expected. These berries will ripen within a few days at temperatures between 18°C and 22°C.
To avoid damage, pick them by hand, carefully removing them stems and all. This minimizes the risk of mechanical damage, which can lead to rapid rotting. When picking in bulk, try to use soft baskets or crates to prevent the tomatoes from getting bruised.
Storage conditions:
- Store ripe tomatoes in a cool, dark place at a temperature of 10 to 12°C. This will preserve their flavor and texture. Avoid refrigerating them, as low temperatures can impair their flavor and texture.
- Store the containers in a well-ventilated area with a temperature of 18–22°C (64–72°F). The fruits will ripen in 3–7 days.
- Use containers or a flat surface, arranging vegetables in a single layer to prevent damage. Remove damaged or rotten vegetables, as they can accelerate the decay of other vegetables.
For long-term storage (up to several months), prepare preparations for the winter: whole, sauces, ketchups, pastes, etc.
Resistance, treatment and prevention from diseases and pests
Tomatoes, like other crops, are susceptible to various diseases and insect attacks. For successful cultivation, it's important to promptly identify symptoms and take measures to protect the crop.
Below is a table of the most common difficulties and ways to overcome them:
| Disease/Pest | Signs | Treatment |
| Powdery mildew | White spots on the leaves, which gradually become covered with a dusty coating, dry out and may fall off. | Treatment with fungicides (Topaz, Strobi), removal of affected areas, compliance with watering rules. |
| Late blight (phytophthora) | Stains appear on the leaves, becoming water-soaked and turning brown. Dark spots may develop on the fruit. | Use of systemic fungicides (Ridomil Gold, Topsin), removal of damaged parts of the plant, improvement of ventilation. |
| Brown spot | The leaves turn yellow and curl, and spots with a characteristic brown tint appear on the tomatoes. | Use of insecticides (Aktara, Karbofos), crop rotation, destruction of diseased bushes. |
| Gray mold (botrytis) | Accompanied by gray, wet lesions on leaves and vegetables, followed by a white coating. | Spraying with fungicides (Topaz, Benlat), pruning affected parts of the plant, improving air circulation. |
| White rot | Formation of white spots on stems and roots, which over time become soft and watery. | Treatment with fungicides (Hom, Ordan), removal of affected parts of bushes, adherence to the watering regime. |
| Spider mite | The leaves become covered with small compactions, begin to curl, and a web appears on the underside. | Use of acaricides (Fitoverm, Actellik), spraying with water to reduce the number of ticks. |
| Aphid | Leaves and shoots become deformed, turn yellow, and develop a sticky coating. Fungal diseases may also develop. | Use insecticides (Karbofos, Actellic). A solution of laundry soap or garlic infusion will help. |
| Colorado beetle | The larvae and adult beetles damage leaves and stems by eating them, causing the plants to weaken. | Mechanical removal of beetles and larvae. Effective products include Taliot and Protek. |
| Nematodes | Root rot, yellowing and wilting of bushes, slow growth. | Soil treatment with urea, use of chemicals against nematodes (Nemabact, Difo). |
Pros and cons
Before planting a crop in your garden, carefully study its characteristics, advantages, and disadvantages. This will help you prepare for potential challenges in the future.
The Elena tomato has many advantages:
Among the negative qualities, some gardeners note the small size of tomatoes, the need for regular watering, and the limited transportability of ripe vegetables.
Reviews
Elena is a popular hybrid tomato variety. It combines excellent flavor, disease resistance, and high yield. It's ideal for growing in small plots and preparing winter preserves. It easily adapts to various climates and requires little effort from the grower, but does require proper care.