The Palace tomato is very popular among lovers of tasty, large tomatoes. Its main advantage is its excellent taste, and it also requires little care. This variety thrives in growing in open ground conditions, ideal for southern regions. If you plan to grow the Palace tomato in the northwestern regions, it's best to use greenhouses and hotbeds.
Palace tomato seeds
You can harvest the Palace tomato just 100 days after planting.
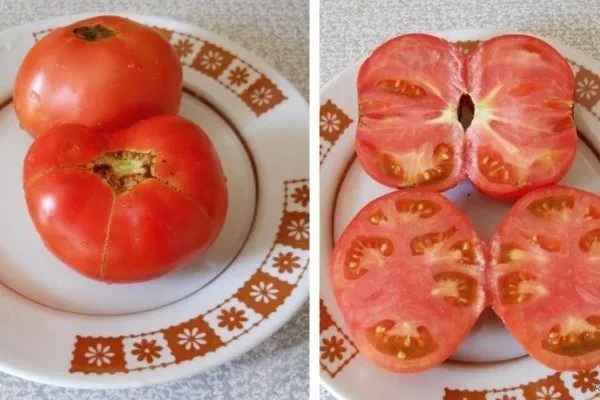
Cross-section of Palace tomato
Description and characteristics of the variety
This variety's bushes can reach 1.2 m in height. It has strong, large stems, is spreading, and is an annual plant. It has a simple inflorescence—the first inflorescence occurs above the 8th leaf, with subsequent inflorescences occurring every two leaves.
Description of fruits
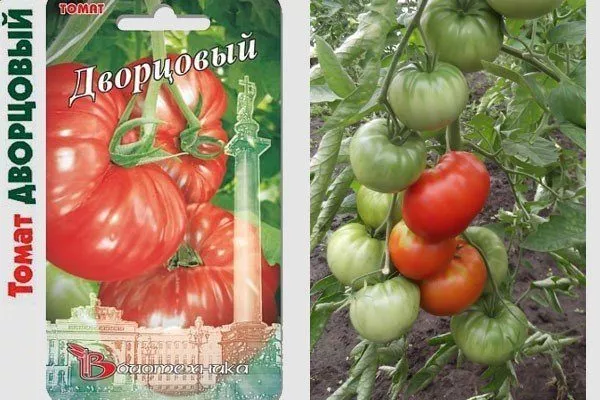
The main distinguishing feature of this tomato variety is its early ripening period. The first harvest can be collected 100 days after planting. The fruits are quite large, fleshy, and aromatic, with a rich red color. They are flattened to round, slightly ribbed. They are ideal for making juice, paste, sauce, and fresh salads.
Productivity
With proper and regular plant care, a single bush can yield approximately 4 kg of large, fleshy fruits. A single tomato weighs approximately 0.5 kg.
Advantages and disadvantages
The main advantages of the Palace tomato are the following characteristics:
- rapid ripening of fruits;
- the fruits contain a small number of seeds;
- plants have a long fruiting period;
- the fruits are tasty, sugary and large;
- The weight of one tomato is about 0.5 kg.
A disadvantage of this variety is that regular fertilization is required to obtain a large harvest. If this advice is neglected, the fruits will be small and the yield will be poor.

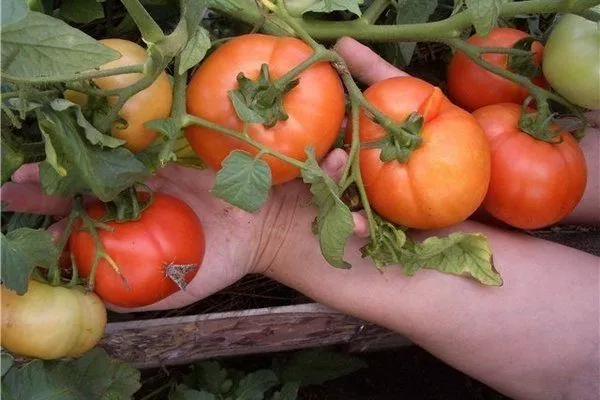
A rich harvest of the Palace tomato
Sowing seeds for seedlings
You can purchase ready-made seedlings or grow them yourself. By following a few simple guidelines, It's easy to grow seedlings at home.
- ✓ Optimum soil temperature for planting seeds: +16°C.
- ✓ Required distance between plants when transplanting: 30-40 cm.
Seed preparation
Before planting, be sure to properly prepare the planting material:
- Disinfection. Soak the seeds in a 1% potassium permanganate solution for half an hour. This will prevent the development of viruses that are dangerous to the crop.
- Hardening. First, warm the seeds at a temperature of approximately 50 degrees Celsius for 72 hours. Then, place them in water at approximately 25 degrees Celsius. Then, cool the seeds by placing them in the refrigerator for several hours.
- To accelerate plant growth and increase yield, treat the seeds with a boric acid solution. Dissolve 2 mg of the solution in 1 liter of water and soak the seeds in the solution. After 24 hours, remove the seeds and dry them until they become crumbly.
Contents and location
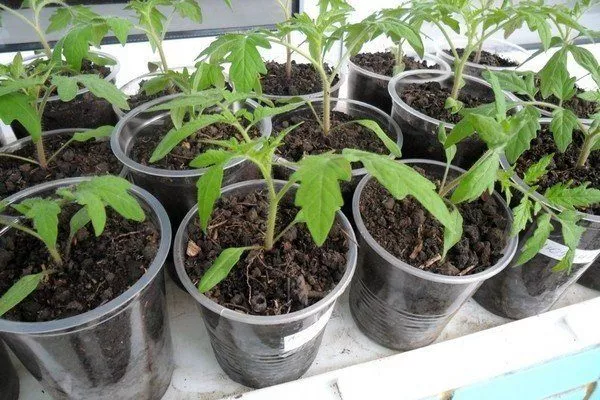
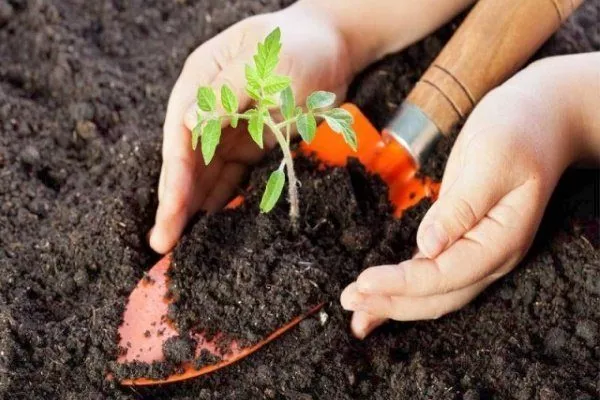
Plant the prepared seeds in boxes filled with soil. Maintain a temperature of 16 degrees Celsius. After planting, place the boxes on shelves equipped with heat lamps. In about two weeks, the first sprouts will begin to appear. Then they will need to be dive – transplant into separate pots (peat or plastic).
The process of planting seeds
Before you begin planting, prepare the soil:
- use a mixture of sand, turf soil and humus;
- Place the seeds at a depth of approximately 2 cm, but no more;
- Choose the right time for planting so that after about 50-55 days, the seedlings are strong enough and ready for transplanting to a permanent location;
- After sowing the seeds, water the soil a little.
Caring for seedlings
Water the planted seeds with warm water; when the seedlings have two full leaves, transplant them. Transplant the plants no sooner than 20 days after sowing.
Provide simple care for seedlings:
- water the plants at the roots when the soil dries out slightly;
- Do not allow water to come into contact with the leaves, otherwise the plant may begin to rot;
- do not water the seedlings too much;
- About 10-14 days before transplanting the plants into the ground, begin hardening them off and reduce the amount of watering;
- treat the seedlings with Bordeaux mixture, fertilize with potassium, take them outside for a couple of hours during the day and leave them in the sun;
- To ensure that the seedlings have strong roots, treat them with a special solution: dissolve ammonium nitrate (1 g), sulfate (7 g) and superphosphate (4 g) in 1 liter of water;
- 7-10 days before transplanting the seedlings, prepare the permanent site by adding organic matter at a rate of 10 kg of fertilizer per 1 square meter.
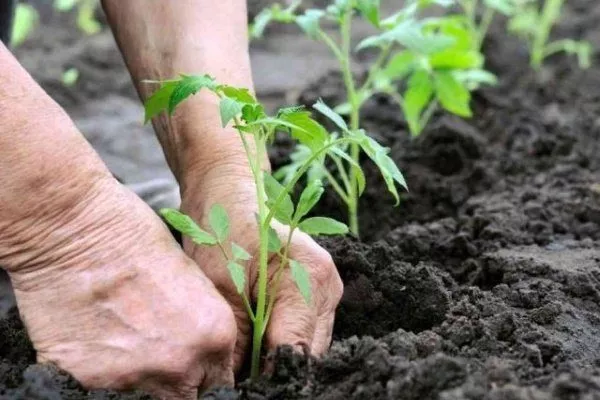
Transplanting seedlings into the ground
Transplant the seedlings into open ground around mid-June. Follow these steps:
- deepen each sprout into the ground by about 3-4 cm, but to the level of the cotyledon leaves;
- Before planting, sprinkle the hole with wood ash (you can add “Urgas” – 0.5 tsp);
- Immediately after planting, water the plants and mulch;
- try to keep a distance of about 30-40 cm between sprouts.
There should be no more than 4 plants per 1 square meter of area.
Sowing in a greenhouse and in open ground
You can grow tomatoes not only from seedlings but also by sowing seeds directly into the ground. In this case, certain care guidelines and care instructions are required to ensure healthy plants and a bountiful harvest.
Growing conditions
Once the soil has warmed up well, you can begin planting the seeds. It's crucial that all risk of frost has passed. A greenhouse or hothouse is ideal, as it protects the seedlings from pests and sudden temperature changes.
You should follow these tips:
- First, dig up the soil on the site;
- remove weeds and add organic matter;
- prepare the seeds;
- in the greenhouse, maintain a constant temperature within the range of +20…+25 degrees Celsius;
- Ventilate the greenhouse regularly.
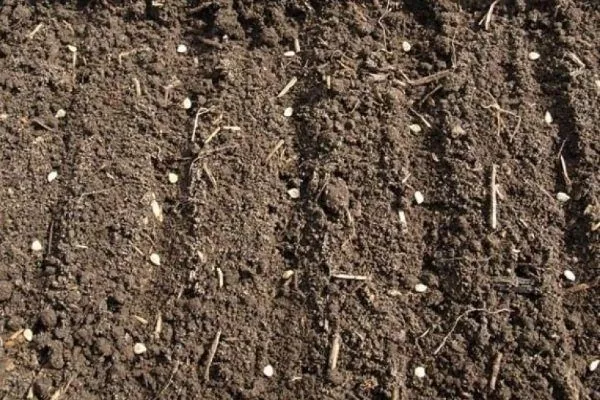
The process of planting seeds in the ground
Plant in April, as stable, warm temperatures should have set in by then, and the soil should be sufficiently warm. Planting seeds directly into open ground follows this pattern:
- Place the prepared seed material into the holes to a depth of about 3 cm;
- Place fertilizer or ash into the holes first;
- 10-12 days after planting, perform the first feeding and watering;
- When the sprouts have 2-3 full leaves, thin out the crops – leave a distance of about 10-12 cm between the plants;
- After the plants have 5 full leaves, thin them out again, leaving a distance of about 14-16 cm between the bushes.
Watering
Until flowering, water the bushes with warm water every 3-4 days. Follow these tips:
- water directly at the roots in the morning;
- take into account the proportions - 10 liters of water per 1 sq. m of area;
- When fruiting begins, increase watering, since by this time the root system is fully formed and the plant directs all its energy to the formation of fruits;
- During prolonged drought, increase watering; during heavy rainfall, reduce it to a minimum or stop it altogether, as excess moisture can cause irreparable damage to plants.
Landing features
The quality of the fruit and the yield directly depend on the strength and health of the seedlings. If you can't grow your own, you can purchase ready-made ones.
Selecting seedlings
When choosing seedlings, consider the following nuances:
- seedlings should not be older than 60 days;
- the height of the sprouts is not less than 30 cm;
- the plant should have 10-12 leaves;
- the stem is quite thick, the leaves have a rich green hue;
- If the leaves are too bright and curled, it means that too much nitrogen fertilizer was used during cultivation – it is better to refuse such seedlings;
- the sprouts should not show signs of disease or traces of pests;
- Avoid purchasing plants in plastic bags; instead, choose seedlings planted in boxes filled with soil.
Soil and fertilizer
If planting seeds in open ground, it must first be fertilized with organic matter. It's best to choose southern areas of the plot for planting. Choose fertile soil with a slightly acidic or neutral pH. Ideally, this area should have grown cabbage, cucumbers, potatoes, onions, or pumpkins in the previous season.
Avoid planting tomatoes in areas previously occupied by eggplant, physalis, or peppers. If alternative soil is unavailable, amend the soil with organic fertilizer before planting tomatoes.
Care instructions
Like any other garden plant, the Palace tomato requires regular care. Don't forget to periodically weed and remove weeds. Stake and fertilize it. These simple steps will help you get a good harvest of large, tasty tomatoes.
Loosening the soil and weeding
In the fall, be sure to dig over the area where you plan to plant tomatoes. In the spring, loosen the soil twice. Immediately before planting, weed, removing all weeds and roots from the soil. Weed regularly as the grass grows.
During dry weather, not only water the plants regularly, but also loosen the spaces between the rows. This will improve the soil's drainage capacity. Hilling should be done 45-50 days after planting the seedlings in open ground, and repeat after two weeks.
Pinching out side shoots and garter
Pinching is necessary to form a single-stemmed bush. The growing point is pinched off, and the side shoots are removed. When the side shoots reach 7 cm in height, perform the first pinching. The shoots can then be placed in water, and after 20 days, a new bush will emerge. The side shoots obtained after pinching one to three times can be used for seedlings.
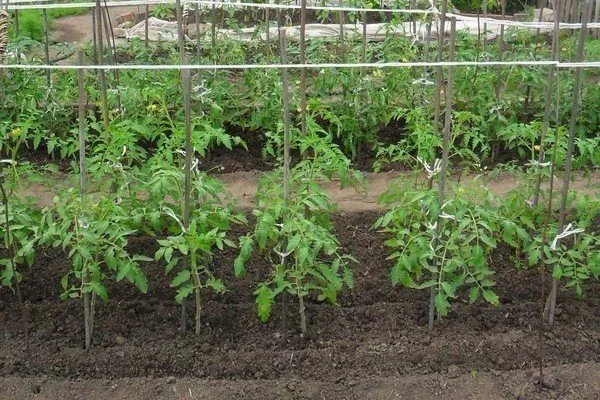
Once the bush reaches 30 cm in height, it is recommended to tie it up. Several methods can be used for this, choosing the one that is most suitable for each specific situation:
- Horizontal trellis. Drive stakes into the ground, leaving about 2 m between them. Then stretch wire or rope, leaving 30-40 cm between each stake. Tie the bushes in a snake-like pattern, carefully hanging large clusters of plants on the hooks.
- Fence. A simple structure is created using mesh, stretched between two posts and along the entire planting. At different growth levels, the tomato plants are tied using twine.
- Wire frame. Externally, the structure resembles a rectangular box with a bush inside. The plant doesn't need to be tied up, as the structure is built around it.
- Stakes. Take wooden stakes that are about 20-30 cm taller than the bush and drive them into the soil. Install them before planting the seedlings. Once the bushes grow, tie them to the stakes with ribbon or cord.
Top dressing
During one season, it is necessary to fertilize several times, adhering to the following scheme:
- in the fall, apply organic (10 kg per 1 sq. m), phosphorus (20 g per 1 sq. m) and potassium fertilizers (20 g per 1 sq. m);
- in spring, use a nitrogen mixture - 10 g of the product per 1 sq. m;
- 10 days after planting, use a liquid form of fertilizer - nitrogen (25 g), phosphorus (40 g) and potassium fertilizer (15 g), dissolved in 10 liters of plain water (this volume of solution should be enough for 14 bushes);
- After 7 days, apply another top dressing using the previous product, but now distribute the specified volume among 7 bushes;
- Place dry fertilizers between the rows - nitrogen (5 g per 1 sq. m), phosphorus (10 g per 1 sq. m), potassium fertilizers (10 g per 1 sq. m);
- You can also use liquid organic matter for fertilizing.
Harvesting and storage
Harvest the fruit as it ripens, cutting it carefully from the bush to avoid damaging it. About 20-22 days before the final harvest, remove all flower buds. This simple technique will significantly speed up the ripening process.
If you plan to store tomatoes for a long time, it's best to pick them slightly unripe, when the fruit has turned brown. The optimal temperature for long-term storage is 15 to 20 degrees Celsius.
Diseases and pests
This tomato variety is quite resistant to various diseases. With timely preventative measures, the plants are safe.
The most dangerous insect pests include mole crickets, wireworms, nematodes, cutworms, and whiteflies. As an effective preventative measure, treat the bushes with Bordeaux mixture or copper sulfate after the first fruit appears. These sprays can be repeated every 7-10 days.
Four treatments per season will be sufficient to ensure reliable protection of the bushes from pests.
Reviews of Palace Tomato
The Palace tomato is extremely popular among both experienced and novice farmers. This is no surprise, as the tomatoes are large, fleshy, aromatic, and incredibly tasty, and the plants require minimal care.