Sweet bell peppers contain numerous vitamins. They are considered antidepressants and help prevent many illnesses. To ensure you have this vitamin on your table year-round, you can plant them in your own greenhouse. To ensure a bountiful harvest, it's important to know the specifics and subtleties of caring for this fragile plant.
Preparing the soil for planting
Optimal soil parameters for peppers
| Parameter | Meaning | Correction method |
|---|---|---|
| Acidity (pH) | 6.0-6.8 | Dolomite flour (100 g/m²) |
| Organics | 4-6% | Humus (5-7 kg/m²) |
| Nitrogen (N) | 120-150 mg/kg | Ammonium nitrate (25 g/m²) |
| Phosphorus (P₂O₅) | 250-350 mg/kg | Superphosphate (30 g/m²) |
| Potassium (K₂O) | 300-400 mg/kg | Potassium salt (40 g/m²) |
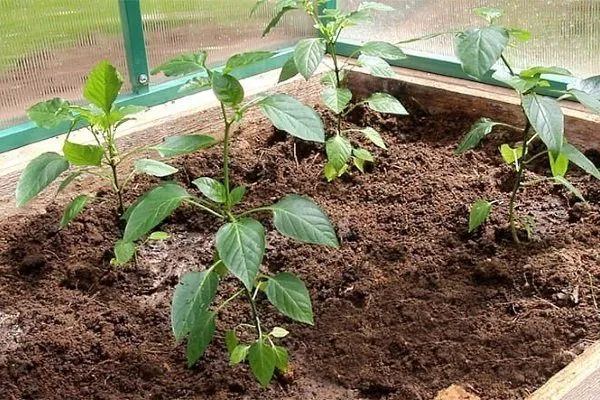
Since peppers are very heat-loving, seedlings should be planted when the average daily temperature reaches 10 degrees Celsius. A polycarbonate greenhouse is ideal for growing peppers, as it provides protection from temperature fluctuations.
It's best to plant seedlings in late spring or early summer. Avoid planting peppers in cold soil; it needs to be warm; you can apply manure to the soil to help keep it warm.
It's best to start preparing the bed for planting in the fall. To prevent the soil from freezing, bury hay or grass to a depth of about 30 centimeters in the fall. This method also helps warm the soil in the spring.
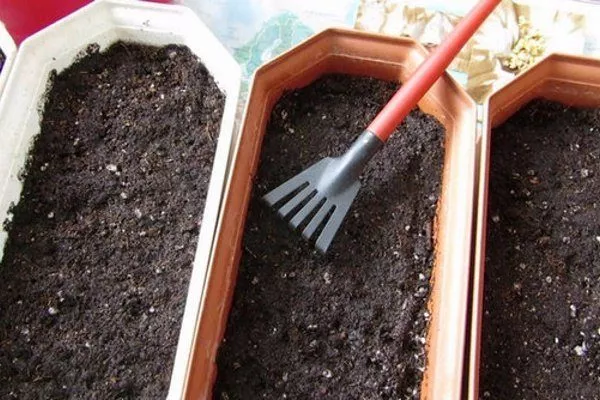
Before planting peppers, the soil must be properly prepared. First, dig it thoroughly to loosen it. Then, add fertilizer. To do this, make a mixture of the following ingredients:
- 1 glass of ash;
- humus;
- 1 glass of double superphosphate;
- 25 grams of saltpeter per square meter of soil.
You need to fertilize the soil 24 hours before planting the peppers, and just before planting you should dig up the soil again.
Pepper soil shouldn't be acidic. Dolomite flour can help counteract acidity. It's very easy to use: 15-20 days before planting, spread 100 grams of flour per square meter of the pepper beds.
If you don't know your soil's acidity, it's easy to determine. Take a teaspoon of soil, but not the very top layer, place it on a dark, flat surface, and water it with 9% vinegar. If foam appears, the soil is more alkaline; if there's little foam, it's both alkaline and acidic; and if there's no foam at all, the soil is acidic.
Planting peppers
Before planting, the seedlings need to be watered thoroughly (2-3 hours before planting). It's best to plant peppers in the evening. When planting, keep the following guidelines in mind:
- Don't plant peppers where tomatoes were previously grown. The best soil for peppers is after cabbage.
- Do not plant different varieties of peppers next to each other: sweet and hot, as all the peppers may become bitter.
- When planting, ensure that only the plant's roots are in the soil. If the stem is also in the soil, this can slow down the pepper's growth.
- Before planting, add peat to each hole in the greenhouse; it will help the roots stay healthy.
- Peppers should be planted at least 30 centimeters apart. For short peppers, 20-25 cm will suffice.
- The distance between the beds should be about 80 centimeters.
- After planting, fertilize the soil surface, especially the area around each plant, with humus. This will help the peppers acclimate to the new conditions more quickly.
For more information on how to properly plant bell pepper seedlings in a greenhouse, watch the video:
Top dressing
Immediately after planting peppers, it's recommended to fertilize the soil with minerals to promote faster growth and stronger stems. To prepare this fertilizer, mix:
- 10 grams of ammonium nitrate;
- 30 grams of double superphosphate;
- 20 grams of calcium nitrate.
This proportion is calculated for 10 liters of water.
Pepper fertilizing schedule
| Growth phase | Compound | Consumption rate |
|---|---|---|
| 10 days after planting | N15:P40:K20 | 0.5 l/plant |
| Beginning of flowering | N10:P30:K30 + Mg5 | 1 l/plant |
| Fruit formation | N5:P15:K40 + B1 | 1.5 l/plant |
| Mass fruiting | Potassium magnesium sulfate (30 g/10 l) | 1 l/plant |
Water all planted plants with this solution.
In addition to this fertilizer, you should also use organic fertilizer, as it speeds up the ripening of peppers. To prepare it, mix mullein with water in a ratio of 1:4. Let it steep for about a week. Then add the same amount of water and mix. It is best to use this fertilizer in the evening when watering.

Care
The greenhouse temperature for peppers should be at least 16 degrees Celsius. Sweet peppers are heat-loving plants, but temperatures should not exceed 35 degrees Celsius. In this case, shade should be provided.
Peppers need to be watered frequently, using small amounts. Avoid overwatering, as this can cause root rot.
Peppers are easy to grow, growing and ripening at room temperature and requiring no special growing conditions. However, they do require proper care: staking, fertilizing, weeding, and mulching.
After the first feeding described above, a second one is administered two weeks later. It's made from the same ingredients, but the mineral content is doubled.
Feeding peppers with nettle infusion is also very beneficial. To prepare it, mix nettles with water at a ratio of 1:10 and let it steep for two days. Feed with chicken manure four times per season, mixing it with water at a ratio of 1:10. This type of fertilizer should be alternated with foliar application, such as a mineral fertilizer such as nitrophoska. Dilute 1 tablespoon of the mixture in a bucket of water.
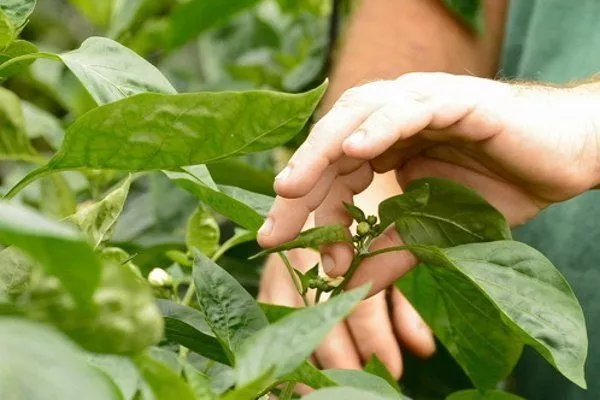
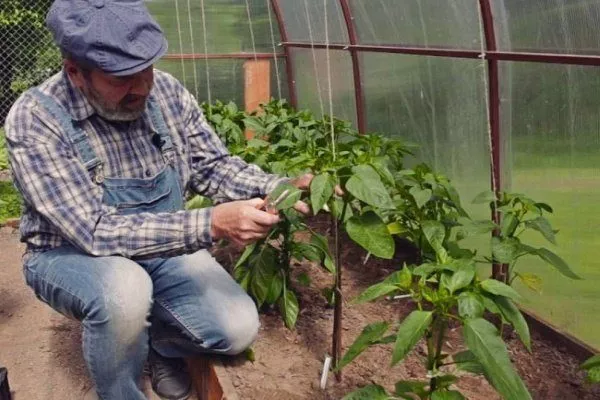
In hot, humid weather, remove side shoots, especially on the lower branches. However, if the weather is dry, avoid this. It's also worth removing the central flower growing from the first branch. This will help produce a larger harvest.
During the growing season, peppers need to be pruned, removing the longest shoots—those located below the main fork of the stem and within the crown. Perform this procedure every 10 days.
Peppers should be mulched with straw, about 10 centimeters thick. This will reduce the need for watering and protect the plant from diseases. Straw blocks sunlight, so use it in unheated greenhouses only after frost. If your greenhouse is heated, you can mulch the peppers any time after planting.
Peppers also need to be supported, as they are very fragile. This is done after mulching. It's best to tie them to a trellis, but you can also just use stakes. Be careful not to damage the plant.
Peppers don't grow well in dense soil, so it's best to loosen it once a week. Do this carefully, using a small rake, without disturbing the plant roots.
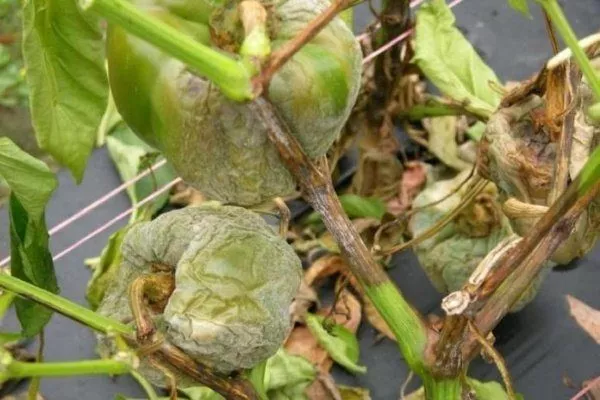
Pests and diseases
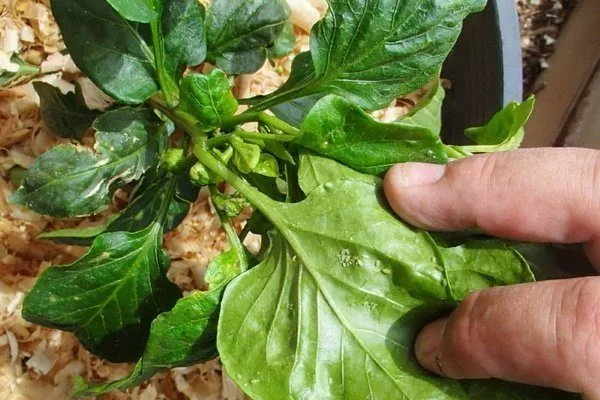
Common pests that affect peppers in greenhouses include Colorado potato beetles, aphids, cockchafer larvae, mole crickets, and spider mites. To prevent these, regularly inspect your plants.
If you find spider mites on your pepper, the best products to remove them are Fitoverm and Lepidocide.
The most dangerous pest for peppers is aphid, whose numbers increase 35-fold in a day. You can make your own aphid bait. To do this, you'll need:
- 1 teaspoon of boric acid;
- 1 teaspoon powdered sugar;
- 1 yolk of a boiled chicken egg.
Mix all the ingredients and form them into balls, spread them around the greenhouse.
To prevent mole crickets from damaging your peppers, fill the holes with clean water one hour before planting. After planting, mist the peppers with a spray bottle. Spray the plants with wood ash three times each season. This will help protect the peppers from diseases and pests.
The most common pepper diseases are: macrosporiosis, blossom end rot, white rot, black leg, and late blight.
Effective drugs for protection
| Problem | Preparation | Concentration |
|---|---|---|
| Aphid | Aktara | 0.4 g/10 l |
| Spider mite | Fitoverm | 10 ml/10 l |
| Late blight | Ridomil Gold | 25 g/10 l |
| White rot | Topsin-M | 15 g/10 l |
| Mole cricket | Medvetoks | 30 g/10 m² |
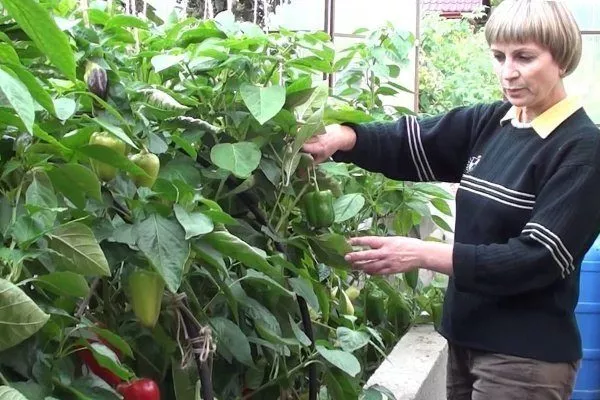
Bush formation
Bush training is essential to increase yield. There are pepper varieties that don't require training, including low-branching varieties and hybrids such as Lastochka, Topolin, Zodiac, Florida, Barguzin, Dobryak, and others.
If your pepper plants are short—around 50 cm—it's enough to simply cut off the weak shoots. Tall ones become heavy and large, and don't have enough nutrients to support fruit development.
Tall bushes are those that are over a meter tall. These conditions encourage diseases and pests. To avoid this, thin the bushes and improve the conditions, including lighting, temperature, and humidity.
The formation of the bush occurs in several stages:
- If you're growing seedlings yourself, you should begin shaping the bush when the stems are about 15 cm tall. At this height, the stem begins to divide into branches. A bud appears at the junction. It's best to remove this bud.
- Once you've transplanted the seedlings to the greenhouse, plant them so that the bush can grow several branches. Typically, these peppers are planted 4-6 per square meter.
- To shape the bush, remove excess fruitless shoots and prune the plant. Remove shoots and leaves located at the base, up to the first branch.
- The branches that form after branching are called lateral branches. They grow as stems with leaves. In the axils of these leaves, shoots called side shoots form. These should be removed by pinching.
- The middle branch of the first order is divided into two shoots. The stronger shoot should be left, along with its leaves and buds. The weaker shoot should be removed.
- The same must be done with third-order branches.
- When inspecting a plant, always remove shoots without buds and yellow leaves.
All these actions must be performed until the bush grows to 1-1.2 meters.
Step-by-step plan for formation
- Removing the crown flower at a height of 15-20 cm
- Leaving 2-3 strong first-order shoots
- Pinching shoots after 2-3 leaves above the ovary
- Removing all shoots below the first branching
- Topping 45 days before the end of the season
Then you need to trim the top of the plant; this will help redirect all the vitamins from the stem to the fruit itself. And six weeks before harvest, you need to trim the tops of all rows.
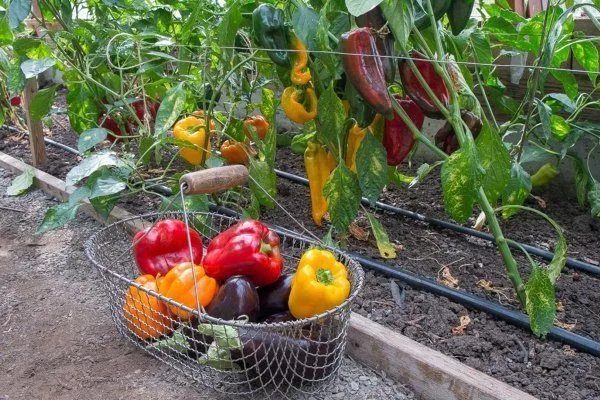
Harvesting
Harvesting can begin when the weather turns cold. Peppers in a greenhouse aren't susceptible to frost, but it does hinder their development and ripening.
To maximize your harvest, pick the peppers as soon as they're ripe. Do this at least once a week. However, remember that ripe peppers should be eaten almost immediately, while slightly unripe ones are best for canning and freezing.
It takes anywhere from a few days to a few weeks for the peppers to reach their biological maturity. This depends on the growing conditions and air temperature. A comfortable temperature will help them ripen faster. Harvesting should be done carefully; it's best to trim the peppers with a knife or pruning shears, including the stem.
Storing peppers
If you want to preserve the harvested crop for some time, you need to follow several rules:
- Remove damaged fruits.
- Unripe peppers (at the technical maturity stage) should be stored at a temperature no higher than 10 degrees Celsius. To speed up ripening, place the peppers in a warmer place.
- When the peppers reach biological maturity, store them at zero degrees Celsius. This way, they can be used for up to two months.
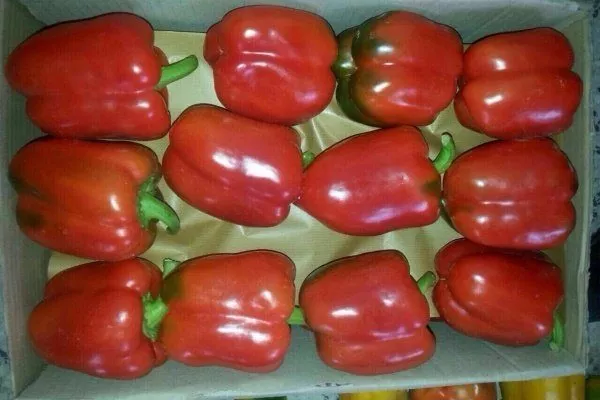
- It is best to store in wooden or plastic boxes, lining the bottom with paper or wrapping each fruit separately.
- Red and orange peppers can be stored longer than green ones.
Shelf life by variety
| Fruit color | Temperature | Shelf life |
|---|---|---|
| Green | +7…+9°C | 3-4 weeks |
| Yellow | 0…+2°C | 6-8 weeks |
| Orange | 0…+2°C | 8-10 weeks |
| Red | -1…+1°C | 10-12 weeks |
Sweet bell peppers are easy to grow and don't require any special greenhouse conditions. However, some effort is required. If you follow all the rules, you'll be pleased with the harvest, and your table will be filled with fresh, natural, and delicious vegetables.