The Bogatyr pepper is chosen for planting in gardens for its many qualities. It's easy to care for and produces a bountiful harvest throughout the season. The fruits are large, attractive, sweet, and beneficial for the body.
Pepper Bogatyr
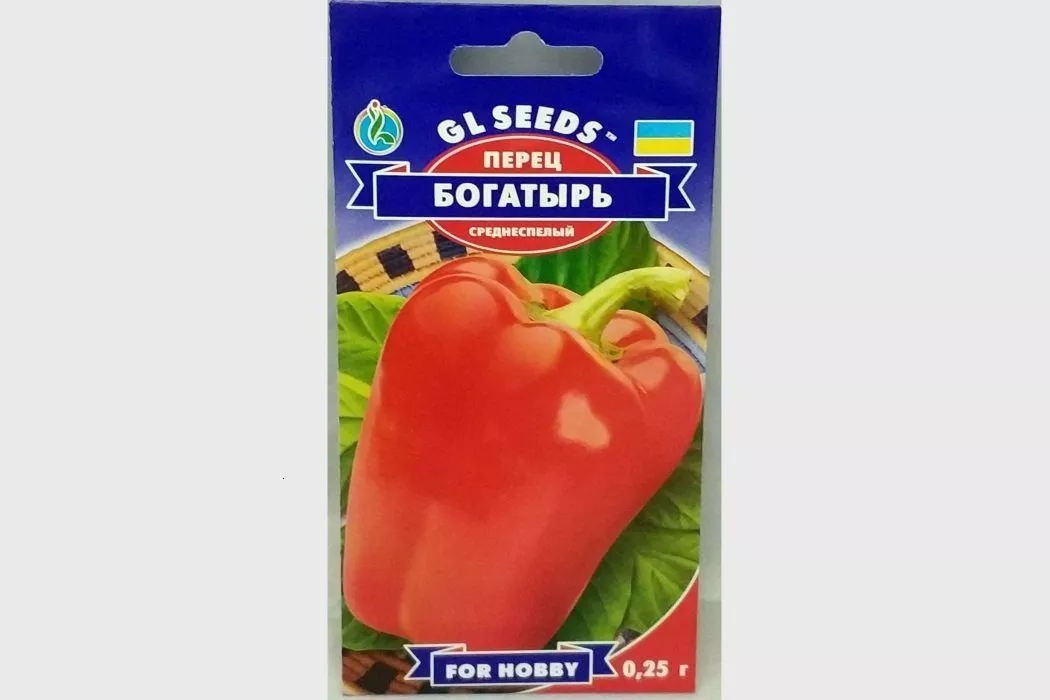
Bogatyr pepper seeds
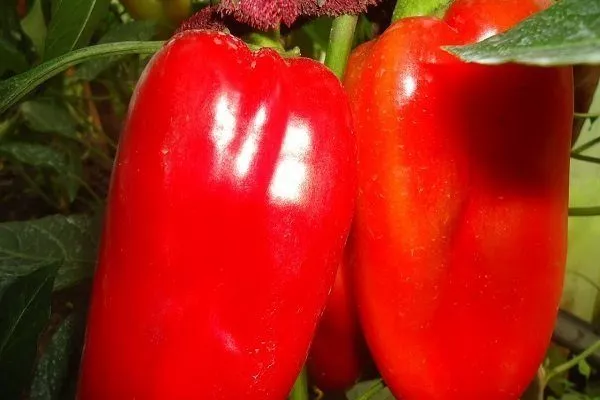
Pepper Bogatyr has large and juicy fruits

The origin of the Bogatyr pepper
The Bogatyr pepper variety was registered in the Russian State Register in 1996. It was originally developed by breeders from the Moldovan Scientific Research Institute. The variety's ancestor is considered to be a knotty hot pepper.
The plant was subsequently adapted by the Russian agrofirm "Poisk," located in the Moscow region, for cultivation in the North Caucasus and Lower Volga regions. The variety also grows well in Moldova and Ukraine.
It is intended for cultivation in open ground and in greenhouse conditions, more suitable for the middle zone.
Description and characteristics of sweet pepper varieties
The Bogatyr pepper is a mid-season variety. The first harvest of light green peppers can be collected 125-135 days after planting, and fully ripened red peppers can be harvested 10-15 days later.
The harvesting process is gradual: after the first batch has been harvested, the remaining fruits are actively growing on the branches.
This variety is characterized by its ability to grow in low light conditions.
It has several varieties, differing in bush height, fruit shape and weight depending on the seeds selected.
Table of characteristics of the Bogatyr variety:
| Agrofirm/Characteristics | Bush height | Form | Length | Weight |
| SeDek | 55-70 cm | cone-shaped | 10-11 cm | 80-130 g |
| Siberian varietal seeds | 30-40 cm | cuboid | 10-11 cm | 80-130 g |
| Aelita | 60-70 cm | cone-shaped | 15-18 cm | 150-200 g |
The general characteristics of the variety include the following parameters:
- bush - has a strong trunk, a spreading shape with many branches and offshoots;
- fruits are large with a bumpy surface, located on almost every branch;
- fruit structure - consists of 2-4 chambers, wall thickness from 0.6 to 0.8 mm;
- the pulp is juicy with a light aroma and sweet taste;
- Fruit maturity: fit for consumption when light green in color, full ripeness occurs when it turns a rich red color.
Fresh fruits contain large amounts of ascorbic acid and beneficial microelements. Heat treatment causes the loss of more than half of these beneficial substances.
Advantages and disadvantages of the variety
The plant has a long list of benefits. These include:
- good crop emergence and yield;
- the ability to fully grow and develop in the shade;
- undemanding to care;
- adaptation to fluctuations in ambient temperature;
- the possibility of growing in greenhouse conditions and outdoors;
- presentable appearance of the fruit and sweet taste;
- long-term harvesting opportunity;
- preservation of appearance and useful properties during transportation;
- resistance to major diseases;
- health benefits of the product;
- Possibility of use: raw, stewed, fried, boiled and canned.
The variety has very few disadvantages. The main downsides are:
- susceptibility to aphid attack;
- wilting due to insufficient soil irrigation.
However, the shortcomings can be easily eliminated with more careful care.
Features of cultivation
The seeds should be germinated at the end of February—this is the most favorable time. By the time the young seedlings are planted in their permanent location, they will have a fully formed and strengthened root system.
Selection and preparation of seeds
Almost all Bogatyr seeds germinate. Before germinating, they need to be selected and prepared. This determines growth rate, soil establishment, resistance to nighttime cold snaps, and the quality of the harvest.
- ✓ Check the seeds for germination by placing them in water for 10 minutes: seeds that float to the surface are not suitable for planting.
- ✓ Pay attention to the expiration date of the seeds: the optimal storage period is no more than 3 years.
Select seeds with a shelf life of no more than three years. Next, follow these steps:
- Inspect the seeds and remove the smallest ones.
- Prepare a saline solution: dissolve 1 teaspoon of salt in a glass of water.
- Place the seeds in the solution for half an hour.
- Catch those that rise to the surface; they are not suitable for germination because they have voids.
- Place the remaining seeds in a 3% solution of manganese for half an hour.
- After all, place it in a growth stimulator for 2-4 hours.
The seeds are ready for germination. Wrap them in damp cheesecloth and cover with plastic wrap. Leave a small gap to allow oxygen to enter. Place at room temperature. Moisten periodically for about a week.
Before planting in containers, place the sprouted seeds in the refrigerator for 3-5 hours to harden.
Sowing, watering and caring for seedlings
Sprouted seeds are planted in early March. They are placed in small containers: peat pots or long boxes. The pot size is 11 x 10 cm (0.5 l).
Before planting, treat the container with a weak solution of potassium permanganate.
Buy ready-made soil or make your own. You'll need:
- 2 parts humus;
- 1 part compost and 1 part sand.
The prepared soil must be disinfected. Place it in the oven for 10-15 minutes at 100°C.
Sowing should be carried out as follows:
- Fill the container with soil, leaving 1-1.5 cm of free edge.
- Make a depression of 1-1.5 cm, in the box the distance between the seeds should be 2 cm.
- Place the seed, cover with soil and water.
- Cover with plastic and place in a lighted room for 9-14 days.
- Monitor the temperature: daytime – 24-26 °C, nighttime – 12-14 °C.
When the seedlings appear, remove the film. Transfer the container with the sprouts to another, cooler room with a temperature of 16-18°C.
After two weeks, place the containers back into a room with room temperature.
Seedling care requirements:
- The room must have access to fresh air, so ventilate it but avoid drafts. Humidity in the room should not exceed 65-75%.
- Watering should be moderate: avoid over- or under-watering. Use only settled, room-temperature water.
- Lighting should be continuous—about 13-14 hours per day. To extend daylight hours, install artificial lighting with 200-watt bulbs. Position the light fixture 20-25 cm above the seedlings.
During the formation of cotyledon leaves, lighting should be continuous for 3-4 days.
You can read more about when and how to sow pepper seedlings here. here.
Picking
When the seedling has 2-3 leaves, transplant it into a larger container. It will remain in this container until it is transplanted into the ground in its permanent location.
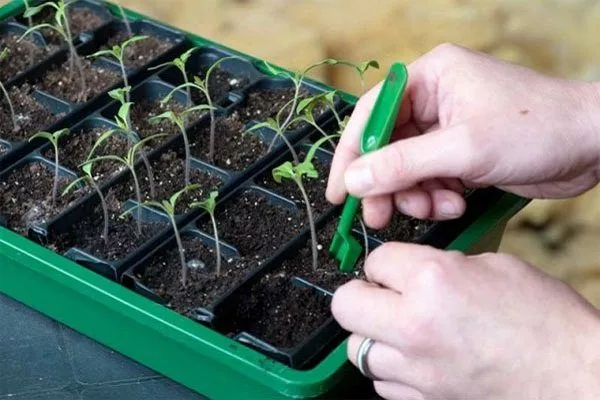
The sprout and its root are very fragile. Repotting must be done with care. Experienced gardeners use a special tool—a handle with a pointed, spear-shaped end.
Sequence of actions during picking:
- Prepare 300-500 ml containers. Disinfect them with a potassium permanganate solution.
- Fill the container with soil to 2/3 of its capacity. The soil composition is the same as for seedlings.
- Water the soil with seedlings generously a few hours before transplanting.
- Use a sharp gardening tool to remove the seedling and pinch off the tip of the root to encourage it to grow wider.
- Place the seedling in a hole in the ground so that the root collar is 5 mm deep.
- Holding the sprout by the leaf, water it with 30-40 ml of warm, settled water. Sprinkle additional soil over any heavily settled soil.
Select only strong seedlings for transplanting. Weak or undergrown seedlings will not produce a good harvest.
Place the containers with young plants on a windowsill, preferably on the southeast side. The temperature should be room temperature, and at night, it should not drop below 15-16°C.
During the growing period, pepper requires the following care:
- Fertilizing: Dissolve 5 ml of potassium humate in 2 liters of water. You can also use ready-made fertilizers such as Agricola, Krepysh, or Fertika Lux. Apply twice: 10-14 days after transplanting and after the following 14 days.
- When the plant grows and leaves appear, pinch it back. To do this, cut off the part of the plant above the 4th or 5th internode. This is necessary for strong root growth.
- Two weeks after picking, apply a complex mineral fertilizer with a predominance of nitrogen.
- During the budding period, use fertilizers with a high content of phosphorus and potassium.
- During fruiting, repeat the application of potassium fertilizers to improve the quality of the fruit.
The young plant should not be exposed to direct sunlight. Window panes can be covered with paper.
Hardening off seedlings is a mandatory procedure before planting them in their permanent location. This is done 10 days beforehand.
To do this you need:
- open windows periodically and daily: first 3-4 times a day, then gradually increasing the time;
- Next, the containers with plants should be taken to a cool place with a temperature of 17-19 °C;
- 3-4 days before transplanting, place the container overnight next to the planting site.
There should be no sudden drops in temperature at night.
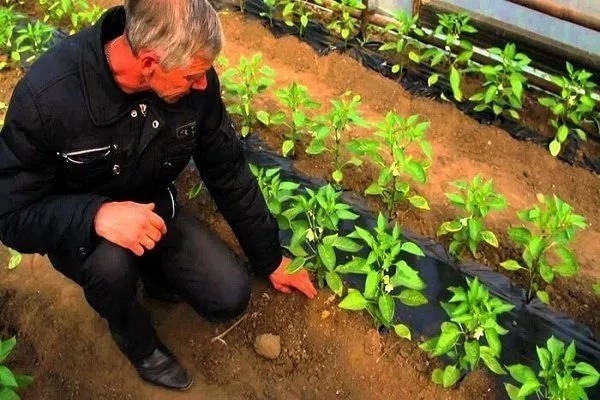
Transplantation into open ground
Planting in a permanent location takes place at the end of May.
By this time, the young plant should meet the following requirements:
- age 60-70 days;
- height 20-25 cm;
- have 7-8 leaves.
Landing site requirements:
- the space should be open, without shading or drafts;
- the soil is loamy or sandy loam;
- acidity 6-7 pH;
- the soil is soft with drainage properties;
- It is undesirable for the following to grow in the planting site during the year: potatoes, tomatoes, or eggplant;
- Predecessors: root vegetables, pumpkin, legumes, cucumber or cabbage.
Before planting, dig up the soil and add compost at a rate of 3-4 kg per 1 sq. m. Make rows with a distance of 45-50 cm between them and 10-15 cm between holes.
Leave the soil on the seedlings and place them in the hole. The root collar should be level with the surface. First, fill the hole halfway with soil, then water thoroughly and add the remaining soil.
Features of care in open ground
There are no special care requirements, as the plant is considered undemanding. However, the soil should not be allowed to dry out.
Watering
Peppers require careful watering. Use only warm water, around 25°C.
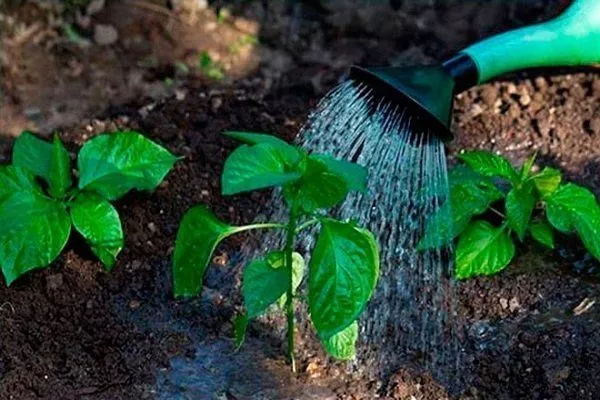
Watering rules:
- The best time is morning and evening, when there's no scorching sun. It's best to use a shower head.
- After watering, be sure to loosen the soil, but only on one side of the plant. The next time you water, loosen it on the other side. This will prevent a crust from forming, which will impede oxygen access and ensure even root development.
Watering frequency:
- Once a week until the ovary sets, 10-12 liters per 1 sq. m are required;
- 2 times a week during flowering and fruit growth.
After each watering, remove weeds. This is easy to do when the soil is moist.
Fertilizer
Fertilizer is applied three times, simultaneously with watering. Avoid allowing it to come into contact with the stems and leaves.
Composition and time of application of fertilizers per 1 bucket of water:
At the beginning of the third week after planting.
Contribute:
- 10 g urea;
- 5 g superphosphate.
During the flowering period.
Contribute:
- 2 tablespoons of superphosphate;
- 1 teaspoon of urea;
- 1 teaspoon of potassium.
During fruiting.
Contribute:
- 2 teaspoons of potassium salt;
- 2 teaspoons of superphosphate.
Each bush requires about 1 liter of fertilizer.
Pinching out side shoots and garter
The bush needs to be pruned periodically to make its shape more spreading and create conditions for the formation of large fruits.
Begin when the plant reaches 30-35 cm in height. Prune the lower branches below the main fork, remove crown buds from the side shoots, and pinch off excess shoots from the main branches.
During the process of pinching out the side shoots, there should be no dry weather to prevent the soil, which is protected by the leaves, from drying out.
Pruning frequency: every 10-14 days.
When the fruit ripens, the fragile branches can bend and break under the weight. Support is essential.
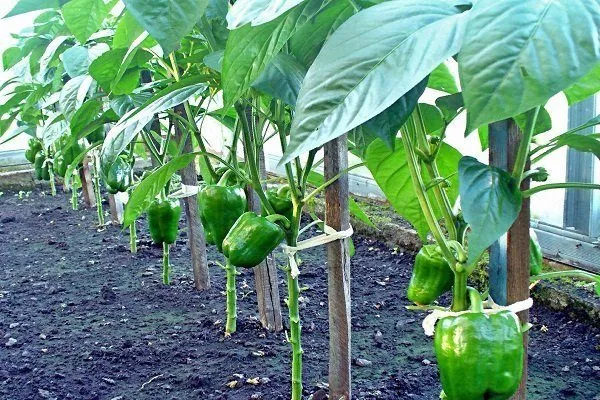
Carefully tie the mature plant with cotton cloth or twine to stakes driven 10-15 cm apart near each bush. You can also stretch ropes along all the supports and gradually tie them in place as the plant grows.
Harvesting and storage
Harvesting occurs as the fruit ripens and continues throughout the season. A single plant can yield up to 2-3 kg, or 6-8 kg per square meter.
Green peppers can be stored at +3 to +7°C for up to two months. They can also be placed in a dark place to ripen, until they reach a marketable appearance and a deep red color.
Diseases and pests
Insufficient care can lead to plant disease. It's important to identify the type of illness promptly and take steps to eliminate it.
Possible diseases:
- Septoria. It manifests itself as gray spots appearing on all parts of the plant and its fruits. As the disease progresses, the spots expand and cover the entire plant.
The disease is transmitted from previous plants of the previous year, which should not have grown in the previous season.
Treating the entire bush with Fitosporin helps eliminate the disease. - Alternaria. It appears as dark, dirty streaks on leaves and a dark layer on fruits.
The reason is crop rotation and annual planting of peppers in the same place.
Treatment is carried out with Bordeaux mixture. - Blackleg. Affects the lower part of the stem.
It occurs because the seeds were not disinfected.
The bush needs to be removed and the soil treated with copper sulfate. - Aphid. This insect is particularly common in plant attacks. It attacks the leaves, covering them with a layer of plaque.
It is worth removing all the weeds around the pepper.
Spraying with Karbofos helps to get rid of it, but not during flowering. - Spider mite. Covers the back of the leaves with a thin layer of web.
Affected parts of the plant must be removed.
Dies from spraying with a soap and garlic solution. - Slug. It feeds on all parts of the plant and causes them to rot.
To prevent slugs from appearing, you need to sprinkle the ground with lime or ash.
The soil must be loosened and diluted hot pepper added.
To notice the disease in time, you need to carefully inspect the bush when watering and loosening the soil.
We invite you to watch a video review of the Bogatyr variety:
Reviews
The Bogatyr sweet pepper is easy to care for. You can harvest it all season long. The fruits are large and bright red, sweet in taste and healthy. To ensure a bountiful harvest, follow the growing and care guidelines. Then, you'll enjoy delicious, juicy fruits all summer long.