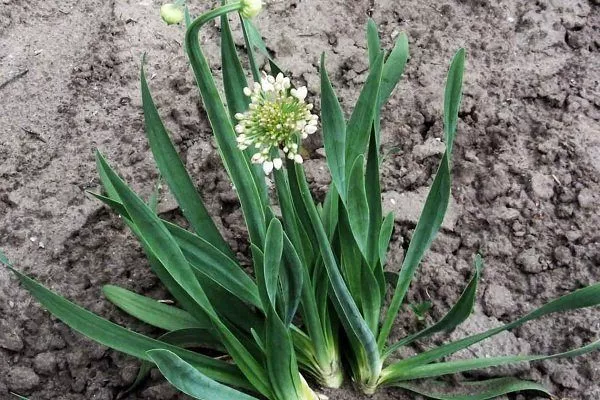
The slimy onion is also known as the drooping onion. It is a perennial crop. It is called the slimy onion because of the slimy sap that exudes when the leaves are broken, as well as the mucilaginous substances it contains, which have medicinal properties.
The slimy onion has juicy greens with a garlicky flavor.
Slime bulbs are not suitable for food.
Slime onion
Characteristics
In nature, the chives prefer steppes, meadows, and rocky slopes. They grow in Siberia, southeastern European Russia, and Central Asia.
The plant has the following characteristics:
- stem height – up to 70 cm;
- before flowering the stem is drooping, but with the onset of flowering it straightens out;
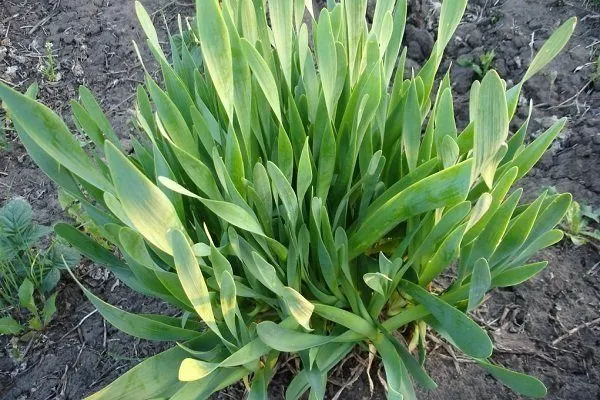
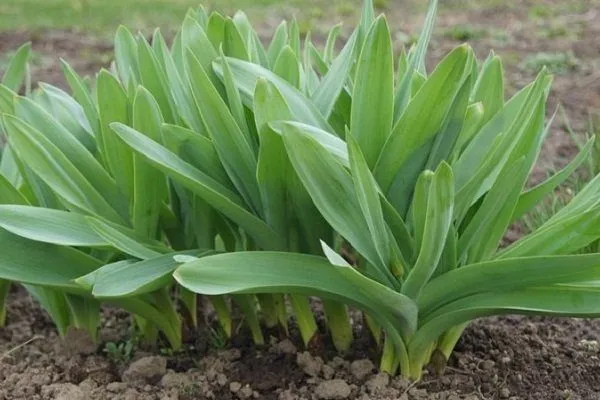
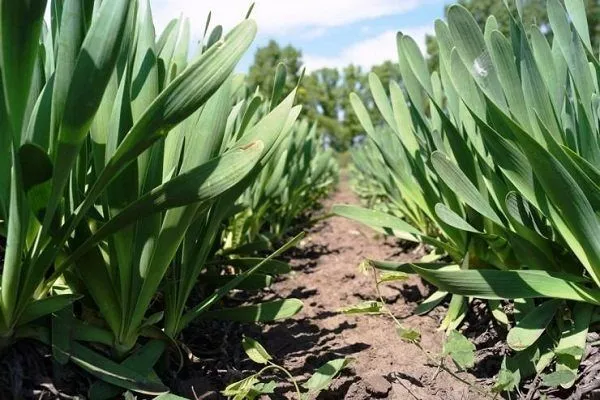
- 6-8 leaves up to 30 cm long and 4 cm wide are formed;
- the greens are crisp and juicy, the taste is usually mildly spicy with garlic notes;
- early vegetation – begins after the snow melts, the crop provides the earliest greens in the garden for the table;
- flowering in the 2nd or 3rd year of life;
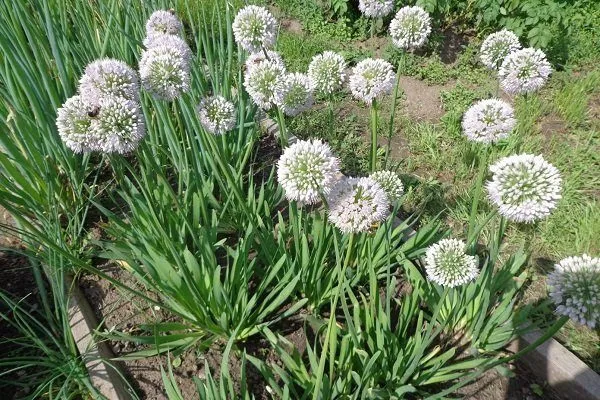
- formation of beautiful spherical inflorescences - whitish-pink, lilac, purple;
- frost resistance;
- moisture-loving;
- the formation of bulbs up to 1.5-2 cm in size are false and unfit for consumption;
- propagation in different ways - by seeds, by dividing the bush;
- growing in one place for 3-6 years.
The young leaves of the chives are primarily eaten. They are used as a green leafy vegetable, primarily in salads, and also as a spice for other dishes.
Popular varieties
| Name | Disease resistance | Soil requirements | Ripening period |
|---|---|---|---|
| Green | High | Loamy | Early |
| Dwarf | Average | Light | Average |
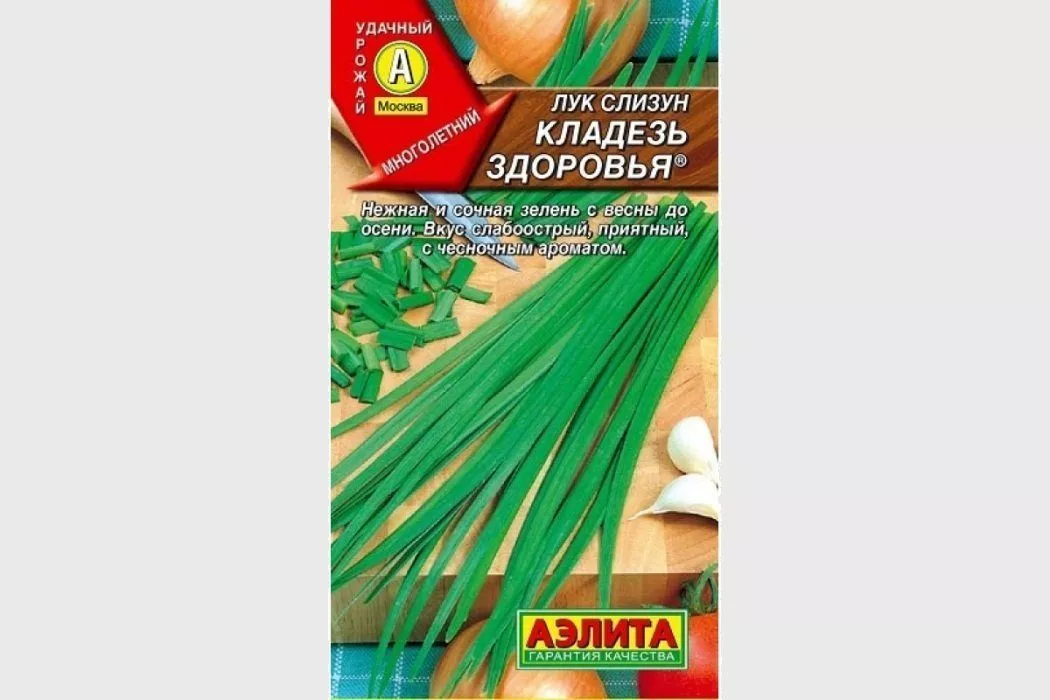
| A treasure trove of health | High | Loamy | Early |
| Leader | High | Loamy | Average |
| Charm | Average | Light | Early |
| Simbir | High | Loamy | Average |
There are different varieties of chives, but the most popular are the following:
- GreenA plant with a strong rhizome and tall stem. It produces large, flat, light-green leaves. The greens are mildly pungent and have a garlicky aroma. This variety can be grown in the same location for up to six years, producing high yields. Green is resistant to downy mildew and rust.

- DwarfThis variety has small, narrow, fleshy leaves with a moderately spicy flavor. Ripening time is mid-season.
- A treasure trove of healthAn early variety, the leaves grow evenly. The greens remain tender for a long time, with a sharp, garlicky flavor.
- LeaderA frost-hardy variety with a mid-season ripening period. The leaves are large, and vigorous growth begins after harvest. The greens are tender and juicy. The flavor is pungent and has a garlicky aroma.
- CharmThis variety is particularly attractive for its high vitamin content. The foliage is wide and long. A distinctive feature of this variety is the formation of sparse white flowers.
- SimbirThis variety is attractive for its frost resistance and high yield. The greens are juicy, and the foliage has a light waxy coating.


When choosing a variety, consider the climate of your region. This primarily concerns the crop's ripening period.
Optimal conditions for growing
Chives can be grown outdoors, in greenhouses, hotbeds, or in various containers, such as boxes and pots. In any case, remember to provide sufficient space, as the plant grows rapidly.
For successful cultivation, other conditions must also be met:
- Following crop rotation rulesIt's best to plant chives after cucumbers, cabbage, tomatoes, potatoes, and other nightshades. Planting after green manure is also effective. Any members of the onion family are poor predecessors.
- Sunny areaThe culture is frost-resistant and shade-tolerant, but also loves warmth and light.
- Preventing moisture stagnationIt's best to choose an elevated site without a high water table. Excess moisture negatively impacts the plant's root system and can cause the death of the entire plant.
It's not recommended to plant onion plants next to their bulbous cousins. This can affect the crop's flavor.
Chives are undemanding when it comes to soil conditions. They prefer loamy soils. Acidity is important. It may not affect the plant's growth and development, but it does affect the taste of the greens, imparting an undesirable bitterness. If the soil is acidic, dolomite flour, chalk, or lime should be added.
Chives are frost-hardy, so there's no need to dig them up for the winter. This is a good idea if you want to have fresh greens throughout the winter. In this case, dig up the rhizomes and plant them in containers or boxes.
No special winter cover is required for chives grown outdoors. You can cover them with grass or leaves if winters are particularly harsh.
Landing
There are several ways to plant chives. If you already have a healthy chive plant in your garden, you can propagate it by dividing the plant. For the first planting, you'll need seeds.
Seeds
The crop can be sown from seeds in open ground. Work begins no earlier than the end of April. Planting can continue until mid-summer.
- ✓ Optimum temperature for seed germination: +18°C to +20°C.
- ✓ Seed planting depth when sowing: no more than 1.5 cm to ensure uniform germination.
You need to act according to the following algorithm:
- Prepare planting materialTo disinfect, soak it in a potassium permanganate solution for 15 minutes. Using a growth stimulator is also recommended; follow the instructions.
- Germinate the seedsTo do this, they need to be placed in a damp cloth, periodically moistening it so that it does not dry out.
- Prepare the area for plantingThe soil should be tilled with compost or rotted manure in the fall. In the spring, loosen and level the soil. Make furrows 1.5-2 cm deep, leaving 20-30 cm between rows, and water them.
- Sow the seedsIf the seeds were sown in April, it's recommended to provide cover. Covering the beds with plastic or other covering material is sufficient. The crop is frost-resistant, but hasn't yet had time to establish roots, so frost is a risk.
As the crop grows, thinning is necessary. Ultimately, there should be at least 15 cm between adjacent plants.
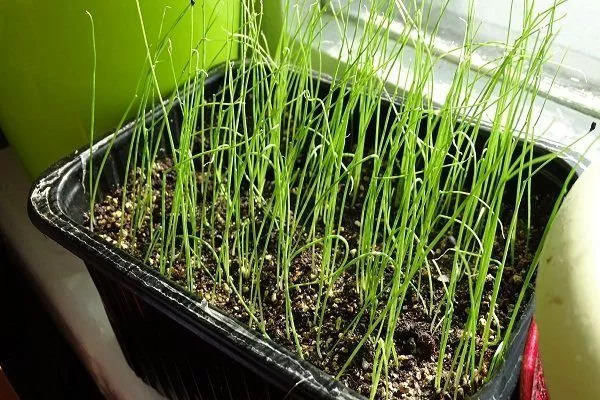
Seedlings
Onion seedlings can be grown in plastic containers, boxes, pots, and cups. Sow the seeds in late February or early March.
You need to act according to the following algorithm:
- Prepare planting materialTo speed up germination, it's recommended to soak the seeds in warm water for 24 hours. Afterward, let them dry.
- Prepare containers for plantingFill them with soil and make furrows. Deepen the soil to a maximum depth of 1 cm. Water the furrows immediately before planting.
- Sow the seedsThere is no need to plant them deep, just cover them with a layer of soil.
- Cover the containers with glass or filmThe crop only requires shelter until seedlings emerge. During this time, it should be kept in a warm place.
- When sprouts appear, place the containers with seedlings in a place with good lighting.If necessary, use additional light sources.
- PickingThis should be done as needed if the planting is too dense. It's best to prune in several stages, leaving only the strongest and healthiest specimens.
- WateringWater seedlings moderately. Watering frequency should be adjusted based on soil conditions.
- HardeningThis stage should begin 1-1.5 weeks before planting outdoors. The first few times, the seedlings should be taken outside for 15 minutes. This time should be gradually increased.
When planting in open ground, it is recommended to leave at least 15 cm between adjacent plants, and 20-30 cm between rows.
By dividing the bush
This propagation method is suitable for plants that are at least three years old. Only strong, healthy plants can be divided. This can be done in the fall or spring. If all the work is done in the fall, the transplanted plants will already be producing their first green shoots in early spring.
| Method | Time until the first harvest | Complexity |
|---|---|---|
| Seeds | 2 years | Average |
| Seedlings | 1 year | High |
| By dividing the bush | Current season | Low |
You need to act according to the following algorithm:
- Carefully dig up the bushIn this case, you need to try to avoid damaging the root system.
- Divide the bush into several partsYou need to focus on the number of bulbs. There should be at least three bulbs left on each section.
- Shorten the rootsThey only need to be trimmed a little.
- Plant parts of the bush into pre-prepared holes, sprinkle with soil.
The appeal of this method of propagating chives is that it rejuvenates the crop. As the plant ages naturally, it begins to degenerate, which affects the abundance of greenery and its flavor.
Caring for a plant in open ground
Growing chives requires comprehensive care.
Watering
The plant requires regular but moderate watering. Insufficient moisture affects the quality of the foliage, making it coarse and less juicy. Watering frequency should be adjusted to the soil condition. When the soil dries out to a depth of 2-3 cm, it's time to water the beds.
Watering should be stopped in August-September after the last cutting of greenery.
Top dressing
For good growth and development, chives require several additional fertilizers:
- in autumn it is necessary to add organic fertilizers – compost, rotted manure;
- in the spring After the snow melts, resort to complex fertilizers suitable for this crop - you need to dissolve 20 g of the product in a bucket of water;
- in the summer It is useful to use urea for feeding.
Weeding and loosening
Avoid allowing moisture to stagnate around the plant's roots, so loosen the soil regularly. This is best done after each watering. Loosen the soil after rain as well. Loosening not only improves moisture penetration but also improves oxygen access to the root system.
A crucial step in growing chives is regular weed control. Without timely weeding, weeds will draw out essential nutrients, slowing growth and development. The plant will begin to wither and may even die.
Mulching is also used. This technique helps retain moisture. Grass clippings can be used as mulch, which later becomes an excellent fertilizer.
Pest and disease control
The onion is resistant to many diseases and pests, so if crop rotation and cultivation rules are followed, problems usually do not arise.
One common problem is the onion fly. The larvae damage the plant by devouring it from the inside. Preventative measures include dusting with tobacco dust and treating with wood ash. A solution of laundry soap when watering is also helpful—it also protects against other pests.
If fungal diseases occur, fungicides should be used. To prevent bacterial and viral diseases, a weak solution of potassium permanganate is helpful. This solution should be applied to the soil and also to the cut areas after harvest. When applying the solution, be careful not to wet the deeply cut areas.
The condition of your plantings should be regularly inspected. If signs of disease or pests appear, take immediate action. In most cases, affected plants should be removed and burned.
Harvesting and storage
The exact harvest time depends on the chives variety. Several harvests are made during the season.
The first cutting is done when the leaves reach 25-30 cm in length. The next harvest can be done in 4-6 weeks. The last cutting is in September. After this, the plant should be left alone to allow it to accumulate strength for the winter.
Three to five cuttings are made per season. These not only provide delicious and tender greens for the table but also stimulate foliage growth and bushiness.
When spring-planted, chives can be harvested the following year. The same timeframe applies when sown in winter.
It's recommended to cut the greens in damp weather. Cut greens don't keep for long, even in the refrigerator. They can last up to two weeks. Store the greens in plastic bags.
For longer-term storage, don't cut off the greens; dig them up along with the bulbs. It's best to store them in boxes in this form. These boxes should be stored in a cellar or basement.
An overview of the slime onion can be seen in the following video:
Chives provide the earliest greens, whose medicinal properties make them useful for a variety of ailments. With proper care, the crop will grow successfully for several years in the same location, producing several harvests per year.