Lider is a popular potato variety grown by gardeners across the country. It has received numerous positive reviews for its low maintenance and high yields. The crop is disease-resistant and ripens quickly. Agronomic practices directly impact the size and quality of the tubers.
Characteristics of the Lider potato
The Lider variety was created by a group of outstanding Ural breeders—V. P. Koksharov, E. M. Klyukina, and E. P. Shanina—at the end of the last century. After undergoing field trials in Siberia and the Trans-Urals, it was added to the State Register of the Russian Federation in 2002.
Plant characteristics
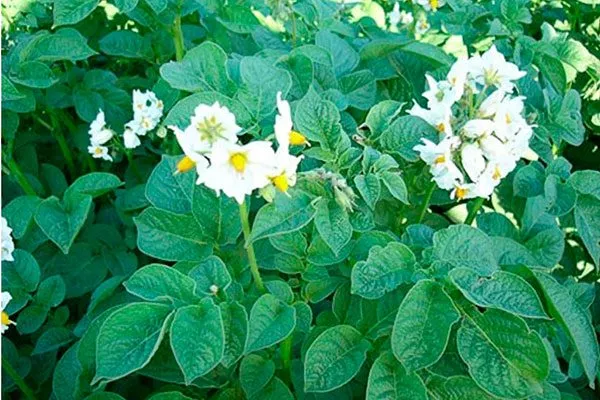
The plants are characterized by low, intermediate-growing bushes composed of semi-erect stems. The tops are covered with medium-sized leaves with smooth or slightly wavy edges. The foliage is green. During flowering, they are covered with small white flowers.
Characteristics of tubers
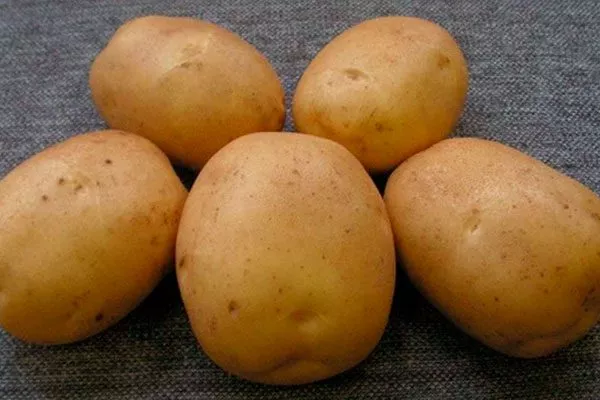
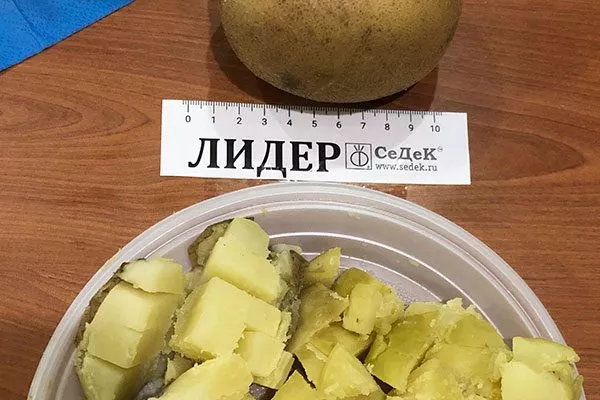
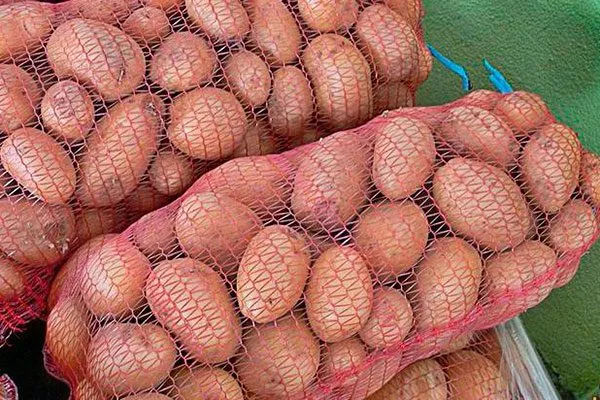
The tubers are oval-round in shape, covered with a yellow smooth skin and weighing on average from 90 to 120 g. Other distinctive features:
- Small eyes are located on the surface.
- The flesh is white, with a low starch content.
- When cooked, it does not boil over or darken, and has a good taste.
Productivity and disease resistance
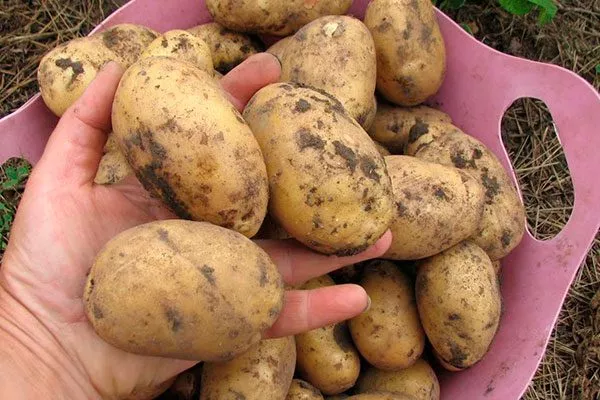
One of the main advantages is the early and simultaneous formation of tubers. After just the first digging, up to 100 kg of new potatoes can be harvested from an area of 100 square meters. During variety trials, the average marketable yield ranged from 20.7 to 24.8 tons per hectare.
Another characteristic of this variety is the compact arrangement of tubers in a nest, which facilitates planting and harvesting. It is resistant only to potato wart, but can be susceptible to golden cyst nematode and late blight.
Ripening time
It belongs to the early type. From germination to harvest, the average time is 45 to 55 days.
Pros and cons of the variety
Suitable for both table and industrial use, Lider is characterized by high hardiness, easy establishment, and excellent tuber flavor.
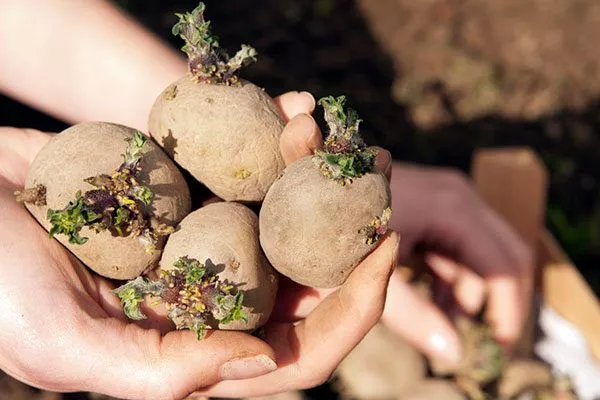
Preparing tubers
Seed potatoes are prepared for planting within a month. Summer is considered the optimal time to begin preparing tubers. Avoid selecting small tubers for planting, as this can reduce yield. Carefully sort the tubers and remove any poor-quality or diseased specimens, as planting them can negatively impact the entire plant.
- ✓ The optimal tuber size for planting is from 50 to 80 g, which ensures a balance between germination energy and resources for plant development.
- ✓ Tubers must have at least 3-5 eyes, evenly distributed over the surface, to ensure uniform development of the bush.
When preparing tubers, consider several factors:
- Select the best tubers from the harvest: those with the correct shape and color, and the least number of eyes.
- Green the area in the autumn months, which will help protect the potatoes from pests, diseases and rodents.
- If premature potato sprouting occurs in the spring, break off the young shoots.
- Store planting material at a temperature of +12°C to 16°C to avoid wilting and softening of tubers and too rapid growth of sprouts.
- Germinate seed potatoes in a dry place using wooden boxes, wood shavings, ventilated polyethylene, or simply placing the tubers on the floor.
The variety prefers uniform light, as in darkness, the tubers may sprout prematurely, which can negatively impact the timing and quality of the harvest. Adequate light will ensure an early harvest and prompt germination.
- ✓ Lighting should be diffused, lasting at least 8 hours a day, to avoid stretching of the sprouts.
- ✓ The air humidity in the germination room should be maintained at 85-90% to prevent the tubers from drying out.
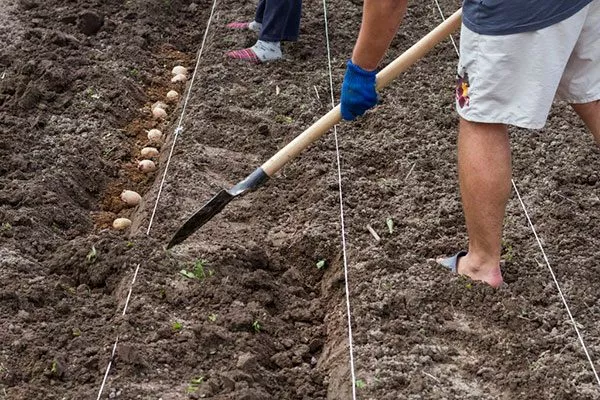
Landing features
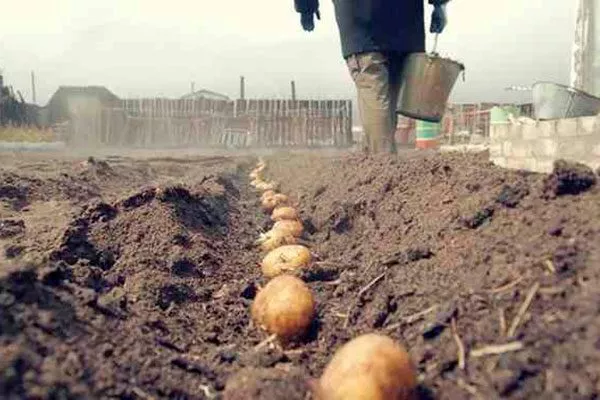
Begin planting tubers when the air temperature is 15-16°C and the soil warms to 12°C. Moisten the soil to a depth of 10-15 cm, otherwise the seeds may not take root well. Sprouted potatoes should be planted outdoors in early May, and in a greenhouse, mid-April is the right time.
Helpful tips:
- Begin preparing the plot in the fall, after the harvest. The best place for potatoes is where winter crops, flax, and other grasses were grown.
- Loosen the soil and treat it with compost a few days before planting.
- Dig the holes in advance and add humus to the bottom. The depth of the holes depends on the soil type, but is typically 6-7 cm in heavy soils and 12-13 cm in light soils.
- The distance between bushes and the width between rows must correspond to optimal parameters.
Care instructions
The Lider stands out for its stress resistance and undemanding nature, making its care easy and stress-free. According to its characteristics, this potato responds favorably to highly nutritious fertilizers, regular soil loosening, and adequate moisture.
Perform simple agricultural practices:
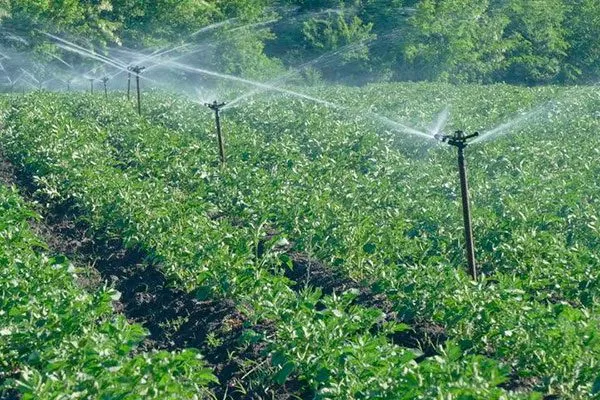
- Although this plant prefers a cool climate, it does not tolerate heat or lack of moisture. During dry periods, water the plants weekly, using 2 liters of settled, slightly warmed water per plant. Under favorable conditions, watering once a month is sufficient.
- Loosen the soil around the plants every 5-6 days to a depth of 15 cm, being careful not to damage the roots. Loosen the soil between the rows to keep the soil crumbly. This is especially important during prolonged periods of rainfall to prevent the formation of an air-tight soil crust.
- Mulching has a positive effect on the crop, improving soil fertility and preventing weed growth. Apply a 30 cm layer of straw immediately after planting potatoes and add more as needed over time.
- Fertilize the plantings with superphosphate, bird droppings, or a urea solution. Apply the first fertilizer when the buds begin to bloom, and the second after flowering.
Hilling up the soil around the bushes not only protects the roots from rain and cold but also regulates their growth. Perform this procedure twice per season: once after the plants reach a height of 15-16 cm, and again at the beginning of flowering.
Diseases and pests
Lider has a high degree of immunity. With proper care and preventative measures, it rarely becomes ill, even under adverse conditions. The variety is resistant to blackleg, dry rot, and rhizoctonia. However, it often suffers from late blight and is susceptible to pest attacks.
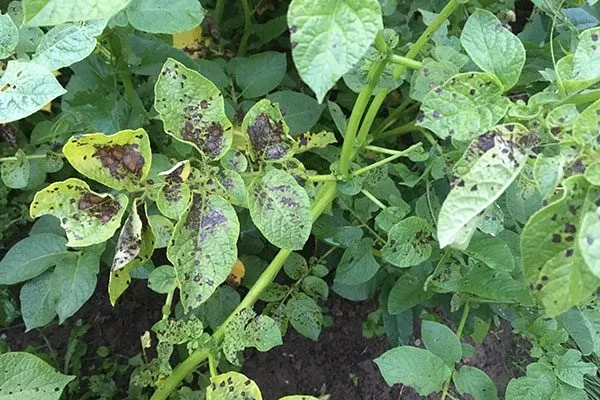
Late blight
Potatoes are affected by high humidity and dense plantings. The first signs of the disease are dark spots on the leaves, which can develop into rotting cankers. Prevention of late blight includes irrigation with copper sulfate and treatment with fungicides.
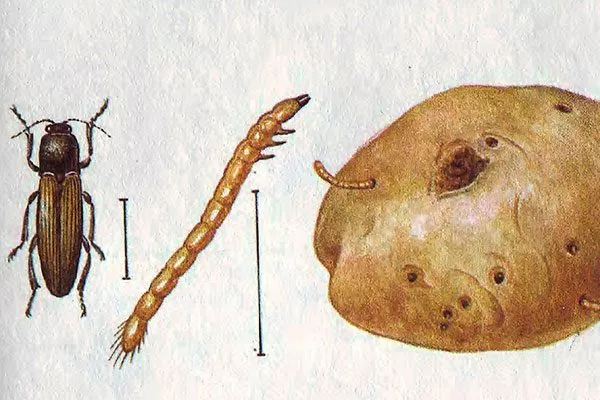
Wireworm
Click beetles, also known as wireworms, can cause serious damage to crops. These parasites eat away at root crops, causing plants to wilt. Prevention involves using fertilizers and spraying with specialized products.
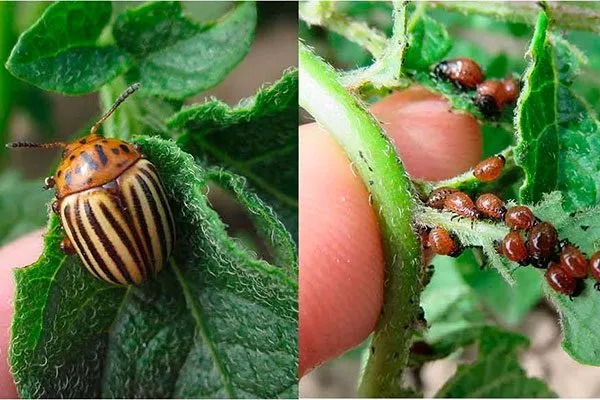
Colorado beetle
It is one of the most dangerous pests and can cause significant crop losses. To combat it, use mulching and spraying with specialized products. Be sure to calcine the soil before planting seeds.
Harvesting and storage
After the crop has ripened, harvest and store it properly. This procedure should be performed after the potato tubers have fully formed and the plant begins to die back. Carefully dig up the tubers, avoiding damage, and leave them on the soil surface for several hours to dry.

After harvesting, thoroughly clean the tubers of soil and leave them in the air for a while to dry. Inspect for damage and sort out any damaged specimens.
Storing Lider potato crops requires certain conditions. The main ones are cool temperatures (5 to 7°C) and high humidity (85 to 90%). Store the tubers in a cool, dark place to prevent sprouting and maintain their quality.
Gardeners' reviews
Since its introduction, the Lider potato has established itself as a leader among early varieties in several characteristics. It boasts high drought tolerance, high yields, a long shelf life, and a large number of tubers that mature on a single plant. With proper care, harvests will be abundant and high-quality.