When choosing early potato varieties, gardeners pay attention to the Vega variety. This early-ripening variety is distinguished by its high productivity, excellent adaptability to various weather conditions, drought and frost resistance, and reliable protection against many common vegetable diseases.
Breeding history
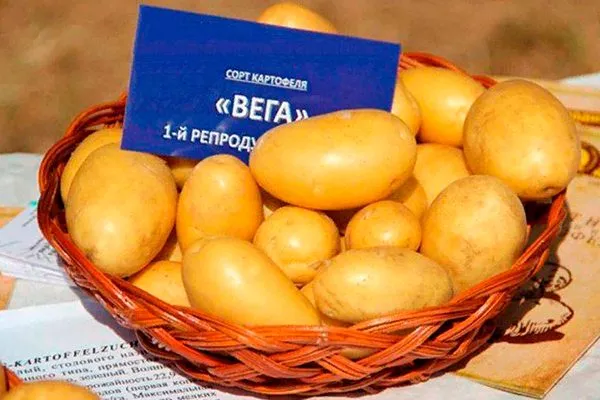
A German breeder created this variety. It was added to the Russian State Register in 2013 after undergoing trials that began in 2010.
Description of the variety
The Vega variety is an easy-to-grow variety that responds well to careful cultivation and soil loosening. It is known for its calibrated fruits with an attractive appearance.
Other significant characteristics include rapid and simultaneous emergence of seedlings, as well as the ability of the tops to quickly close when planted in rows. Vega tubers retain their adaptability to storage well and are resistant to sprouting.
Characteristics of the appearance of the bush and root crops
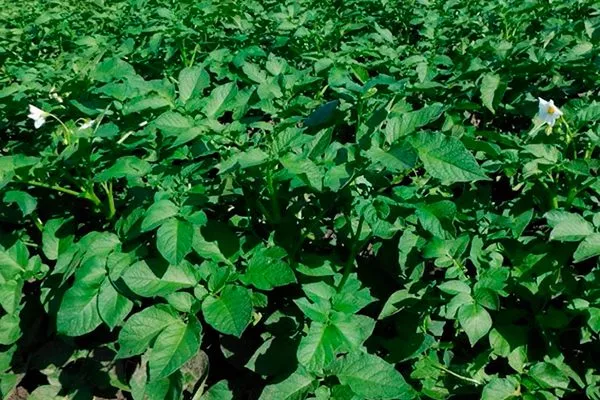
The Vega potato variety is a medium-height, intermediate-growing variety, characterized by upright or semi-upright shoots. The foliage is abundant, with large green leaves that are slightly wavy at the edges. The large white flowers have almost no anthocyanin coloration on the underside.
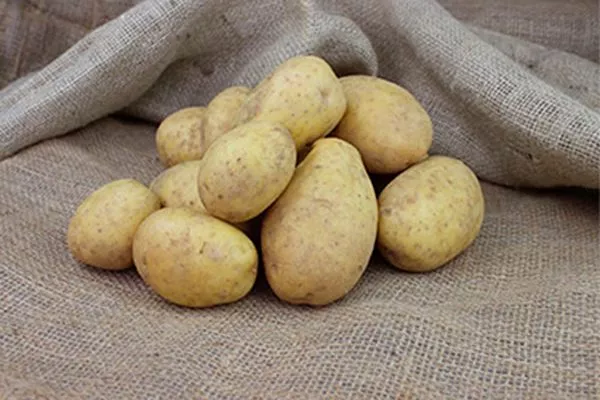
The tubers are medium-sized, weighing between 87 and 120 grams each. They have a regular, oval shape. The skin is yellow, and the flesh is darker. The outer surface is slightly reticulated with tiny eyes. Potatoes of this variety store well.
Purpose and taste of tubers
The tubers have a high marketability, with yields of up to 87-95%, making them commercially promising. The potatoes have excellent flavor and are suitable for a variety of uses, including frying, boiling, making entrees, and salads.
Potatoes retain their shape well after cooking. They do not darken, and their starch content ranges from 10.1% to 15.9%.
Maturation
Vega is an early variety. From germination to harvest, it takes 80-90 days.
Yield and shelf life
The average yield ranges from 229 to 377 centners per hectare, with the maximum predicted yield reaching 484 centners per hectare. The tubers of this variety can be stored for up to a year.
Tuber marketability ranges from 87-95%, and shelf life reaches 99%. This variety is characterized by a lack of tendency to form sprouts, which is favorable for storage and consumption, but may not be effective enough for planting.
Growing regions
This variety is intended for cultivation in the Central Russian region. It is also successfully grown in the Central Black Earth Region, while in more northern regions, Vega is valued for its rapid harvest.
Advantages and disadvantages of the variety
The Vega variety has many advantages for which gardeners appreciate it.
Features of planting operations
Planting Vega potatoes doesn't take much time or effort, but it does require certain requirements. It's important to adhere to the planting timing and prepare the planting material in advance.
Planting dates
The optimal time for planting potatoes depends on the region where the crop is grown. Traditionally, potatoes are planted in late April. In colder regions, this period is shifted to mid-May to avoid possible ground frosts.
Preparation of seed material
Preparing seed tubers plays an important role in ensuring more uniform germination. This stage involves warming the tubers in a warm room at a temperature of 15-18°C. This process takes 2-3 weeks.
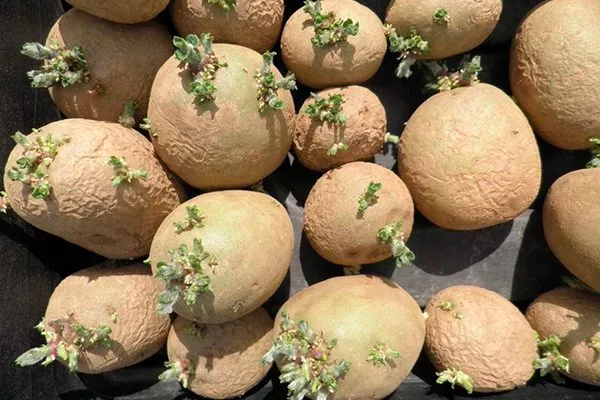
During this time, the tubers germinate and undergo physiological adaptation. This facilitates rapid and simultaneous development in the soil.
Site preparation
Ideally, the site should be prepared for planting in the fall. To do this, we recommend digging the soil to the depth of a spade and adding superphosphate granules at a rate of 30 g per square meter.
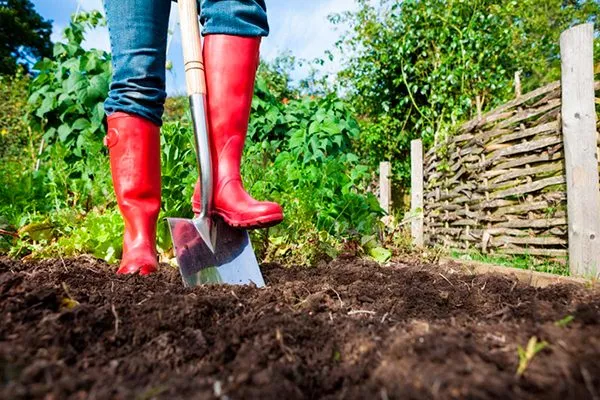
If the site is located on heavy loam soil, add additional humus and sand at a rate of 5 kg per square meter. Over the winter, precipitation and low temperatures will loosen the soil well.
Planting pattern and process
Before planting Vega potatoes, carefully inspect the seeds, eliminating any that lack sprouts. To ensure uniform germination, plant the seeds at the same depth. No additional watering is required after planting.
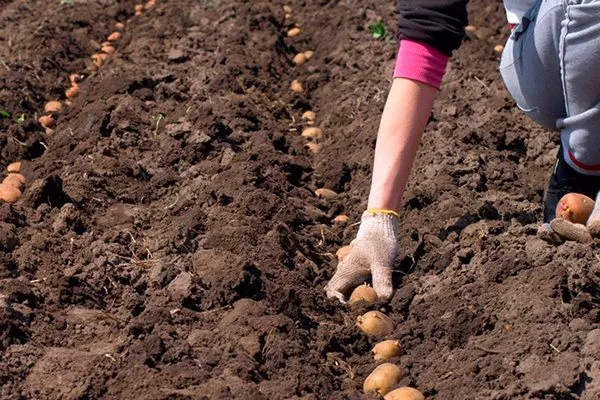
The planting recommendations are as follows:
- In spring, after digging the soil, form furrows, keeping 60-70 cm between them.
- Place the tubers at a distance of 35-40 cm from each other along the furrows.
- Place a small amount of ash and some ammonium nitrate next to each tuber.
- Sprinkle each row with soil, forming small mounds.
Care
Potato care involves important agricultural practices. To ensure a good harvest, it's important to ensure the crop is watered, fertilized, and provided with a number of other measures.
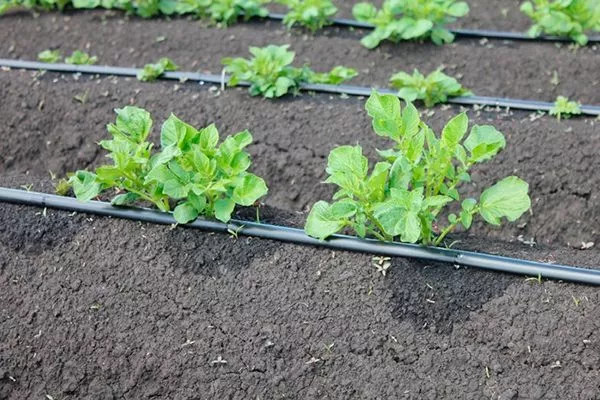
Watering
Apply the first watering once the seedlings reach a height of 10 cm. Before this, water only if the soil becomes significantly dry. Subsequently, water less frequently but generously, constantly monitoring the soil moisture levels.
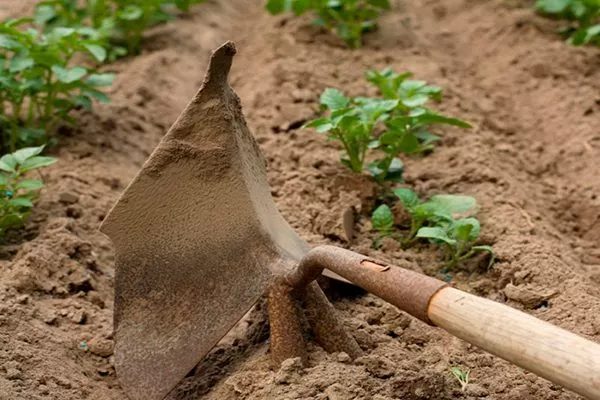
Loosening
Regular weeding between rows effectively prevents weeds from spreading and protects Vega potatoes. This variety reacts negatively to moisture and nutrient deficiencies, so eliminating competitors for nutrients is essential.
Weeds can also carry diseases and provide a haven for pests. Therefore, it's important to regularly remove weeds to maintain healthy and productive potatoes.
Mulching
Mulching is an effective potato crop management technique, offering a number of benefits and ensuring favorable conditions for plant growth. Features of mulching:
- Mulch acts as a barrier to prevent moisture from evaporating from the soil, which is especially important during periods of drought.
- A thick layer of mulch helps suppress weed growth, reducing competition for nutrients.
- Mulch provides additional thermal insulation, helping to regulate soil temperature throughout the seasons.
- Mulching prevents direct contact of tubers with sunlight, helping to reduce the risk of solanine formation.
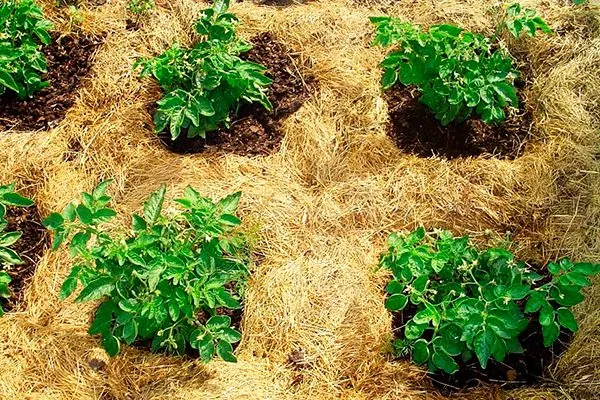
Potato mulching procedure:
- Grass, straw, sawdust, and compost can be used as mulch. The choice depends on availability and the mulching purpose.
- Spread mulch evenly around the potato plants once the plants reach a height of about 10 cm.
- Create a layer of mulch approximately 5-10 cm thick. Make sure the roots and tubers remain covered.
- Leave a small space around the base of the plants to avoid moisture retention in this area.
Renew the mulch layer periodically, especially after heavy rains or when the material begins to decompose.
Hilling
Low-growing bushes should be hilled twice during the season. Before hilling, be sure to weed between the rows. As with other varieties, Vega does not tolerate excessive weeds; they should be removed periodically, even if they do not grow tall.
Hilling should be done after rain, when the soil is moist. This procedure will ensure rapid germination and ripening of the crop.
- ✓ For the first feeding, use a solution of mullein (1:10) or chicken manure (1:20) in a volume of 0.5 l per bush.
- ✓ The second feeding should include microelements such as magnesium and boron to improve flowering and tuber formation.
Top dressing
Vega has high fertilizing requirements. Three applications of fertilizer are recommended during the season. The first application is made when the first shoots emerge, when the plants reach a height of about 30 cm. For this, use urea (25 g) and potassium sulfate (15 g) per square meter.
Apply the second fertilizer before budding begins. Apply potassium phosphate in small doses per square meter, according to the product's instructions. The third fertilizer is necessary after the bushes have finished flowering. During this period, use potassium sulfate (15 g).
Diseases and pests
Like many other vegetable crops, potatoes are susceptible to pests and various diseases. Vega can be affected by late blight, a fungal disease controlled with fungicides. The variety is also susceptible to attacks by the Colorado potato beetle and wireworms, which can be controlled with insecticides.
Wrinkled mosaic
Potato rugosa mosaic is a viral disease that affects the leaves and tubers of the plant. Symptoms include the appearance of light veins on the foliage, leaf curling and drying, and failure of tubers to form.
To combat wrinkled mosaic, the following measures are recommended:
- Prevention. Select healthy seeds and tubers for planting. Regularly inspect plants for signs of disease.
- Destruction of affected plants. If signs of rugose mosaic are detected, remove and destroy affected plants immediately. This will help prevent the spread of the virus.
- Control of insect vectors. Aphids and other insects can carry the virus. Use pest control products to control these pests.
- Compliance with agrotechnical measures. Provide plants with good growing conditions, including proper watering, fertilizing, and loosening the soil.
- Chemical protection. In case of severe infestation, the use of chemicals may be required.
Early detection and proactive precautions can help reduce the risk of disease and preserve potato crops.
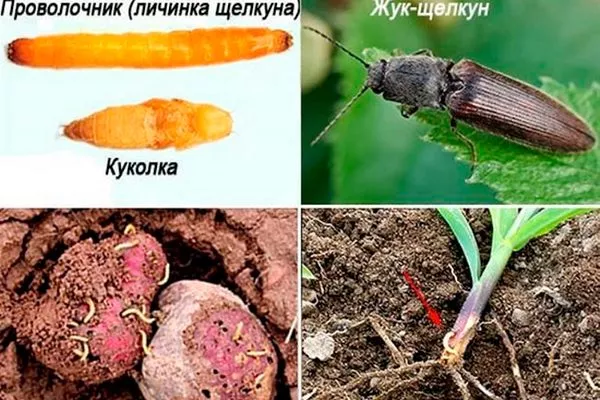
Wireworm
A pest capable of causing crop damage is the wireworm, which often appears in areas overgrown with weeds and acidic soil. This insect damages potato tubers by gnawing paths inside, leading to rotting and death of the plants.
Start fighting this pest immediately after discovering it on your property:
- Among chemical preparations with protective properties, use ammonium sulfate or ammonium chloride (30 g per 1 sq. m), ammonium nitrate (20 g per 1 sq. m).
- Effective remedies include Aktara, Prestige, and Provotox.
Preventative measures to protect the Vega variety from this pest are extremely important. Regular weeding and generous watering during dry periods will help reduce the risk of this dangerous insect appearing in the garden. In acidic soils, adjust the pH level by adding dolomite flour or limestone.
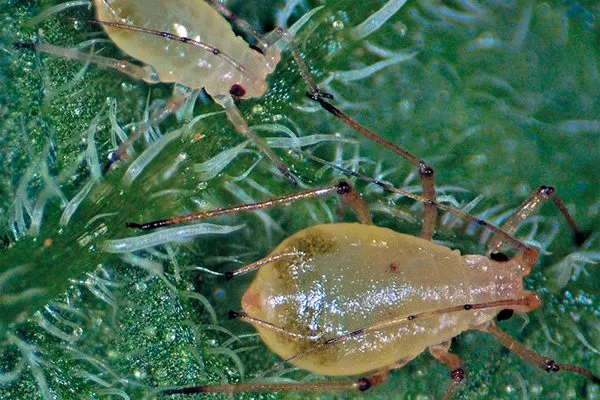
Potato aphid
The potato aphid is a pest that feeds on plant sap, including that of potatoes. The insect is a small beetle with an oval, shiny body, up to 3 mm long. Aphids can be winged or wingless. They form large colonies, nesting on the undersides of leaves and young shoots.
Signs of potato aphid infestation:
- Sap feeding causes yellow spots on leaves, which can cause stunted plant growth.
- Leaves may become warped, curled, and less stable.
- Aphids can secrete a sticky liquid on which black fungal mold develops, which further impairs photosynthesis.
Methods of controlling potato aphids:
- Wash off aphids with a gentle stream of water or mechanically remove them from plants.
- Use insecticides according to instructions and dosage. For extensive infestations, chemical treatments such as Aktara, Actellic, and Confidor are recommended.
- Attract natural enemies of aphids, such as predatory insects, which can help control the population.
Regular plant inspections and prompt action will help minimize the damage caused by potato aphids. For prevention, weed regularly, remove the tops after harvesting, and eliminate ants that facilitate the spread of aphids.
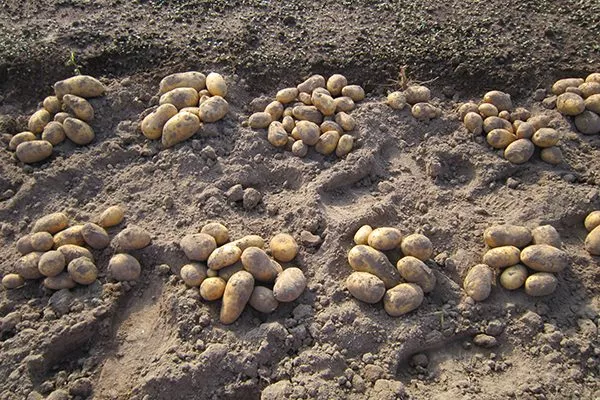
Harvesting and storage
Once the potato tops are completely dry, begin harvesting. Two weeks before digging up the potatoes, remove the tops by removing them from the plot or cutting them down. Dry the dug-up tubers in the open air, then move them under cover. Then store them in a dark, dry, and ventilated area.
Reviews
We followed good care, adding green manure the previous year, applying fertilizer in the spring, and hilling up the soil at the right time. The potatoes have excellent flavor and beautiful yellow flesh; they cook quickly and hold their shape once cooked.
Growing the Vega potato variety is a promising prospect for gardeners. This early-ripening variety boasts outstanding yields and adapts to a variety of climates. Maintaining optimal growing conditions, including proper care, is essential to ensure a successful and bountiful harvest.