The essence of the Dutch potato growing method is nothing new. However, it emphasizes the proper implementation of long-forgotten rules and regulations. The idea is to strictly adhere to deadlines and follow specific growing procedures, many of which Russian gardeners have never even heard of.
Key Features
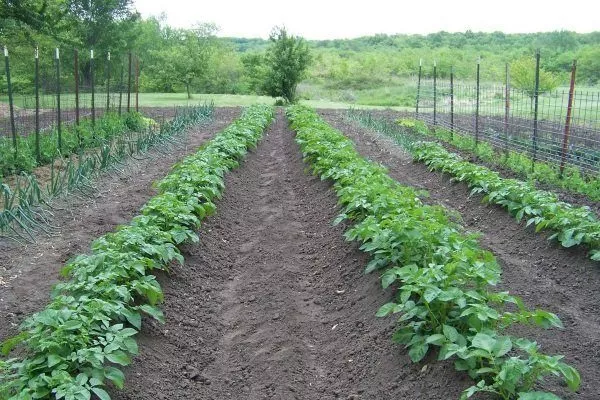
The Dutch potato growing technique is distinguished by its emphasis on soil aeration. Good soil loosening and ridge planting significantly increases yield. Furthermore, the Dutch maintain very wide spacing between rows (starting from 70 cm).
Yes, this means you'll be able to plant fewer plants, but if this method of growing allows you to get 2 kg of excellent quality tubers from one bush, is that really a disadvantage?
To get the same luxurious harvest as the Dutch, it is important to approach the potato growing process with the utmost responsibility:
- for planting, potato plants of specific varieties are used;
- the planting material must be of ideal quality – the second reproduction (and there are no exceptions to this rule);
- You can plant potatoes in one place no more than once every 3 years;
- the soil is constantly fertilized, and this is done using a special method;
- Potato plantings must be treated with various chemicals, the purpose of which is to destroy infectious diseases and various pests;
- Soil cultivation (in spring or autumn) is carried out within fairly strict timeframes, necessarily in accordance with a clear set of rules and requirements.
The main rules of Dutch technology
To ensure abundant potato production and impeccable quality, it's crucial to strictly adhere to the basic requirements and conditions. The foundation of the technology lies in the rigorous execution of all steps, the use of the highest quality ingredients, and long, painstaking work.
All of this is so important that if there is even the slightest doubt about any aspect of cultivation, it's best to abandon the technology. It won't yield the expected results, and the effort, time, and money spent will be extremely significant.
What varieties are allowed to be used?
| Variety | Yield (t/ha) | Ripening period | Disease resistance |
|---|---|---|---|
| Impala | 45-55 | Early (50-60 days) | Average susceptibility to late blight |
| Red Scarlett | 45-60 | Early (70-80 days) | High to nematode |
| Mona Lisa | 40-50 | Mid-early (80-90 days) | To the scab high |
| Romano | 35-45 | Mid-early (80-90 days) | Average susceptibility to late blight |
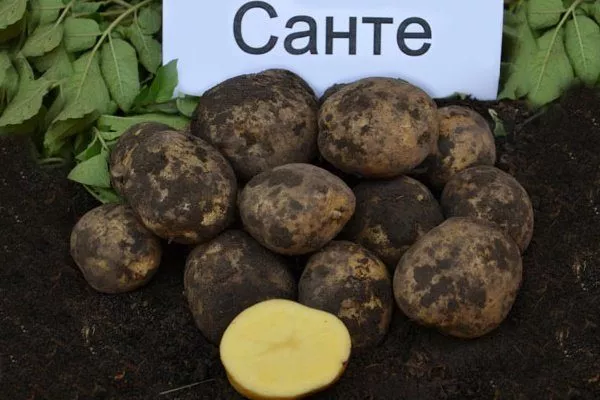
| Sante | 50-60 | Mid-early (80-90 days) | High susceptibility to viruses |
To achieve Dutch-quality potato yields, only the best potato varieties with high yields and tuber quality are used. Even standard yields of these varieties reach 40 tons per hectare, which is already a very good result. With proper technology, this yield can be doubled or even more.
Among the most common varieties that can be used, the following stand out:
- Impala
- Red Scarlett
- Mona Lisa
- Romano
- "Santé"
Impala variety
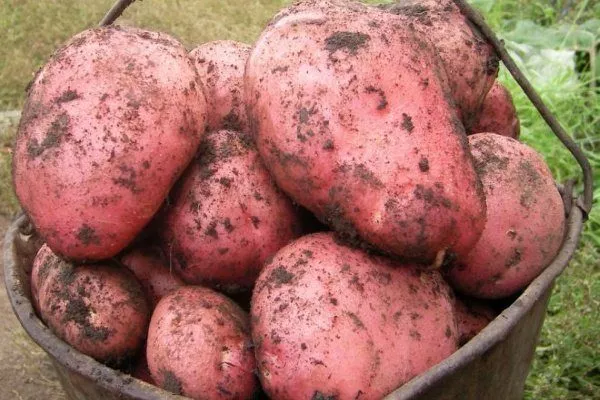
Variety "Red Scarlett"
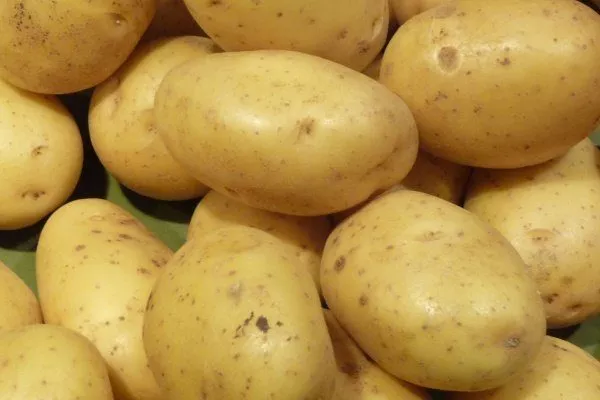
Potato variety "Mona Lisa"
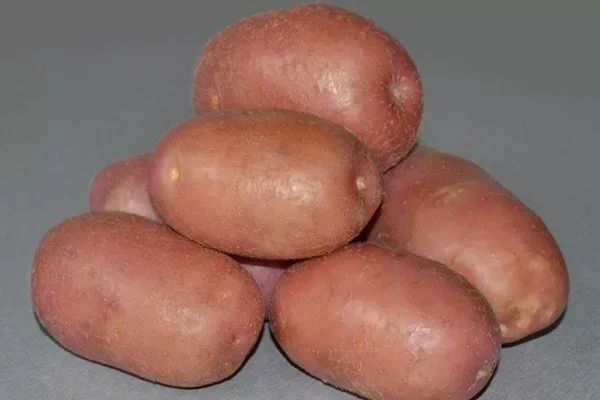
Potato variety "Romano"
Variety "Santé"

However, these are far from the only potato varieties that can be grown using Dutch technology. With careful study of their characteristics, other varieties can be used, but it's important to always remember that their characteristics must be impeccable.
Planting material
Without a doubt, it must be:
- extremely healthy, that is, not a carrier of scab, late blight and other diseases;
- the need to change the variety of potatoes grown every 4-5 years is critical;
- not be damaged by various pests;
- planting tubers should be no more than 5 cm (and no less than 3 cm) in diameter;
- their germination rate must be higher than 95% (only this quality of planting material is suitable, deviations are unacceptable).
Planting conditions and scheme
A special tuber placement scheme is of great importance, especially protection from various pests and diseases. It's safe to say that this factor is critical to obtaining a good, high-quality harvest.
Fertilizer application is also strictly tailored to the selected potato variety and its specific needs. Furthermore, the technology precisely regulates the timing and frequency of hilling, as well as the height of ridge formation.
Timely harvesting
The process contains a key nuance: if the harvest is carried out for the purpose of obtaining seed material, then this is done almost a month earlier (relative to harvesting for food purposes).
This collection rule is extremely important, since thanks to it you can count on very good germination results in future plantings.
This is only a superficial description of Dutch technology. Next, we'll examine the basic process of potato cultivation in detail.
Soil requirements
It's well known that loose soil is best for growing potatoes. This is precisely what is emphasized when using Dutch cultivation technology:
- Even before the tubers are planted in the ground, it is thoroughly processed (the soil is plowed and milled as responsibly as possible);
- the width between the beds should be 70 cm;
- Potatoes can be grown within the same plot of land no more than once every 3 years;
- the soil must be given rest: during the time when potatoes are not grown, only weeds are mowed and various means are used to combat them;
- Potatoes are planted in places where rye, oats and legumes were previously grown. It is recommended to sow the area with oats in the fall, and then dig it up in the spring and prepare for growing potatoes (it is important not to forget the 3-year rule);
- The Dutch predominantly use large quantities of mineral fertilizers/herbicides, but in a small garden plot it is possible to get by with using only organic fertilizers.
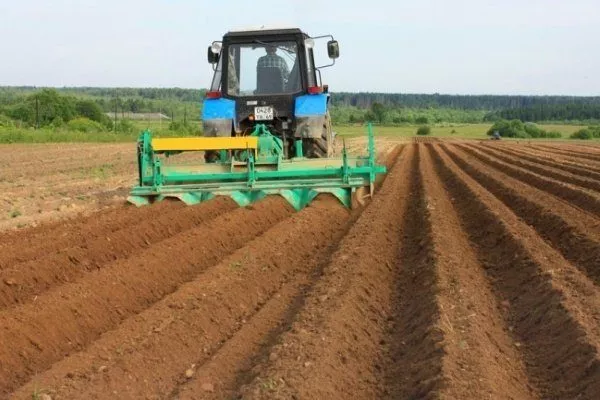
Soil preparation plan
- Autumn: deep plowing (25-27 cm) with soil turnover
- 2 weeks before planting: milling to 12-15 cm
- 3 days before planting: cut ridges 8-10 cm high
- After planting: bring the ridges to 23-30 cm
- Row spacing: continuous loosening without turning the soil layer
The plot is fertilized in the fall/spring just before planting. The soil should be thoroughly dug or shallowly (22-27 cm) plowed with a reversible plow. After this, the soil is fertilized with humus or compost. Superphosphate, potassium chloride, and other fertilizers with a high nitrogen content are acceptable (and recommended for some varieties).
These rules apply only to autumn cultivation and flat areas. If potatoes are planned for planting on slopes, they should not be dug or fertilized in the fall: spring water will simply wash away all the nutrients, making the soil unsuitable for growing potatoes.
Humus plays a vital role in a high potato yield. Its presence is crucial, and the amount should be at least 2%.
Requirements for planting material
When growing potatoes using the Dutch method, great care must be taken with the planting material. The final harvest and its quality depend on how carefully you approach this matter.
If the tubers are diseased or have poor germination, the harvest will be poor, regardless of the work done. Therefore, it's important not only to care for the soil but also to use high-quality planting material.
The most important criteria for seed planting material are:
- tubers with a diameter of no less than 3 cm and no more than 5 cm (an error of even 0.7 cm is unacceptable);
- material germination rate – more than 95%;
- varietal purity, which completely eliminates the possibility of the manifestation of qualities of other potato varieties;
- use of exclusively the second generation of potatoes.
Planting material is divided into several stages: mini-tubers, super-super-elite, super-elite, elite, 1st reproduction, 2nd reproduction, etc. This means that only ideal material, developed after 6 growing seasons, should be used.
The cost of such material will be significant, but the results will easily offset the more substantial expenses. Moreover, purchasing expensive, high-quality planting material is key to growing potatoes using the Dutch method.
One trick the Dutch use is to plant potatoes with a 100% germination rate. But according to laboratory tests, no potato variety has (or could have) a germination rate greater than 99%. How do they do it?
It's all very simple, but what none of the domestic producers do is plant already sprouted potato tubers. Doing this on an industrial-scale plot is extremely difficult, yet tubers with existing sprouts have a 100% chance of sprouting. And using high-quality fertilizers and other methods will only aid the process.
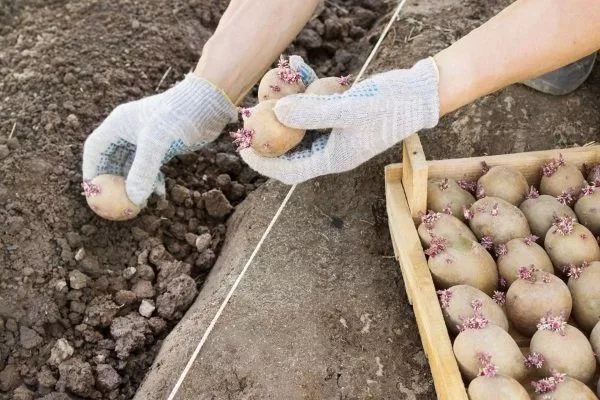
Before planting, the following conditions for germination and selection must be met:
- You cannot use tubers smaller than 3-5 cm in size – the shoots will be very weak;
- the average weight of each unit of planting material should be within 50 grams;
- each tuber has 5 eyes (minimum);
- Tubers with sprouts 0.5 cm long are suitable for planting.
It's important to understand why tuber sprouts shouldn't exceed half a centimeter: this is due to the mechanical planting method. Longer sprouts will simply break off, but sprouts up to 2 cm long are suitable for hand planting.
Exactly 30 days before the planned planting, the existing tubers should be germinated. This is done in a dark room where the temperature is maintained at 16-18 degrees Celsius. They can be laid out in a single layer on newspapers or fabric on the floor beforehand.
Seed tubers should be purchased from specialized stores, not from agricultural fairs or, moreover, from unauthorized sources. Trying to save money this way will inevitably backfire (there are no guarantees of quality), and a miser pays twice.
Features of the planting process
In Holland, great emphasis is placed on choosing the right time for planting tubers:
- in no case should this be done too early, otherwise the seedlings will suffer from frost;
- A good guideline would be to plant in soil that has warmed up to 8-10 degrees above zero.
Another way to check the soil is to take a handful of soil in your palm, press it lightly, and then throw it down. If the soil crumbles into its component parts upon impact, you can begin planting potatoes. If it holds its shape, it's too early.
Following the general concept of Dutch technology, potato planting begins immediately after site preparation is complete. Even a slight delay will result in soil drying out and significantly reducing its beneficial properties.
Anyone growing potatoes using the Dutch method for the first time might ask, "Why waste so much space when I could be planting more tubers?" However, Dutch agronomists have calculated everything perfectly:
- after planting 6-8 tubers per 1 sq.m., spreading plants with very strong roots will grow;
- Because of this, it is best to allocate as much free land as possible so that they have enough space and minerals;
- Due to the large width of the rows (75-85 cm) and constant hilling, the potato roots will receive a lot of oxygen, which is vital for proper development and high yields;
- also, the large width between rows will allow the sun to warm the soil well;
- for the same reason, plants will have enough nutrients (plants will not fight with each other, whose roots will receive the necessary minerals).
The planting site should have a deep arable layer, and the tubers will be planted 10 cm deep. As sprouts appear, they are covered with soil. This is important to repeat each time new sprouts appear.
When planting potatoes using this method, the space between rows will be 75-85 cm. And the distance between bushes in a single row should be 30-40 cm:

The tubers should be planted in the holes with the sprouts facing upward, then covered with 4-6 cm of soil. It's also important to remember that the first weeds will appear in about a week. These must be removed immediately before they have a chance to take root.
Caring for potatoes
- ✓ First hilling when the seedlings reach a height of 15-20 cm
- ✓ Second hilling 14-18 days after the first
- ✓ Control of ridge height (at least 23 cm)
- ✓ Pre-emergence herbicide treatment
- ✓ Soil moisture monitoring (not higher than 70% of the maximum permissible humidity)
- ✓ Visual inspection for late blight every 5 days
According to Dutch technology, planted potato tubers are hilled (after the first shoots emerge) so that the ridges reach a height of 8-12 cm and a width of 30-35 cm. Before this process begins, it is critical to eliminate all weeds.
Four weeks after this procedure, the soil around the seedlings is carefully weeded and the soil from between the rows is raked up to a height of 23-30 cm. At the base, they should be 70-75 cm wide.
According to the rules of Dutch technology, weeding should no longer be performed. However, it is important to constantly remove weeds using high-quality herbicides. Good examples include Roundup, Gesagard, and Centurion.
You cannot water the area more than 3 times:
- the first watering is carried out before flowering;
- the second - 10 days after flowering;
- The last watering is after flowering has finished (at this time the tubers begin to grow).
The plot is also regularly treated with pest control products. Late blight is a major threat to Dutch varieties and should be controlled exclusively with biological products. Thanos and Ridomil have proven effective in this regard.
Another threat to the crop is the Colorado potato beetle and wireworm, which can be controlled with the insecticides mentioned above. However, this should only be done before flowering begins, otherwise it will severely affect the plants and tubers.
Harvesting
| Tuber type | Cleaning period | Readiness criteria | Optimal temperature |
|---|---|---|---|
| Seeds | July-early August | The tops have started to turn yellow | Not below +12°C |
| Early | August | The skin does not peel off | +14…+16°C |
| Late | September | Complete dying off of tops | +10…+12°C |
Another key requirement for Dutch technology is timely harvesting. Even briefly left in the field, tubers will begin to lose their flavor, and their shelf life will be significantly reduced.
The tubers are harvested according to the following rules:
- 10-15 days before the start of harvesting, the tops are removed from the potato bushes, leaving only bare “stumps” (5-7 cm high);
- After this, the tubers must be kept in the soil for the same amount of time until they ripen and develop a strong skin;
- Thanks to this procedure, the tubers are less damaged and are stored better.
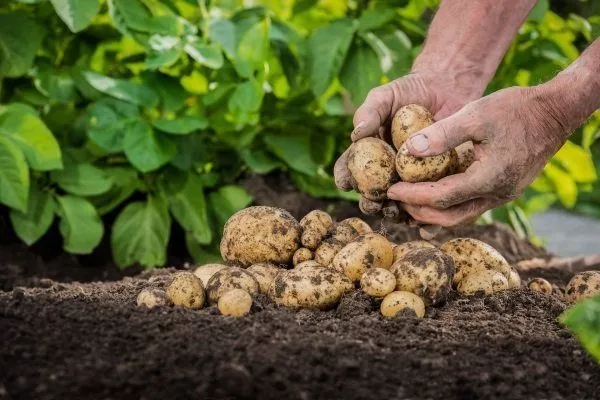
Commercial tubers are harvested in late August and early September, while seed tubers are harvested much earlier – in July-August.
This is what growing potatoes using the Dutch method is all about. A great harvest depends on strict adherence to the rules, the use of high-quality materials and products, and a responsible approach to plant care. Yes, it requires a tremendous amount of effort, but the end result will delight anyone without exception.