To grow high-quality garlic, it's important not only to plant the crop correctly but also to care for it throughout the growing season. In this article, you'll learn the intricacies of planting and caring for garlic in open ground, as well as how to achieve a good garlic harvest by following a few helpful tips.
Characteristics of garlic
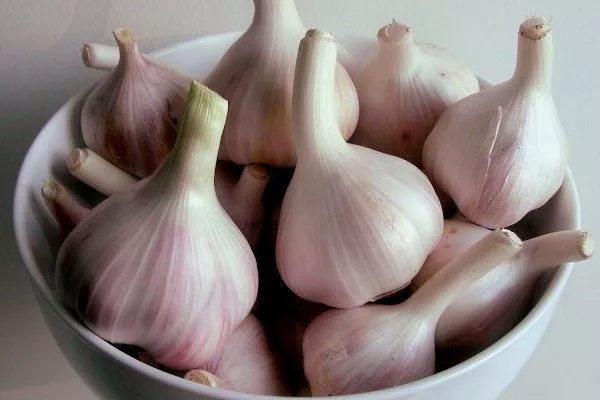
To plant garlic correctly, you need to know some of its characteristics. For example, the root is a round bulb, slightly flattened at the edges, where the most important parts of the vegetable—the cloves—form. Each clove can contain up to 50 cloves. Their outer surface is covered with a white, yellow, or purple scale.
The next component of the plant are the leaves. They average up to 80 cm in length. Sometimes they grow very close together and merge, resembling a stem. This part of the garlic is often used as a flavoring agent for its unique aroma. The peduncle grows up to 150 cm, and at its end emerges an inflorescence, from which the flowers later open.
Types and varieties of garlic
Once you've learned about garlic's characteristics, you need to know which variety is best suited for your plot. To help you figure this out, it's recommended to read the descriptions of each variety.
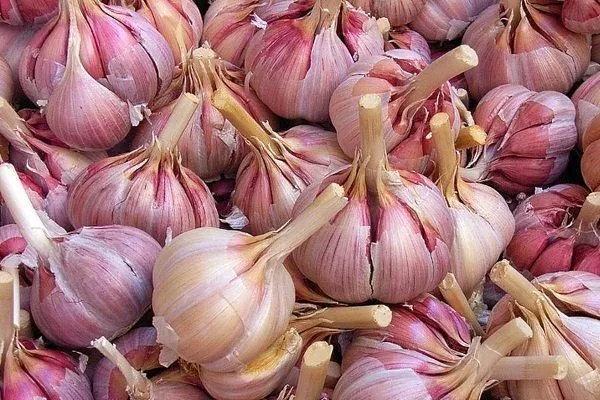
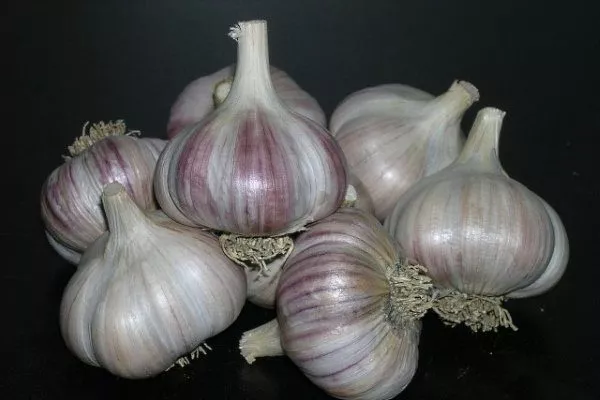
Winter garlic
| Name | Ripening period (days) | Number of cloves in onion | Shell color | Frost resistance |
|---|---|---|---|---|
| Dubkovsky | 90-115 | 10-12 | Violet | High |
| Anniversary | 83-122 | 7-10 | Violet | High |
| Otradnensky | 95-135 | 8 | Violet | High |
| Sail | 98-105 | 7-10 | Violet | High |
| Siberian | 90-115 | 6-9 | Pinkish-purple | High |
| Boguslavsky | 90-115 | 6 | Violet | High |
| Gribovsky | 100 | 11 | Violet | High |
| Losevsky | 90-115 | 5 | Violet | High |
This crop features large cloves arranged in a single row around a stem. As it ripens, a stalk with inflorescences forms, and later, a bulb. It is highly productive, but has a short shelf life.
It tolerates low temperatures well. Roots can begin to sprout at 0 degrees Celsius, and as temperatures rise, growth accelerates. Autumn is considered the best time to plant winter garlic. This is because its roots need time to become denser and more robust before winter.
This variety is quite sensitive to soil quality; it should be fertilized and slightly acidic, first and foremost. Moisture is also important; plenty of liquid is needed when planting. The recommended sowing depth is about 6 cm. Following these guidelines will determine the intensity of growth in the spring. Learn more about growing winter garlic. Here.
Among this species, the most suitable varieties for planting in open ground are:
- Dubkovsky. Propagation occurs through aerial bulbils. The cloves are simple in structure and number 10-12. The color is purple.
- Anniversary. The most common bolting variety. The ripening period averages 83-122 days. The bulbs are flat in appearance and have fairly large cloves. They have a pungent flavor. This variety is resistant to winter and drought, as well as a variety of pests.
- Otradnensky. A later variety. The growing season is 95-135 days. Compared to others, it has a high yield. The bulbs are dense, containing up to 8 cloves. The variety is very winter-hardy.
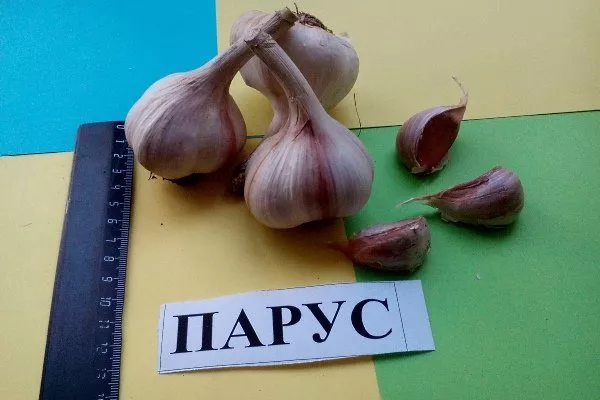
- Sail. The average ripening period is 98 to 105 days. The cloves are small and very dense, with 7-10 cloves per bulb. The flavor is semi-sharp. The plant is susceptible to onion fly. Its advantages include good frost resistance.
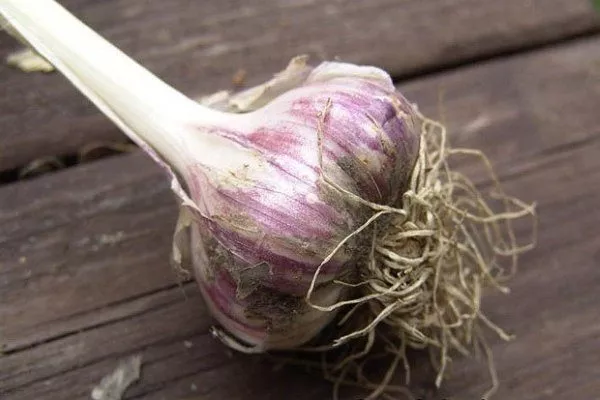
- Siberian. This is a mid-season variety. It takes approximately 90-115 days from sowing to full maturity. The bulbs are large, with a strong stem and 6-9 small cloves each. They are pinkish-purple in color and have a long shelf life.
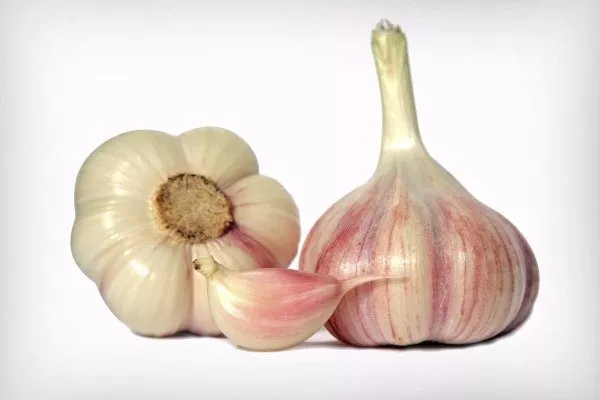
- Boguslavsky. The bulb is spherical, covered in a purple skin, and typically contains up to 6 cloves.
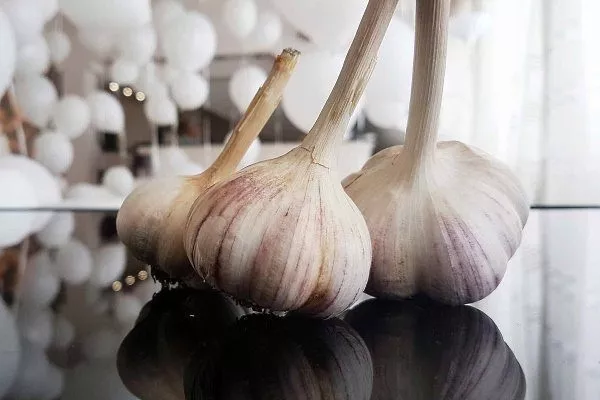
- Gribovsky. The growing season lasts over 100 days. The growing season is average, and it is tolerant of temperature fluctuations. The number of cloves can reach 11.
- Losevsky. This variety is resistant to low temperatures and has a medium ripening period. The bulb is round in appearance, with up to five cloves. It can be stored for six months.
Dubkovsky garlic
variety "Yubileiny"
winter garlic "Otradnensky"
garlic variety "Parus"
variety "Siberian"
garlic variety "Boguslavsky"
winter garlic variety "Gribovsky"
Losevsky garlic

This section describes only the most popular garlic varieties; in reality, there are many more. We also recommend reading the article on varieties of winter garlic.
Spring garlic
| Name | Ripening period (days) | Number of cloves in onion | Onion shape | Taste |
|---|---|---|---|---|
| Novosibirsk | 82 | 13 | Rounded | Semi-sharp |
| Saksky | 115 | 13 | Flat or round | Spicy |
| Gafuriysky | 82 | 10 | Rounded | Spicy |
| Yershovsky | 115 | 25 | Flat | Spicy |
Unlike the winter variety, spring garlic cloves are small, arranged in two rows, and lack a rachis. This variety grows without stems. It has a longer shelf life than winter garlic.
Planting should be done in early spring, around mid-April. The soil should be humus-rich and slightly acidic or neutral. Temperature control is essential; optimal temperatures are 4-10 degrees Celsius. These temperatures determine the rate of growth. Spring garlic dislikes heat and dryness. Planting at temperatures of 14-16 degrees Celsius is pointless, as this will result in a diseased harvest. More information on planting spring garlic can be found here.here.
The most common spring varieties for planting in open ground:
- Novosibirsk. It ripens fairly early, with the entire growing process taking up to 82 days. The bulbs are round, with up to 13 cloves. They have a long shelf life. The flavor is more delicate, semi-sharp.
- Saksky. It also ripens early. The growing period is up to 115 days. The bulbs can be flat or round, and have fairly large cloves. Each bulb contains an average of 13 cloves. The flavor is pungent.
- Gafuriysky. A fast-maturing variety. A head can contain more than 10 cloves.
- Ershovsky. The growing season is average. The bulb is flat and contains approximately 25 cloves. It can be stored for up to 7 months.
spring garlic variety "Novosibirsky"
garlic variety "Saksky"
Gafuriysky garlic
spring garlic "Ershovsky"
We've described the most popular varieties of this crop. Now, every gardener must make their own choice, taking into account the characteristics of each species. Additional information about other spring garlic varieties is available.here.
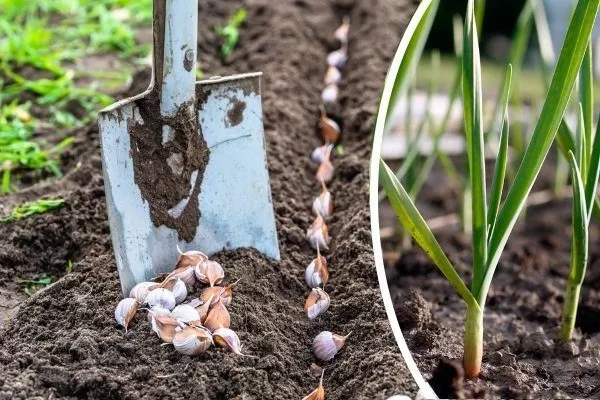
Planting in open ground
First, you need to decide on the sowing time. Consider the weather forecast to determine the favorable time, approximately 1.5 months before the onset of frost. Autumn crops are planted from September 15th until the end of October. Spring varieties, on the other hand, are sown from approximately the end of March until the end of April.
Vegetable growers can often make mistakes with planting, for example, if the second ten days of September and early October are cold, followed by a warm spell. The seedlings begin to sprout prematurely, and then die when severe frosts arrive. Therefore, pay close attention to weather forecasts.
Preparation of planting material
Before planting, all materials must be thoroughly treated. First, separate the healthy garlic bulbs from the diseased ones. Then, soak them in a solution of potassium permanganate or Fitosporin for 5-7 minutes to prevent the risk of fungal diseases. Immediately before sowing, all planting materials are additionally treated with an ash mixture.
Another method of planting is using bulblets. These form during cultivation, within the seed coat. They are sorted in the same way as cloves. Most often, bulblets are used as a resource for the following year.
It is advisable not to buy seeds in regular stores; you should only purchase material from specialized places, as there is a risk of receiving a low-quality product and, as a result, a poor harvest.
Soil preparation
To ensure a good harvest, follow all soil preparation recommendations:
- To grow garlic, you need slightly acidic or neutral soil. If the soil is too acidic, add lime or chalk.
- Avoid sowing areas that are excessively dry or, conversely, excessively wet.
- For the beds, it is preferable to choose a sunny area.
- Prepare the area for sowing approximately 1 week before the planting process itself.
- Do not use the same planting location all the time; change it every two years.
- Recommended predecessors in the sowing area: potatoes, zucchini, peas or cucumbers.
- Nearby neighbors might include roses, strawberries, and raspberries. Garlic will repel various pests.
- The area of land where the plant will be planted must be pre-watered so that the soil is moist.
- ✓ Optimal soil pH level for garlic: 6.0-6.5.
- ✓ The depth of the fertile layer should be at least 20 cm.
At this stage, correctly follow all the advice on preparing the land plot, as the success of further actions depends on it.
Planting diagram
To ensure your harvest grows on time and without any problems, follow these steps:
- Loosen the prepared soil for planting using garden tools.
- Make furrows 5-10 cm deep, leaving a gap of approximately 20-30 cm between adjacent ones.
- Place the crop with the sprouts facing down halfway up the clove.
- Fill the furrows with soil, avoiding compaction, so that the garlic can germinate.
- Carefully level the surface of the beds, avoiding excessive penetration of gardening tools into the soil.
- Before frost sets in, lay at least 2 cm of straw or hay on top of the crop. If snow has already fallen, cover it with additional plastic wrap. In this case, the vegetable can withstand temperatures down to -20 degrees Celsius.
There is an opinion that in order to speed up the emergence of the harvest, it is necessary to first wrap the seed material in a slightly damp napkin for about a week.
Care Features
The planted crop requires little maintenance. To grow a sizable harvest, it's important to know the proper watering, weeding, and, of course, fertilizing and feeding methods.
The video below explains in detail how to grow garlic and care for it to ensure a good harvest:
Watering
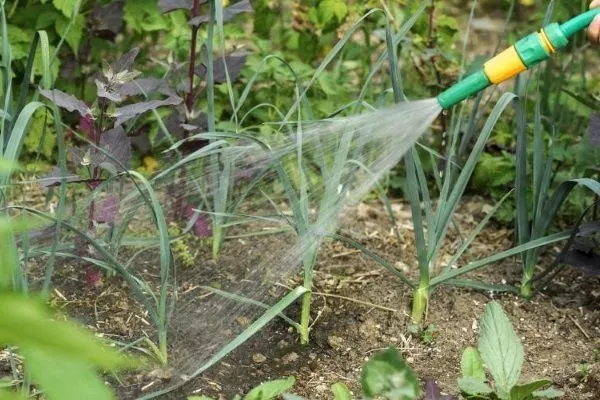
The key to a high-quality harvest is proper and timely watering of the crop. Spring varieties are more sensitive to moisture than winter varieties. During the active growth period, the crop requires more than 10 liters of water per square meter of planting.
Then, as the vegetable grows, watering is gradually reduced. Starting in August, watering can be stopped completely, as there is a risk of high humidity and the plant could die. Furthermore, the risk of various diseases increases sharply.
Fertilizers and feeding
Properly fertilized and fertilized soil will always yield a high-quality harvest of not only garlic but also any other vegetable garden crop. It's recommended to fertilize and fertilize the soil three times throughout the season.
Various complex and inorganic fertilizers, often containing phosphorus and potassium, are beneficial for winter varieties. The first feeding of winter varieties is done in early spring using:
- ammonium nitrate;
- potassium sulfate;
- phosphorites treated with sulfuric acid.
Repeat the procedure using the same substances 30 days after the first fertilization. The final, third fertilization is done around June, when the bulbs have already formed. Water the plants each time. As for organic fertilizers, you can use manure from the following animals: cow, pig, horse, and sheep.
Spring fertilizer begins when the first leaves appear. Use a mixture of mullein, herbal infusions, bird droppings, and minerals. Avoid using fresh manure, as it increases the risk of disease. After two weeks, apply a second fertilizer with nitrogen- and potassium-containing substances. Apply fertilizer when the plant has four leaves, at a rate of 20 g per 10 liters of water.
The third feeding is done at the seventh leaf stage, using superphosphate and potassium chloride at the same dose as the second feeding. Water the garlic after each fertilization.
Weeding and removing arrows
In addition to watering the plants, weeding the beds should be done regularly, as sprouted garlic and weeds can prevent the crop from fully ripening. Loosening and weeding are recommended after each watering.
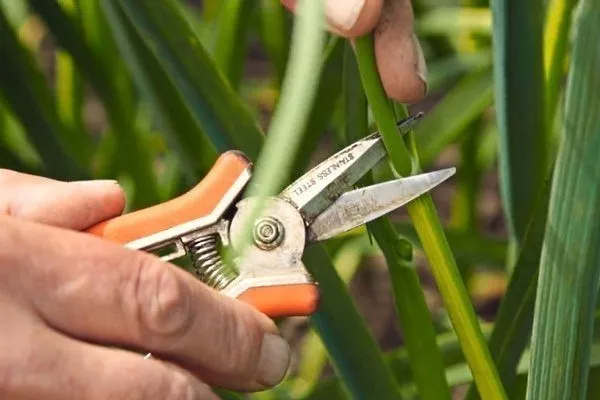
Don't forget to break off the stems at the base of the leaves; this can not only increase yield but also result in larger bulbs. The stems should be removed when they reach 12-15 cm in length. The break will be at the leaf rosette.
If you remove a shorter stalk, the bulb will continue to grow and the garlic head will be small. It is not recommended to tie garlic stalks, as this can block the flow of essential vitamins to the bulb itself.
In the second ten days of June, the fruit produces mature shoots with already formed aerial bulblets. The largest ones appear first and are usually used as seeds later. The remaining bulblets are removed.
Possible problems
One of the most common problems gardeners face is poor-quality seed or poorly selected seed for a specific location. This results in poor, stunted harvests or no harvest at all. But there are fixable problems, which we'll explore in more detail.
Pests and diseases
Garlic suffers from pests and diseases no less frequently than other plants. First, pay attention to the appearance of the leaves and stems. If deformities begin to appear, the plant should be removed completely and the entire bed treated immediately.
Most often, garlic is affected by fungal diseases such as:
- mold;
- rot;
- rust;
- powdery mildew.
The main cause of these diseases is considered to be increased soil moisture and the remains of last year's vegetation in the ground.
Among garlic pests, the most common are:
- onion moth;
- fly;
- stem nematode.
Monitor crops carefully as contaminated crops may pose a health risk to consumers.
Processing garlic
For the prevention of fungal diseases, the most common are Fitosporin and Trichodermin. The former is considered superior and is applied to seedlings at 2-3 week intervals throughout the season. It has no effect on the human body. As for the use of Trichodermin, it is recommended only in cases of rot.
To prevent flies and moths, use tobacco or ash infusions. There are also special insecticides, popular among them:
- "Altar";
- Iskra-Bio;
- Fitoverm and others.
Stem nematodes are more challenging. These are worms that live in the soil and penetrate directly into the bulb. In this case, preventative measures are best. If there is a risk of infestation in the area, it is recommended to treat the soil with the following preparations before planting:
- "Vidat" 1-2 g in each hole, when planting;
- "Tiazon" 250 mg is combined with sand 1:3, from mid-September;
- "Carbation" 200 ml, used in the second half of August.
Many causes of diseases can be avoided if proper preparations are made for planting the seed resource.
Harvesting and storage
Winter garlic is harvested in the second half of July and early August. It's important to harvest early, as the bulbs may split into cloves and cause the crop to regrow. Spring varieties are best harvested from the second half of August until the end of September. It's important to harvest promptly to avoid shortening the crop's shelf life.
There are signs by which you can understand when the crop is ripe:
- new leaves are no longer forming, and the old ones have turned yellow;
- opening of the seed capsule;
- The garlic heads are fully formed and externally correspond to the specific species.
- ✓ Bulbs begin to crack at the soil surface.
- ✓ Leaves lose turgor and begin to lodge.
After the harvest is dug up, it should be left to air-dry at a temperature no higher than 25 degrees Celsius for a week and a half. This allows the ripe bulbs to retain some nutrients from the stems.
If the weather doesn't allow the plant to be left outside, you can use the room as a drying room, keeping the temperature below 30-35 degrees Celsius. Once the drying process is complete, trim off the roots and stems. Many gardeners don't trim spring varieties, but braid them and hang them.
The storage area where the garlic will be stored should not be excessively damp or excessively dry. The storage area should be treated with a bleach solution approximately two months before harvesting. Winter garlic should be stored at a temperature of 2 to 4 degrees Celsius, while spring garlic should be stored at 16 to 20 degrees Celsius. Garlic bulbs with three layers of scales have the longest shelf life.
Experienced vegetable growers recommend storing garlic in the following ways:
- Weaving plants into braids and wreaths. To make the structure sturdy, twine is woven into it. A hook is made at the end and hung;
- tying heads into bundles by the leaves;
- placing garlic in nets or stockings;
- in glass vessels or baskets.
Stored vegetables should be periodically checked for rot, which will extend their shelf life.
In conclusion, growing garlic outdoors is a very interesting and rewarding experience. Whether you're an experienced gardener or a beginner, by following the above recommendations, you'll get a good, and most importantly, healthy harvest that will keep for a long time and delight you with its delicious flavor.