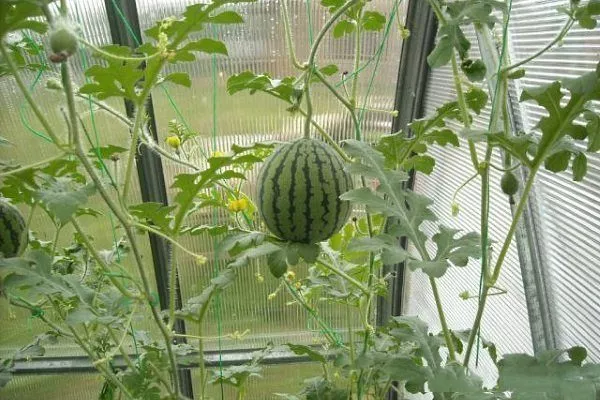
Growing watermelons in southern regions is nothing new. However, harvesting this melon in cold climates is only possible in greenhouses. We'll explain the steps and agricultural practices required to grow watermelons in a greenhouse later in this article.
Carrying out pre-planting activities
Planning to harvest watermelons in a greenhouse requires careful preparation. The choice of greenhouse, its equipment, and the preparation of the soil within it determine the success of the growing process.
- ✓ The light level inside the greenhouse should be at least 10,000 lux for optimal photosynthesis.
- ✓ The greenhouse must be equipped with a ventilation system with adjustable controls for humidity and temperature.
Choosing a greenhouse
The size of the shelter and the design chosen depend on the gardener. Polycarbonate structures are preferred, as they are easy to assemble and operate and can withstand extreme weather conditions. Their high cost quickly pays for itself.
Film greenhouses, although much cheaper, are suitable for testing the method of harvesting watermelons, but for large-scale production they will require additional investment and effort.
Since watermelon is a space-intensive crop, a greenhouse for growing 10 rootstocks should be at least 10 square meters. Consider a height of at least 2 meters to ensure ease of cultivation and to allow for the watermelon's growth. Place trellises and support material indoors.
Once the greenhouse is installed, check for any gaps in the frame or where the polycarbonate sheets meet. If any are found, seal them. This will protect your seedlings from drafts and inevitable death.
To prevent fungal diseases, treat the interior with a solution of copper sulfate, diluted in water in a ratio of 1:100, or Bordeaux mixture.
Install additional heat and light sources. You can install heating pipes under the beds to ensure the soil also warms up.
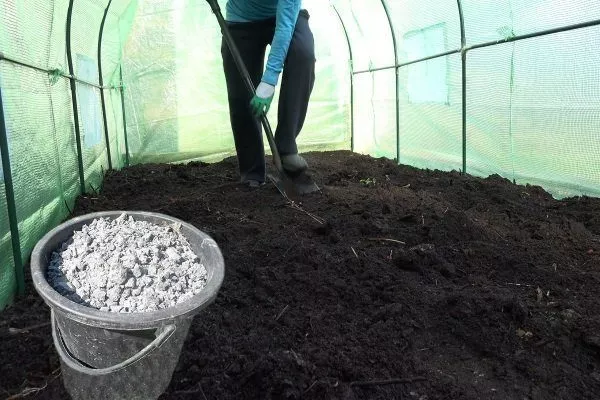
Soil preparation
Soil quality is crucial for growing watermelons. There are several ways to prepare the soil:
- Remove 20 cm of soil from the greenhouse. Replace it with a layer of straw and humus, then sprinkle nitrate fertilizer on top. Water thoroughly to soak the straw and dissolve the fertilizer. Cover the removed soil with a layer of dark plastic. It is recommended to plant in this soil after 7-10 days.
- Dig over the soil, adding organic matter. Humus is suitable if you plan to plant watermelons soon, or manure if you plan to plant seedlings in 2-3 months.
- Create artificial beds at least 30 cm high. To do this, make fences from boards and fill them with a mixture of garden soil and river sand (10 kg per 1 sq. m), adding nitrogen and phosphorus mineral fertilizers (10 g per 1 sq. m).
Please note that watermelons prefer soil with a pH of 6-7. If the soil is highly acidic, it is recommended to add limestone, chalk, and wood ash at a rate of 300-700 g per square meter of soil. Alkaline soils should be acidified with humus (5-7 kg per square meter) or manure (2-3 kg per square meter).
Organic matter also increases the soil's ability to absorb air and water, making it looser and lighter. Sand is added for the same purpose.
Advantages and disadvantages of growing watermelons in a greenhouse
The technology of growing watermelons in a greenhouse has its positive and negative components.
The advantages of this method include:
- No external climate influence on plants. Regardless of the temperature outside the shelter, the greenhouse microclimate maintains its own stable parameters. There's no need to fear any weather conditions or worry about their negative impact on melons.
- Mechanical damage to the plant and fruit is virtually eliminated. In a closed greenhouse, wind doesn't knock over the watermelon vines, and animals and other pests have no access to the plant.
- Watermelon pulp quality. A consistent microclimate allows watermelons to ripen and develop sweetness, resulting in juicy and sweet pulp.
The only drawback to growing watermelons in a greenhouse is the impracticality of this process in southern regions, where plants have sufficient warmth and other climatic conditions for ripening without shelter. The profitability of such a process can be negative.
Choosing a watermelon variety for growing in a greenhouse
| Name | Ripening period | Fruit weight | Disease resistance |
|---|---|---|---|
| Siberian | 70-80 days | up to 5 kg | High |
| Crimson | 70-75 days | 5-12 kg | Average |
| Ogonyok | 70-80 days | up to 2.5 kg | Average |
| Sugar | 65-75 days | 3-5 kg | High |
| Florida | up to 100 days | N/A | N/A |
For growing under cover, it's best to choose varieties and hybrids with a short ripening period. We invite you to explore some of the most popular watermelon varieties suitable for cultivation in temperate climates:
- SiberianA variety specifically bred for cultivation in Siberia. The fruits are sweet, medium-sized, and weigh up to 5 kg. The rind is thin, and the flesh is a rich scarlet color and contains a high amount of sugar. This variety is resistant to temperature fluctuations, producing high-quality fruit even at low temperatures.
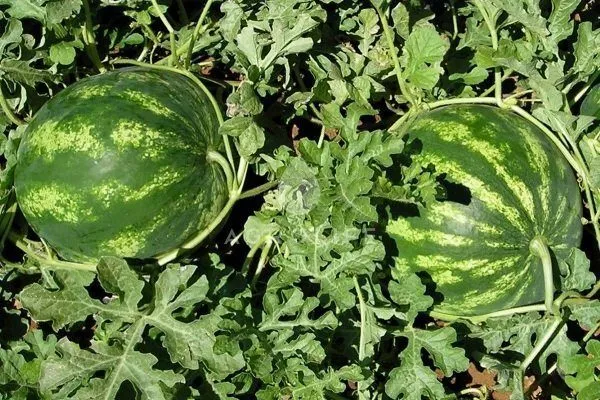
- CrimsonAn early-ripening variety, ripening occurs in 70-75 days. The skin is matte with green stripes of dark and light green. The flesh is juicy and red. Fruit weight can range from 5 to 12 kg. Moderately resistant to anthracnose.
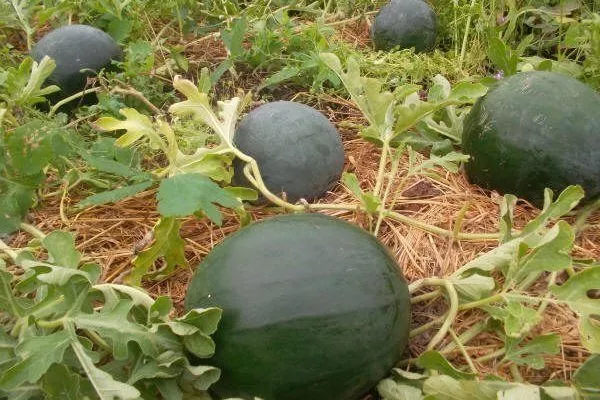
- OgonyokAn early-ripening variety. The growing season lasts 70 to 80 days. The small, spherical fruit weighs up to 2.5 kg. The juicy, sweet, flame-colored core is covered by a thin, dark, dark green skin with virtually no pattern. The seeds are small. This variety is easy to grow, but has a short shelf life. It exhibits moderate resistance to powdery mildew and anthracnose.
- SugarThis is an ultra-early variety. Fruits appear in 65-75 days. The skin is thin, green, with a subtle pattern. The flesh is deep red, resembling a mass of large grains, sweet and juicy. Fruits weigh approximately 3 kg, rarely reaching 5 kg. This variety is easy to grow, cold-hardy, and suitable for transportation and storage.
- FloridaA mid-season hybrid with a growing season of up to 100 days. The fruits are elongated. The flesh is juicy and aromatic. The rind is firm, colored with blurred stripes. Suitable for transportation, it has a shelf life of up to 3.5 months.
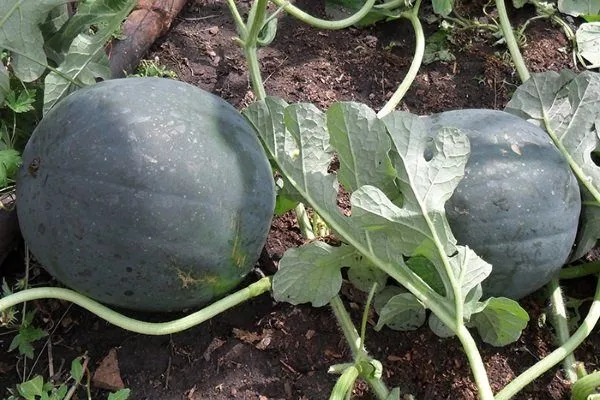
watermelon variety "Siberian"
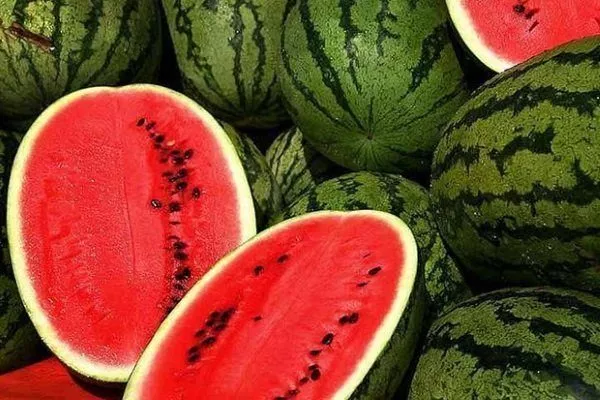
Crimson watermelon
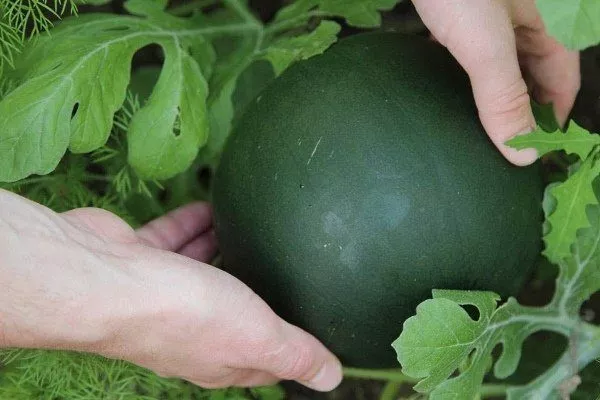
watermelon variety "Ogonyok"
watermelon variety "Sugar"
watermelon variety "Florida"
Preparing seedlings
To obtain good harvests, you cannot do without proper seed preparation and growing healthy seedlings from them.
Sowing seeds
Before sowing seeds, it is recommended to prepare them. To do this:
- Dissolve 1 teaspoon of table salt in 100 g of running water. Place the seeds in the liquid. Remove any seeds that float to the surface—these seeds are useless, as they are empty. Rinse the remaining seeds with clean water.
- Prepare a light pink solution of potassium permanganate and soak the seeds in it for 20-30 minutes. This procedure will disinfect the seeds and protect them from fungal diseases.
- Place a cotton cloth in a saucer. Wet it thoroughly with warm water and spread the watermelon seeds evenly over it. Cover with another damp cloth or a plastic bag. Place in a warm place to allow the seeds to swell and germinate. Keep the cloth moist by sprinkling it with water.
Soaking seeds in a growth stimulator before sowing will speed up the emergence of the first shoots.
Once the seeds have sprouted, you can begin planting them in individual containers. Peat cups are recommended for this purpose, but any other container of a suitable size will do. Fill the cups with prepared soil and place the seeds 3-4 cm deep, placing them horizontally in the soil. Place the containers in a warm location with an air temperature of at least 25°C.
Growing seedlings
When the first leaves appear, create the necessary conditions for the seedlings to ensure they are healthy and strong:
- Use additional lighting with phyto- or fluorescent lamps so that the total daylight hours for the plant are at least 12-14 hours per day.
- Water the plant so that moisture does not get on the leaves.
- As the seedlings grow, the distance between pots should be increased so that the plants do not shade each other.
- Rotate the containers periodically so that the plants do not stretch to one side, but grow straight.
- Fertilize the seedlings every 10-14 days. To do this, dilute 250 g of wood ash in 10 liters of water and use the solution for watering. Nitrogen fertilizers are also effective. For example, 20 g of urea per bucket of water.
- Check the soil temperature daily, it should be at least 18°C for optimal root growth.
- Provide seedlings with 14 hours of daylight using phytolamps if natural light is insufficient.
- Harden off the seedlings a week before planting, gradually lowering the room temperature.
Planting watermelon seedlings in a greenhouse: a step-by-step guide
When the plants have formed 3-4 main leaves, you can move on to transplanting them into the greenhouse:
- Divide the planting area into beds. For single-row planting, simply dig a trench 10-12 cm deep and space the seedlings 70 cm apart.
- When planting in two rows, it is preferable to make holes measuring 30x30 cm and 10 cm deep, placing them at a distance of 50 cm from each other.
- Water the track or holes thoroughly.
- Place a peat pot containing seedlings in the hole and cover with soil, compacting it lightly. Two seedlings can be placed in the hole, one at each end, at an angle, planting them in opposite directions.
- If the seedlings were grown in reusable containers, water them thoroughly the day before planting so that when removing the seedlings, the root ball does not crumble and damage the root system of the seedling.
- After planting, the seedling substrate should protrude slightly above the soil surface. This will reduce the risk of blackening and rot of the seedling stems.
The video below shows the process of planting watermelon seedlings in a greenhouse:
Growing watermelons in a greenhouse
Agricultural measures for caring for watermelons are not difficult, but they should not be neglected.
Temperature and humidity conditions
The optimal temperature for watermelon growth and development is 24-26 degrees Celsius. It's crucial to avoid sudden temperature fluctuations. In cold climates, heating the greenhouse is essential.
Condensation in the greenhouse and excessive humidity can lead to the spread of diseases. Ventilate the room daily. On hot days, you can leave the greenhouse open all day.
Watering
Proper watering is essential for plant growth and development. If watermelons lack moisture, their leaves and vines will wilt. Watering them generously once or twice a week is sufficient. Alternatively, water the beds sparingly every other day. Avoid overwatering, as this can cause the fruit to crack. Keep in mind that watermelons are drought-tolerant.
As watermelons ripen, reduce watering significantly. This will allow the berries to grow fragrant and sweet.
Room-temperature water is considered optimal for irrigating beds. When watering, ensure that the water doesn't fall on the green parts of the plant, but rather on the root system. As the soil dries out after watering, check to ensure that a dry crust doesn't form on the surface. Loosen the soil regularly.
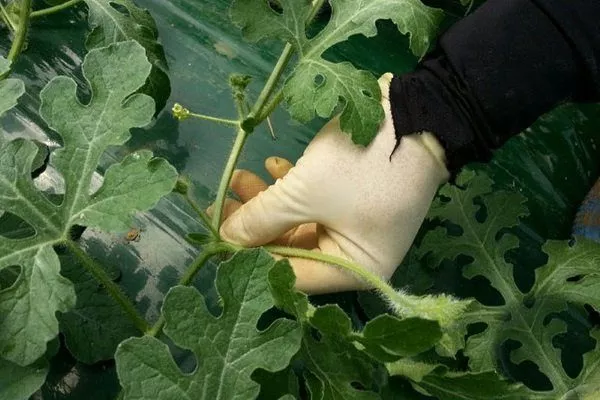
Formation of watermelons
A crucial step toward a harvest is shaping the watermelon bushes. Ten to 15 days after planting the seedlings in the greenhouse, once they have adapted to the new conditions, they need to be tied up, establishing growth guidelines and preparing the bush for further work.
Remove any lateral vines empty of inflorescences immediately. Pinch off shoots with ovaries, leaving 3-4 leaves above the inflorescence. As the fruits grow to the size of walnuts, leave 3-4 on each plant and pluck the rest. If you don't remove the excess, the watermelons will grow small and may not ripen fully due to nutritional deficiencies.
Diseases and pests
Watermelons are most often affected by fungal infections—anthracnose, powdery mildew, and black, white, and gray mold. Various spots appear on the leaves and vines, and the plant itself begins to wither. If left untreated, this condition can lead to the death of the plant.
At the first sign of disease, remove damaged leaves and treat the healthy parts of the plant with fungicide solutions. These solutions are available at specialty stores and diluted according to the instructions.
Preventative measures such as soil and seed treatment, weed control and soil loosening, moderate watering, ventilation, and maintaining optimal temperatures reduce the risk of watermelon infection. If the disease spreads, the primary control measure is destruction of the crop, followed by burning. The greenhouse and soil are then sanitized.
The main pest of watermelon plants is the melon aphid, whose larvae feed on the plant's sap, thereby depriving it of nutrients. Watermelons wither and dry out. To combat this pest, spray the plants with an ash solution mixed with laundry soap. When treating, keep in mind that the majority of insects are concentrated on the underside of the leaves.
A good product for controlling aphids is "Intavir." Dissolve 2-3 tablets in a bucket of water and spray the crop.
Fertilizers
The main feeding of plants in the shelter is carried out 3 times:
- When the shoots grow to 25 cm in length, 30 days after placing the seedlings in the greenhouse.
- Before flowering.
- When the first ovaries appear on the vines.
If fertilizer application during soil preparation is insufficient, additional watermelon nutrition may be required. In this case, alternate fertilizer types, taking into account the total application rates.
Fertilization of the soil can be done with various fertilizers:
- Ammonium nitrate. Dissolve 15-20 g of granules in 10 liters of water. Use approximately 1.5-2 liters of liquid per plant.
- Chicken manure. Dissolve 800 g of organic matter in a bucket of water. Let it sit in a warm place for 24 hours, stirring occasionally. Apply 500 ml of fertilizer per plant.
- Ash infusion. Use 700 g of ash per bucket of water, letting the solution sit for 12-14 hours. Apply 0.5 liters of fertilizer per plant.
- Potassium-phosphorus fertilizers. Use 40-50 g of superphosphate per bucket of water and 25-30 g of potassium chloride per 10 liters of water.
- Use special fertilizers for melons, such as "Vegetable Giant", according to the instructions.
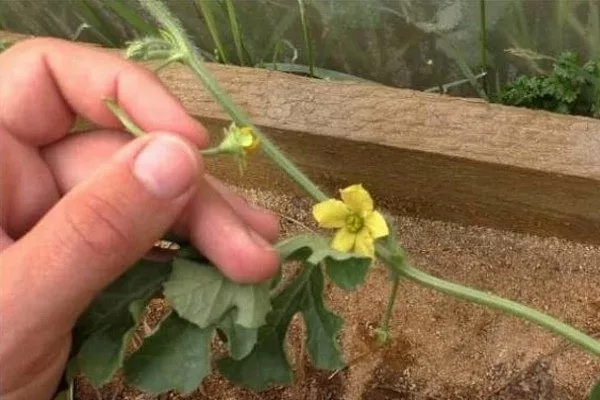
Pollination
Pollination by insects is only possible if the greenhouse remains open all day. If this is not possible, you must pollinate the flowers yourself. To do this, pick a male flower and transfer its pollen to the female flowers. This can be done using a cotton swab.
It is advisable to carry out the procedure in the morning at 10-11 am, and repeat as necessary.
Tying up watermelons
Staking watermelons is a measure to prevent damage to the vines under the weight of the fruit. When the watermelons reach the size of a large apple, they are placed in nets and tied at the required height to trellises or other supports. Another option for preserving the fruit is to construct special fruit stands. The watermelons are kept on these stands permanently until harvest.
There are many methods for tying and arranging watermelons in a greenhouse. Every gardener makes their own with whatever materials are at hand, using their imagination and skill. Old stockings, mesh bags, wooden shelves, fabric swings, and much more are used.
Harvesting
You can tell when it's time to harvest by several factors:
- the watermelon skin becomes smooth and elastic;
- the stripes of the pattern become yellowish;
- when tapping on the fruit, a ringing sound is produced;
- The watermelon's stem becomes thinner and dries out.
When deciding to harvest, stop watering. After 3-4 days, you can begin cutting, leaving a small stalk. Dried fruits will keep much longer than moistened ones.
You can store the watermelons in a cardboard box, sprinkled with sand and ash, or by hanging them. It's important that they don't touch each other. Choose a basement or another dark, cool place with no fluctuations in temperature for storage.
Growing juicy, sweet watermelons in a small greenhouse is within the reach of any gardener. It's important to follow proper care and maintenance procedures to preserve the integrity of the fruit and plants. Under these conditions, the yield from each watermelon seed can reach 10 to 20 kg!