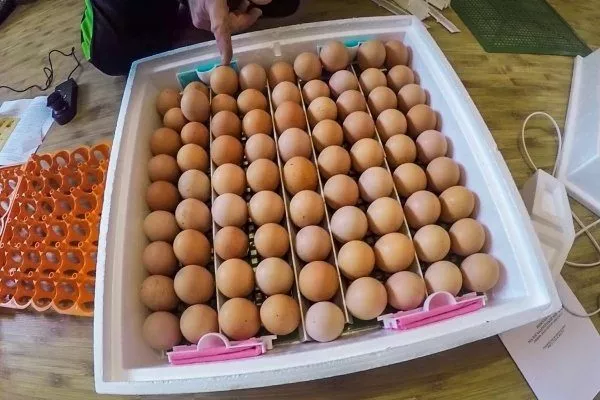
Anyone raising birds in an incubator may encounter some challenges. Questions arise regarding the cleanliness of the eggs, and therefore, should they be washed before placing them in the incubator? Or does it make no difference?
Do I need to wash it?
Many breeders debate whether it's necessary to remove dirt from eggs before placing them in the incubator. Some believe that washing eggs is strictly prohibited, as it significantly reduces hatchability. Others, on the contrary, insist that this procedure is harmless. Therefore, each farmer must decide for themselves what to do if their eggs become dirty.
Some people believe that if eggs are heavily soiled and you don't want to wash them, you can clean them with sandpaper before setting them. Others use a knife to scrape off the dirt, but this runs the risk of damaging the shell. Another method is washing the eggs in a 0.5% formalin solution at 27-32 degrees Celsius.
Eggs must be washed very carefully, first placing them in a container with a mesh screen, immersing the screen in the solution, and gently rotating until the dirt is washed away. Do not wipe the eggs, as this can damage the protective shell.
Methods for cleaning eggs
For those who decide to wash dirty eggs before placing them in the incubator, it's important to remember a few cleaning rules. There are two methods for cleaning eggs:
Dry
This method requires the use of abrasive materials. This type of cleaning is considered the best option if the eggs are not heavily soiled. However, the risk of egg damage cannot be ruled out. This method is not only time-consuming but also weakens the cuticles. Furthermore, fine dust generated during abrasion can settle in the egg's pores, partially blocking the pores and causing respiratory problems, especially towards the end of incubation.
Cleaning with disinfectants isn't effective if the shells are contaminated with the contents of broken eggs in the nest. When using abrasives, periodically dip the eggs in water and bleach after cleaning away the dirt. It's also crucial to allow them time to dry completely.
Wet
This cleaning method is a bit more complicated, as many incubator owners have encountered negative consequences when performing this procedure. Improper wet cleaning can lead to many more problems than the initial reason for doing it. The main issue is that dirty eggs are coated with bacteria, which are unable to penetrate the shell when it's dry. Wetting the shell makes it much easier for bacteria to penetrate.
Before incubation, dirty eggs can be cleaned using disinfectant solutions, such as Brovadez Plus. The solution concentrate is diluted according to the instructions. It's important to remember that the eggs should be washed in a solution that's warmer than the egg itself, otherwise dirty water can penetrate the pores inside the egg. Ideally, the solution should be at 41 degrees Celsius (106 degrees Fahrenheit), after which the eggs should be left to dry on a clean surface.
After the procedure, it is essential to carry out the treatment with clean hands.
Comparison of cleaning methods
| Parameter | Dry | Wet |
|---|---|---|
| Processing time (min/pcs) | 2-3 | 1-1.5 |
| Solution temperature | Not applicable | 40-42°C |
| Risk of shell damage | High | Short |
| Efficiency against biocontamination | 30-40% | 85-90% |
Based on scientific data, it can be said that if you pre-clean dirt and treat eggs with antiseptics, you can significantly increase the hatchability rate.
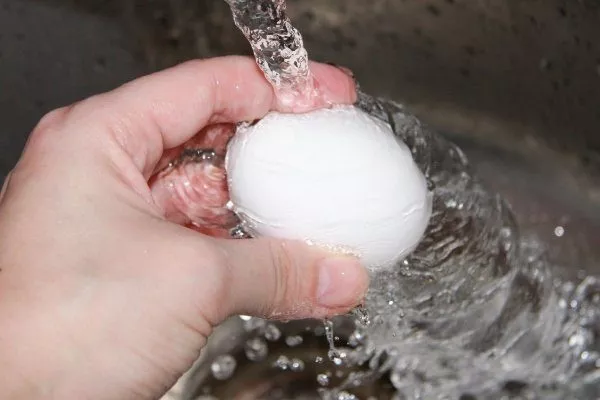
You should not wash eggs under running water or clean them with a sharp knife, as this will damage not only the shell, but also the inside of the egg.
Exposure to pollution
The degree of egg contamination is influenced by many factors, but the most important are the type of poultry housing (floor or cage), the stability of the farm equipment, and the health of the birds. For the production of hatching eggs for waterfowl, the problem of shell contamination is even more pressing.
Placing heavily contaminated eggs in an incubator can reduce hatch rates. It's also possible that the eggs will contain embryos that already have some developmental abnormalities. Furthermore, the cost of contaminated eggs for incubation will be much greater, as they are much more expensive than chicken eggs.
The influence of the type of contaminants on hatchability
| Type of pollution | Output reduction (%) | Risk of embryonic mortality |
|---|---|---|
| Litter | 15-20 | High |
| Feathers/lining | 5-8 | Average |
| Protein contamination | 25-30 | Critical |
How to get a good result after washing?
The optimal storage period for washed hatching eggs is 24 hours. This is because, due to imperfect technical conditions and subjective and objective factors, this washing process does not always ensure 100% disinfection of all hatching eggs. Moreover, with longer storage, even at low storage temperatures, microflora can grow not only on the surface but also within the egg.
If you have to wash a large number of hatching eggs, they should be placed exclusively in separate cabinets, or, if there are only a few, in trays located below. This will reduce the risk of contamination of other incubation materials with rotten eggs. A rotten egg is a spoiled egg, and if it ruptures, there is a risk of infecting up to 140 neighboring eggs.
Many poultry farmers routinely inspect the eggs for smashed eggs. This is important when transferring them to hatchery. If numerous smashed eggs are found, they are also inspected during combined egg cooling.
Post-wash control plan
- Checking the temperature in the storage area (12-15°C) every 2 hours
- Ovoscoping 6 hours after treatment
- Place in the incubator no later than 24 hours
Whether or not to wash eggs before placing them in the incubator is a personal choice. Some consider it unacceptable to place eggs with feathers, dirt, and other defects on the shell. Others are comfortable with dirty eggs, confident that it won't affect the hatchability of the chicks.