
I already wrote about Isabella varietyNow that I've covered all the pros and cons, I'd like to tell you how I plant. I'll write everything in detail for beginners, so many nuances are very important. However, there are no complications, and all the cuttings take root perfectly.
Conditions
Experts recommend planting Isabella only in spring, but this doesn't apply to southern regions where frosts arrive late. However, in the central part of the country, planting can be done not in the fall, but in late summer, around mid-August. The spring season is late April to May, depending on weather and climate.
Now I'll tell you about other conditions:
- Soil. There are no special requirements; Isabella grows easily in sandy loam, sandy loam, and especially in black soil. However, I've noticed that the variety absolutely does not tolerate acidic soil.
- Place. Since there are many shoots, leaves, and bunches of flowers, the location needs to be well-ventilated. Incidentally, this variety isn't afraid of drafts; it even tolerates frosts well. Based on this, I realized that Isabella shouldn't be planted under a solid fence or house. A minimum of 3-4 meters of clearance is preferable.
- Location. Plant the vines so they face west and south—this will ensure the clusters receive the required amount of sunlight, which the variety thrives on. Keep in mind that for the same reason, it's not advisable to plant the vines within 5 meters of trees that will create shade. Isabella's root system is quite extensive, so it will intertwine with the roots of trees and other shrubs.
- Groundwater. They shouldn't be too close together, otherwise the grapes will be susceptible to anthracnose. Ideally, they should be 1.5-2 meters above the ground. This will ensure the roots receive moisture and prevent rot.
- Age of the cutting. I always plant and give to others one-year-old seedlings—they're young and full of vigor for rapid growth. The cuttings should be about 2-25 cm tall and have about three roots.
Features of the planting hole
You can neglect the hole, but I do. This affects not only the survival rate but also the early fruiting period. Planting in holes without fertilizer is acceptable, but the plant needs nutrition to grow faster and root more easily. I've personally highlighted a few points:
- depth and diameter – 70-80 cm;
- preparing the planting hole - in advance, if you are planting in the spring, then in the fall, if in the fall or if you didn’t have time, then at least 2 weeks before work;
- What to put in the hole:
- first layer – 10 cm of drainage (any stones, even broken bricks);
- the second is also 10 cm, it includes turf soil mixed with humus or manure and wood ash (for example, 2 kg of ash per 10 kg of mixture);
- the third - 5 cm, just soil from the garden;
- fourth – again the mixture, etc. until the hole is completely filled.
- All this is filled with 80 liters of water and covered with polyethylene, preferably dark, and left until planting.
When I don’t have humus and manure (this happens), I add 50 g of potassium sulfate and 120 g of superphosphate (not double) to 10 kg of soil.
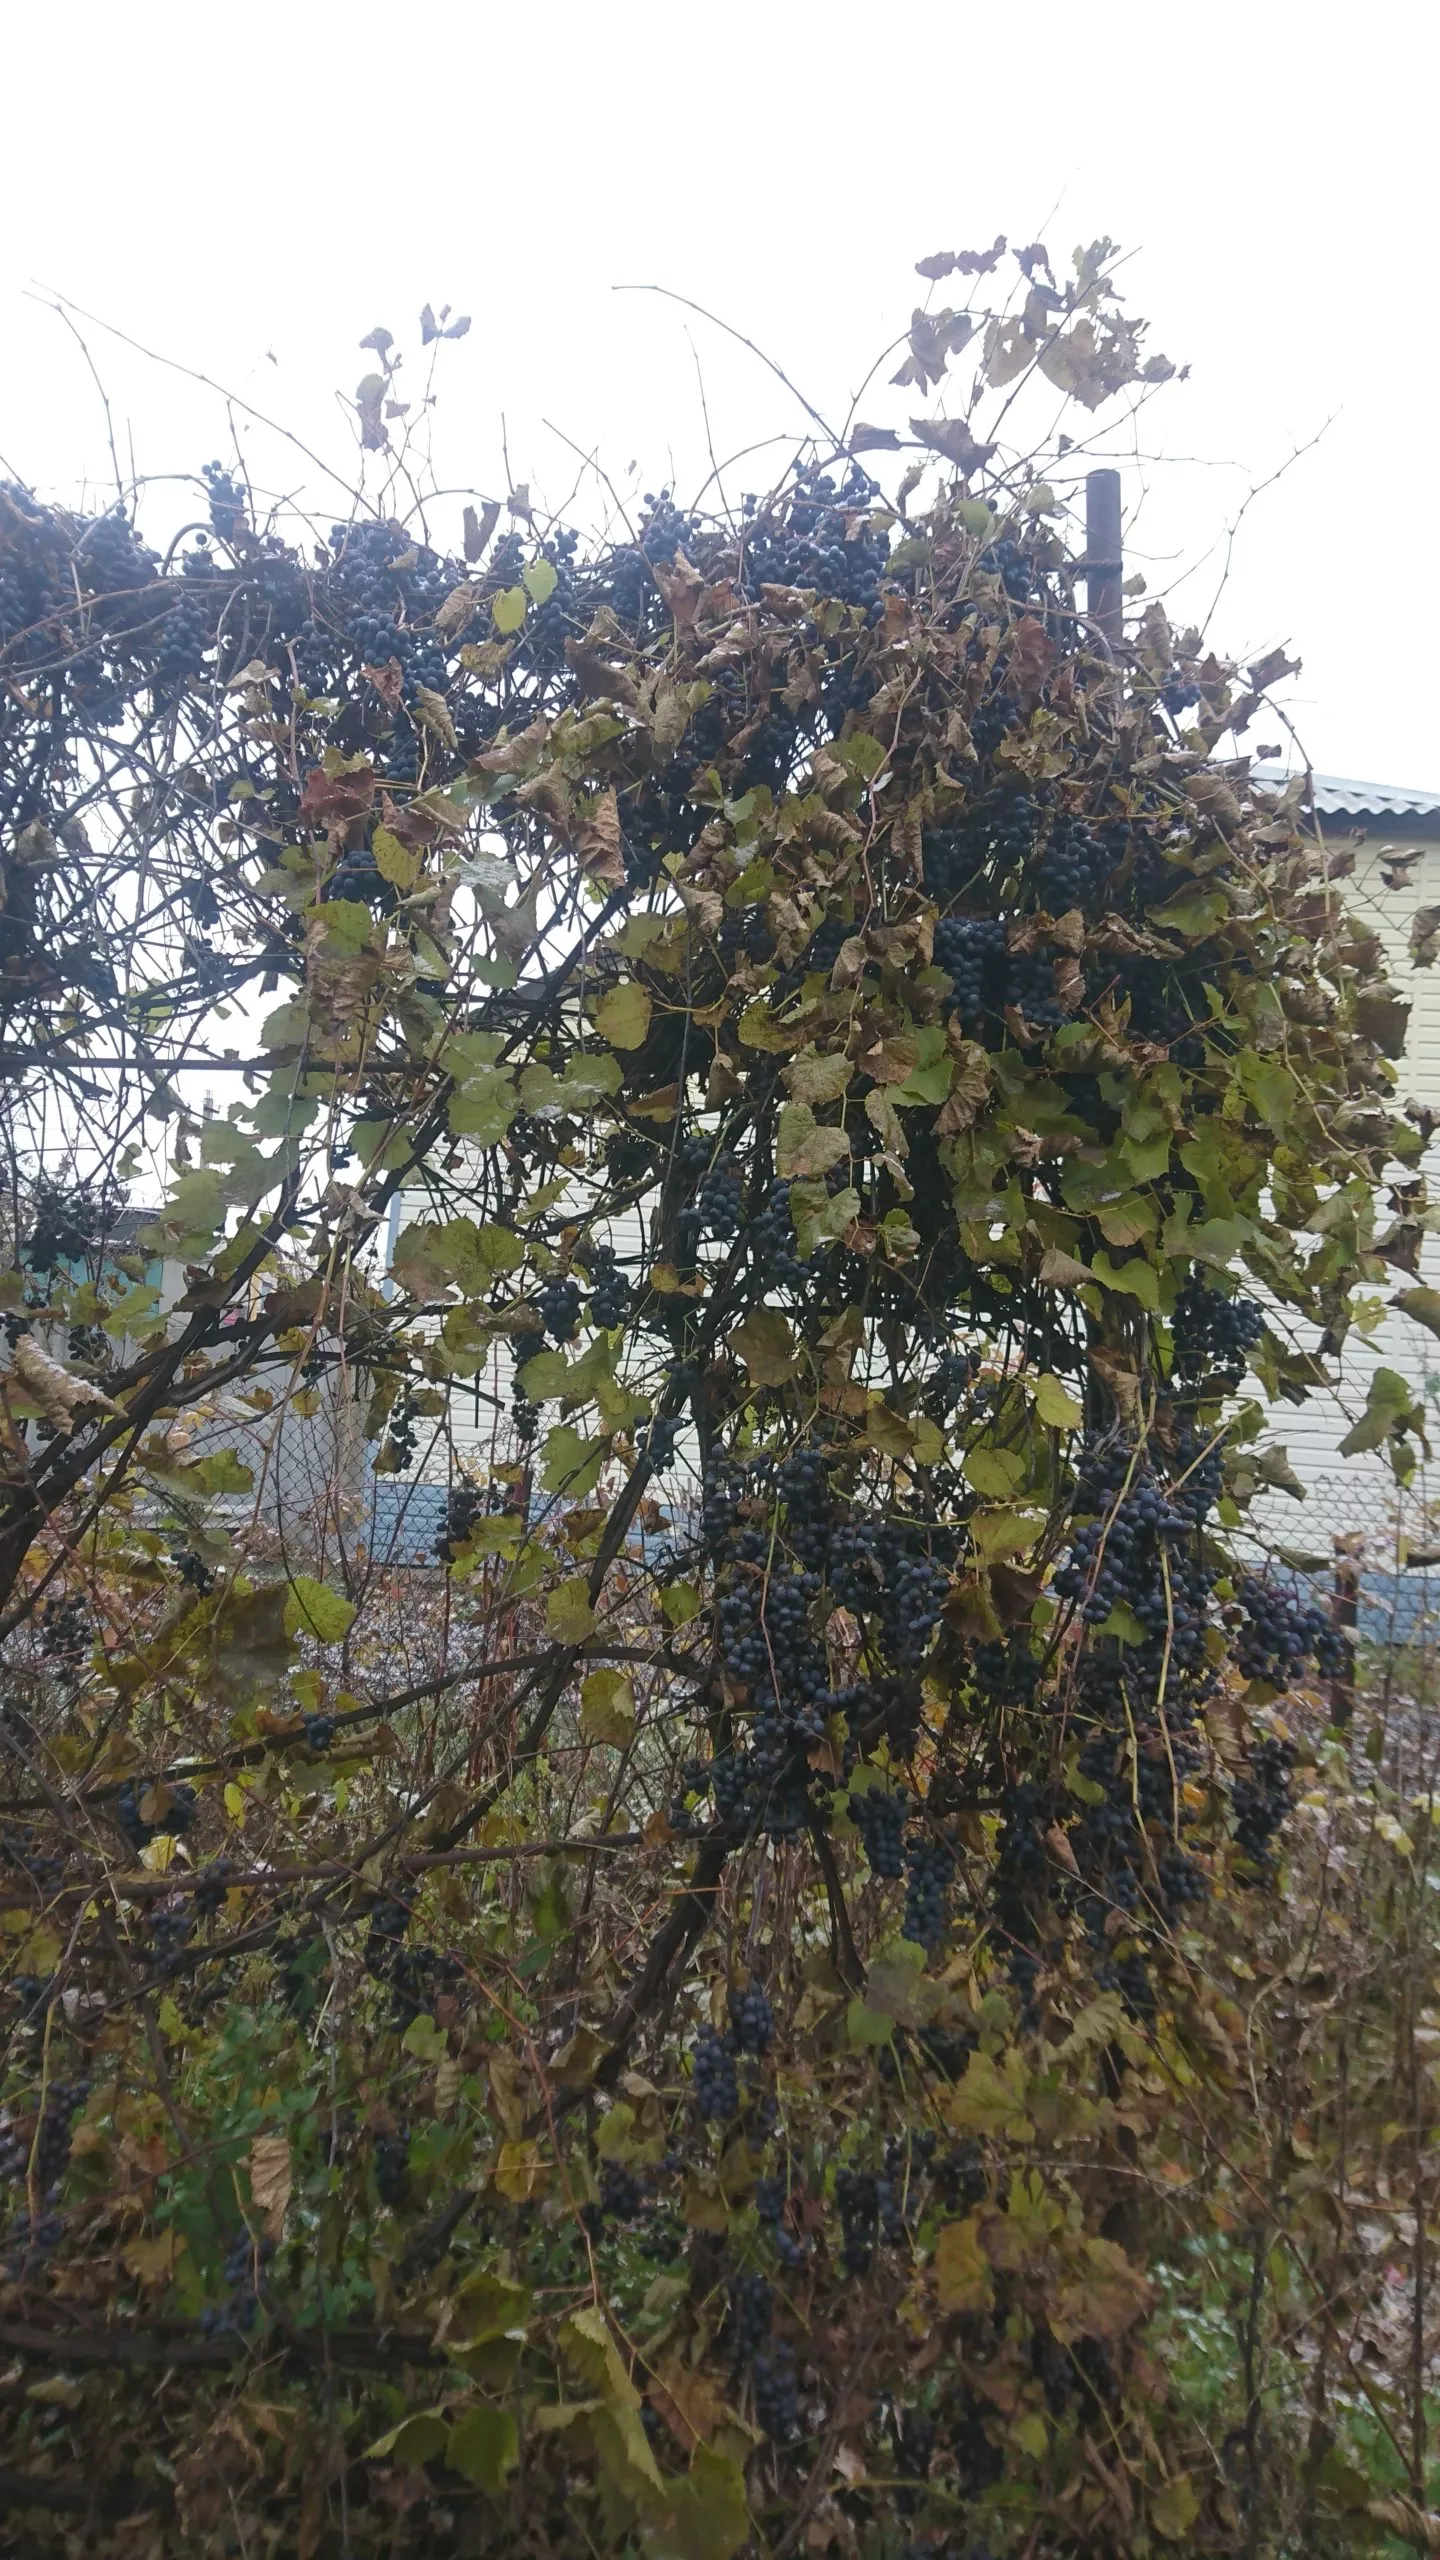
If you do everything correctly, you will soon get these beautiful berries:

How to plant correctly?
You can find a lot of information online, but I'll write about how I've been planting for many years and believe it's the right process. Whether or not to use it is up to you. So, here's what you need to do:
- First, prepare the planting material, that is, the cutting. About 20 hours before planting, trim the roots by 5 cm; this will promote faster growth. Place the cuttings in room-temperature water. Many recommend soaking them in a rooting agent, but Isabella will quickly establish and root without it.
The only thing I can advise is to use not water, but a weak solution of potassium permanganate for disinfection. - Dip the roots in a clay slurry mixed half and half with rotted manure.
- Let it dry for a couple of hours, and in the meantime, prepare the planting hole. Open the cover and remove half the soil mixture. Make a mound in the center. Place a wooden stake there, about 25 cm above the bed surface.
- Pour 20 liters of water.
- Once the water has soaked in, you can begin planting. To do this, take a seedling and place it root-side down on the mound.
- Now gradually sprinkle the cutting with the soil you removed from the planting hole. Be sure to pat the soil down to remove any air pockets.
- Tie it to a support post. I always use soft ropes because the bark of a young cutting is still tender and can be damaged. This, in turn, leads to disease.
- Water again with the same amount of water.
Now, some tips:
- If the seedling is one year old, then install it strictly vertically;
- if the cutting is older and longer than 25 cm, then place it at an angle of 45 degrees;
- make sure that the first branches on the seedling are 4 cm above ground level (do not bury them inside the hole);
- It is advisable to shorten the shoots slightly, by 15 centimeters, but 5 buds should remain on the shoot;
- If frost is expected, I cover it with cut plastic bottles at night.
By the way, if you're planting several bushes at once, space them about 1.5 meters apart. The bush grows quickly, so you can build supports right away. I start by driving stakes into the sides, each over 1.5 meters high, taut with wire, and that's it. The vines will then grow naturally toward the supports.
These are the bushes I have with support:
By the way, to look afterIt's much easier for Isabella, so plant this wonderful variety and enjoy the muscat flavor. By the way, there is an excellent article About growing grapes. It covers aspects relevant to all varieties.