
When I had trouble with germination in a shaded area, I decided to use an old, tried-and-true yeast recipe. It always works perfectly and has many advantages. But first, I'm happy to share this unique remedy with beginners:
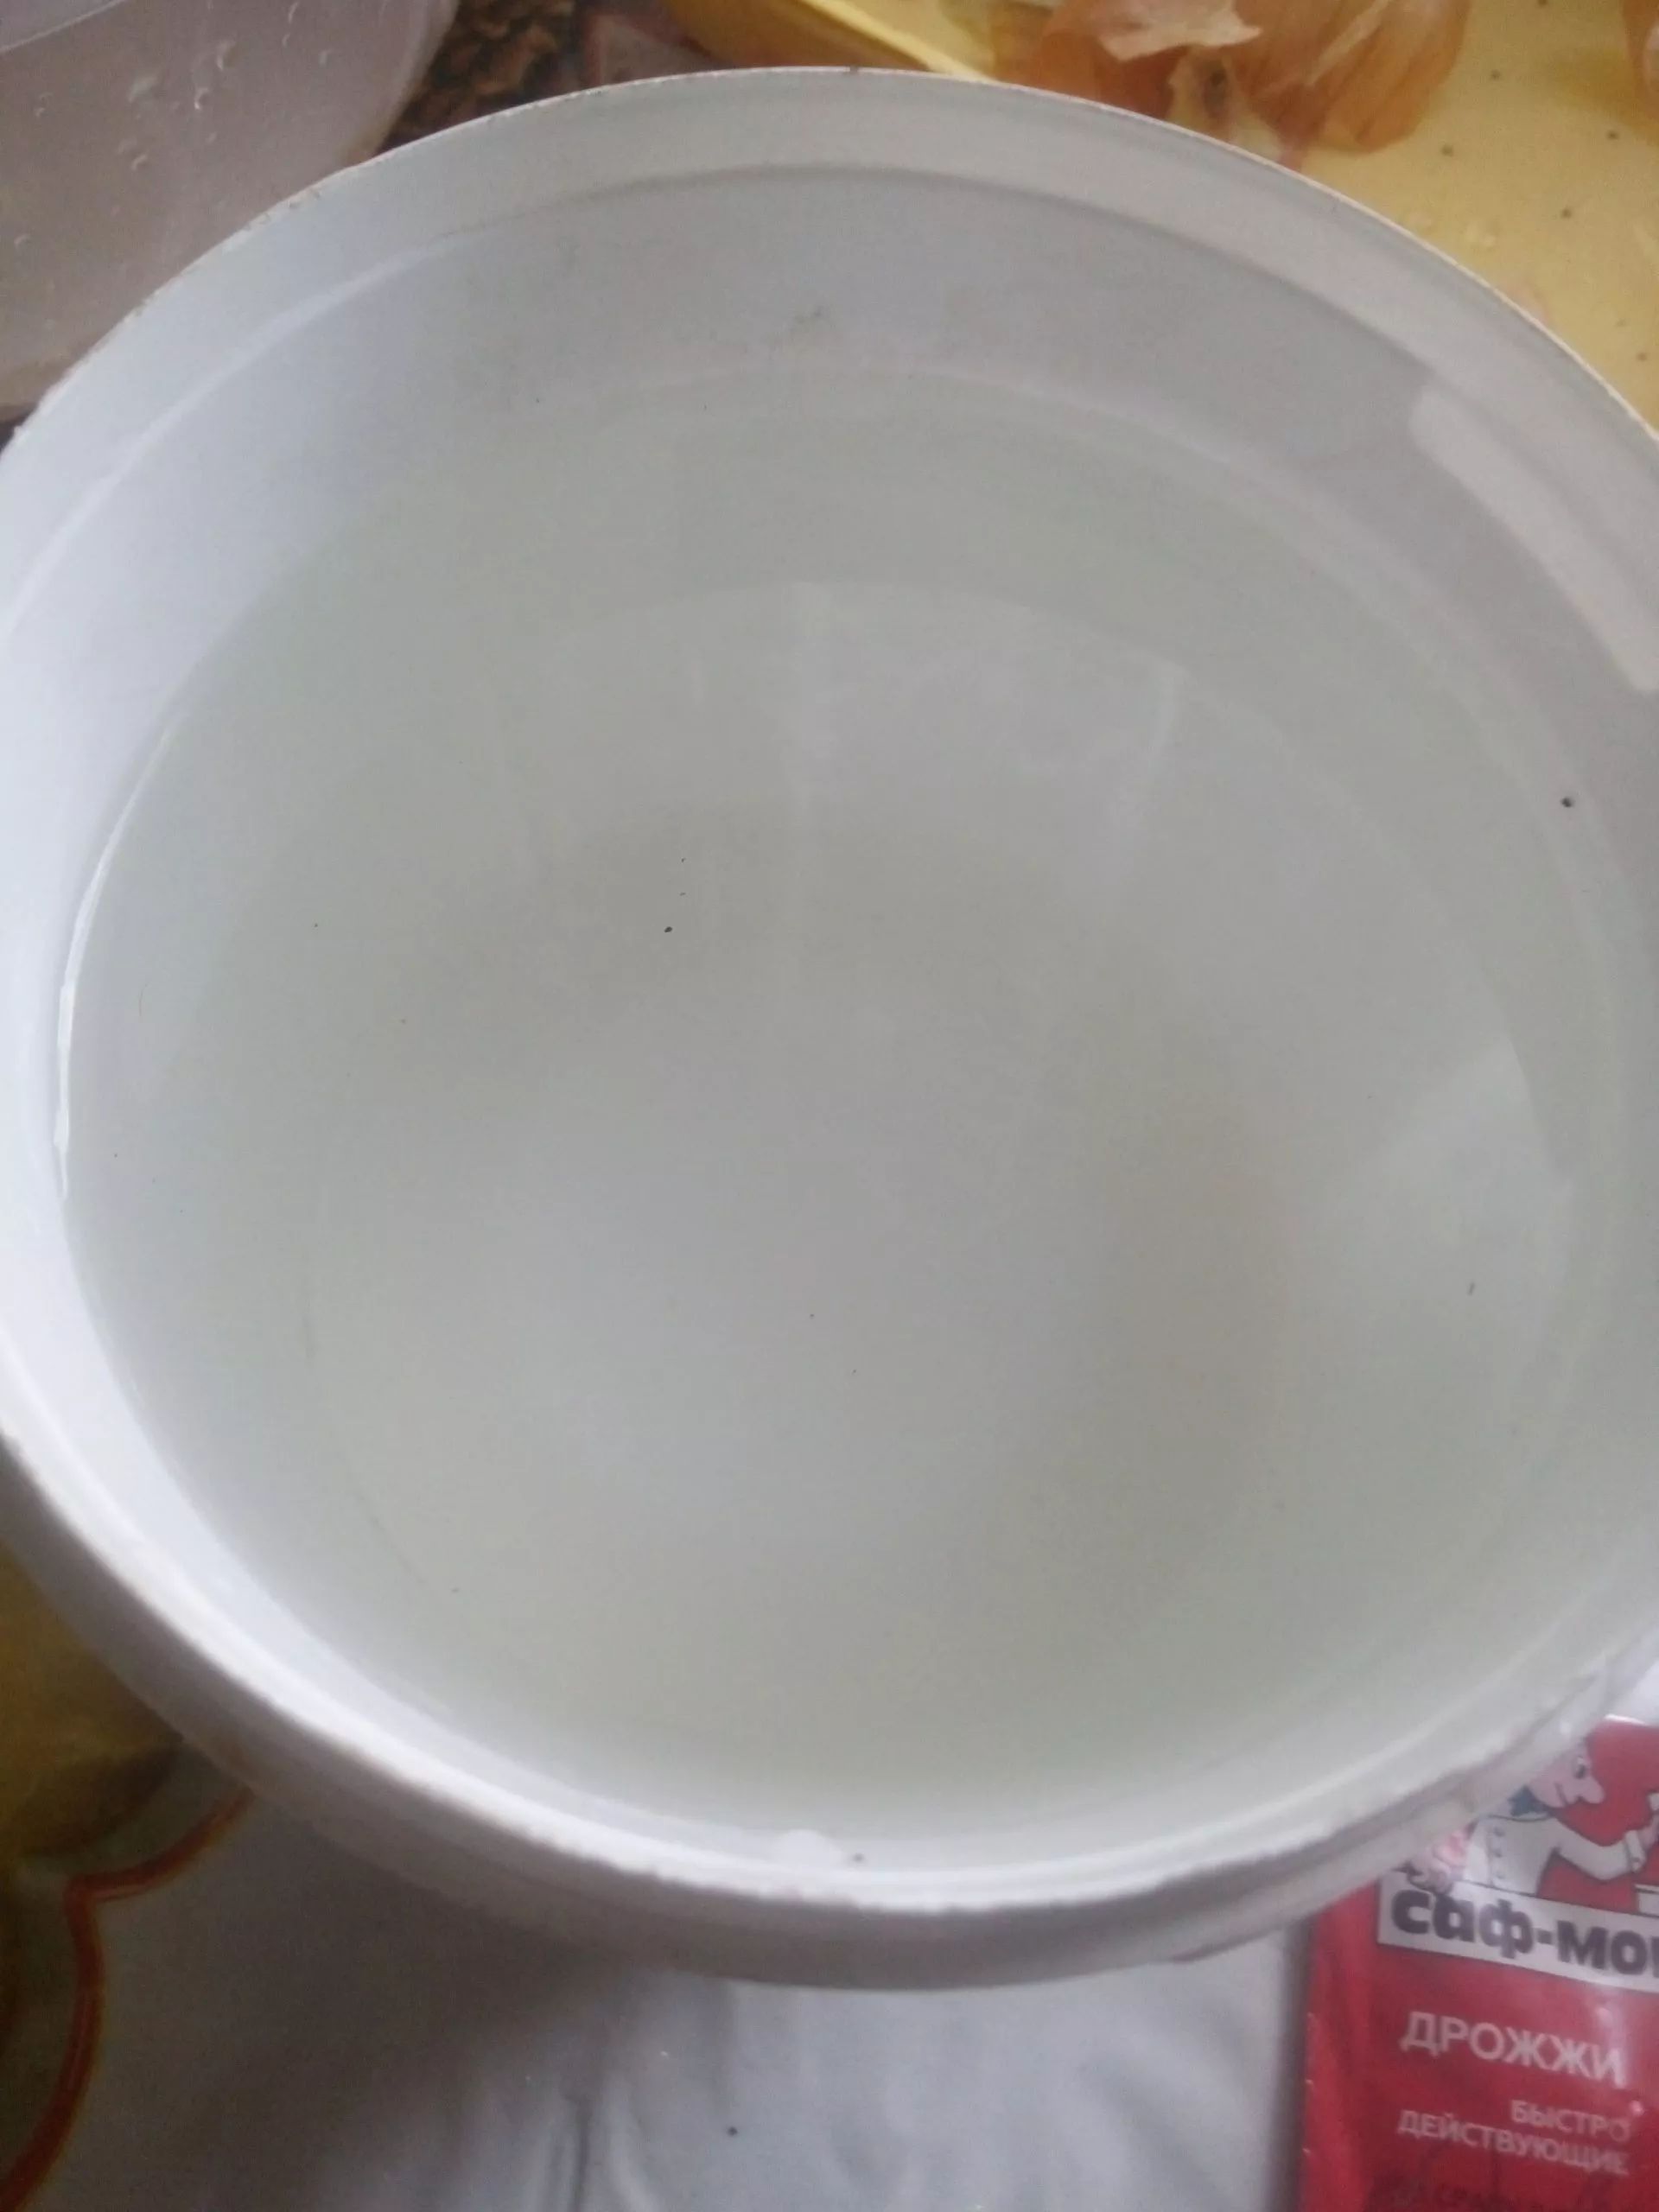
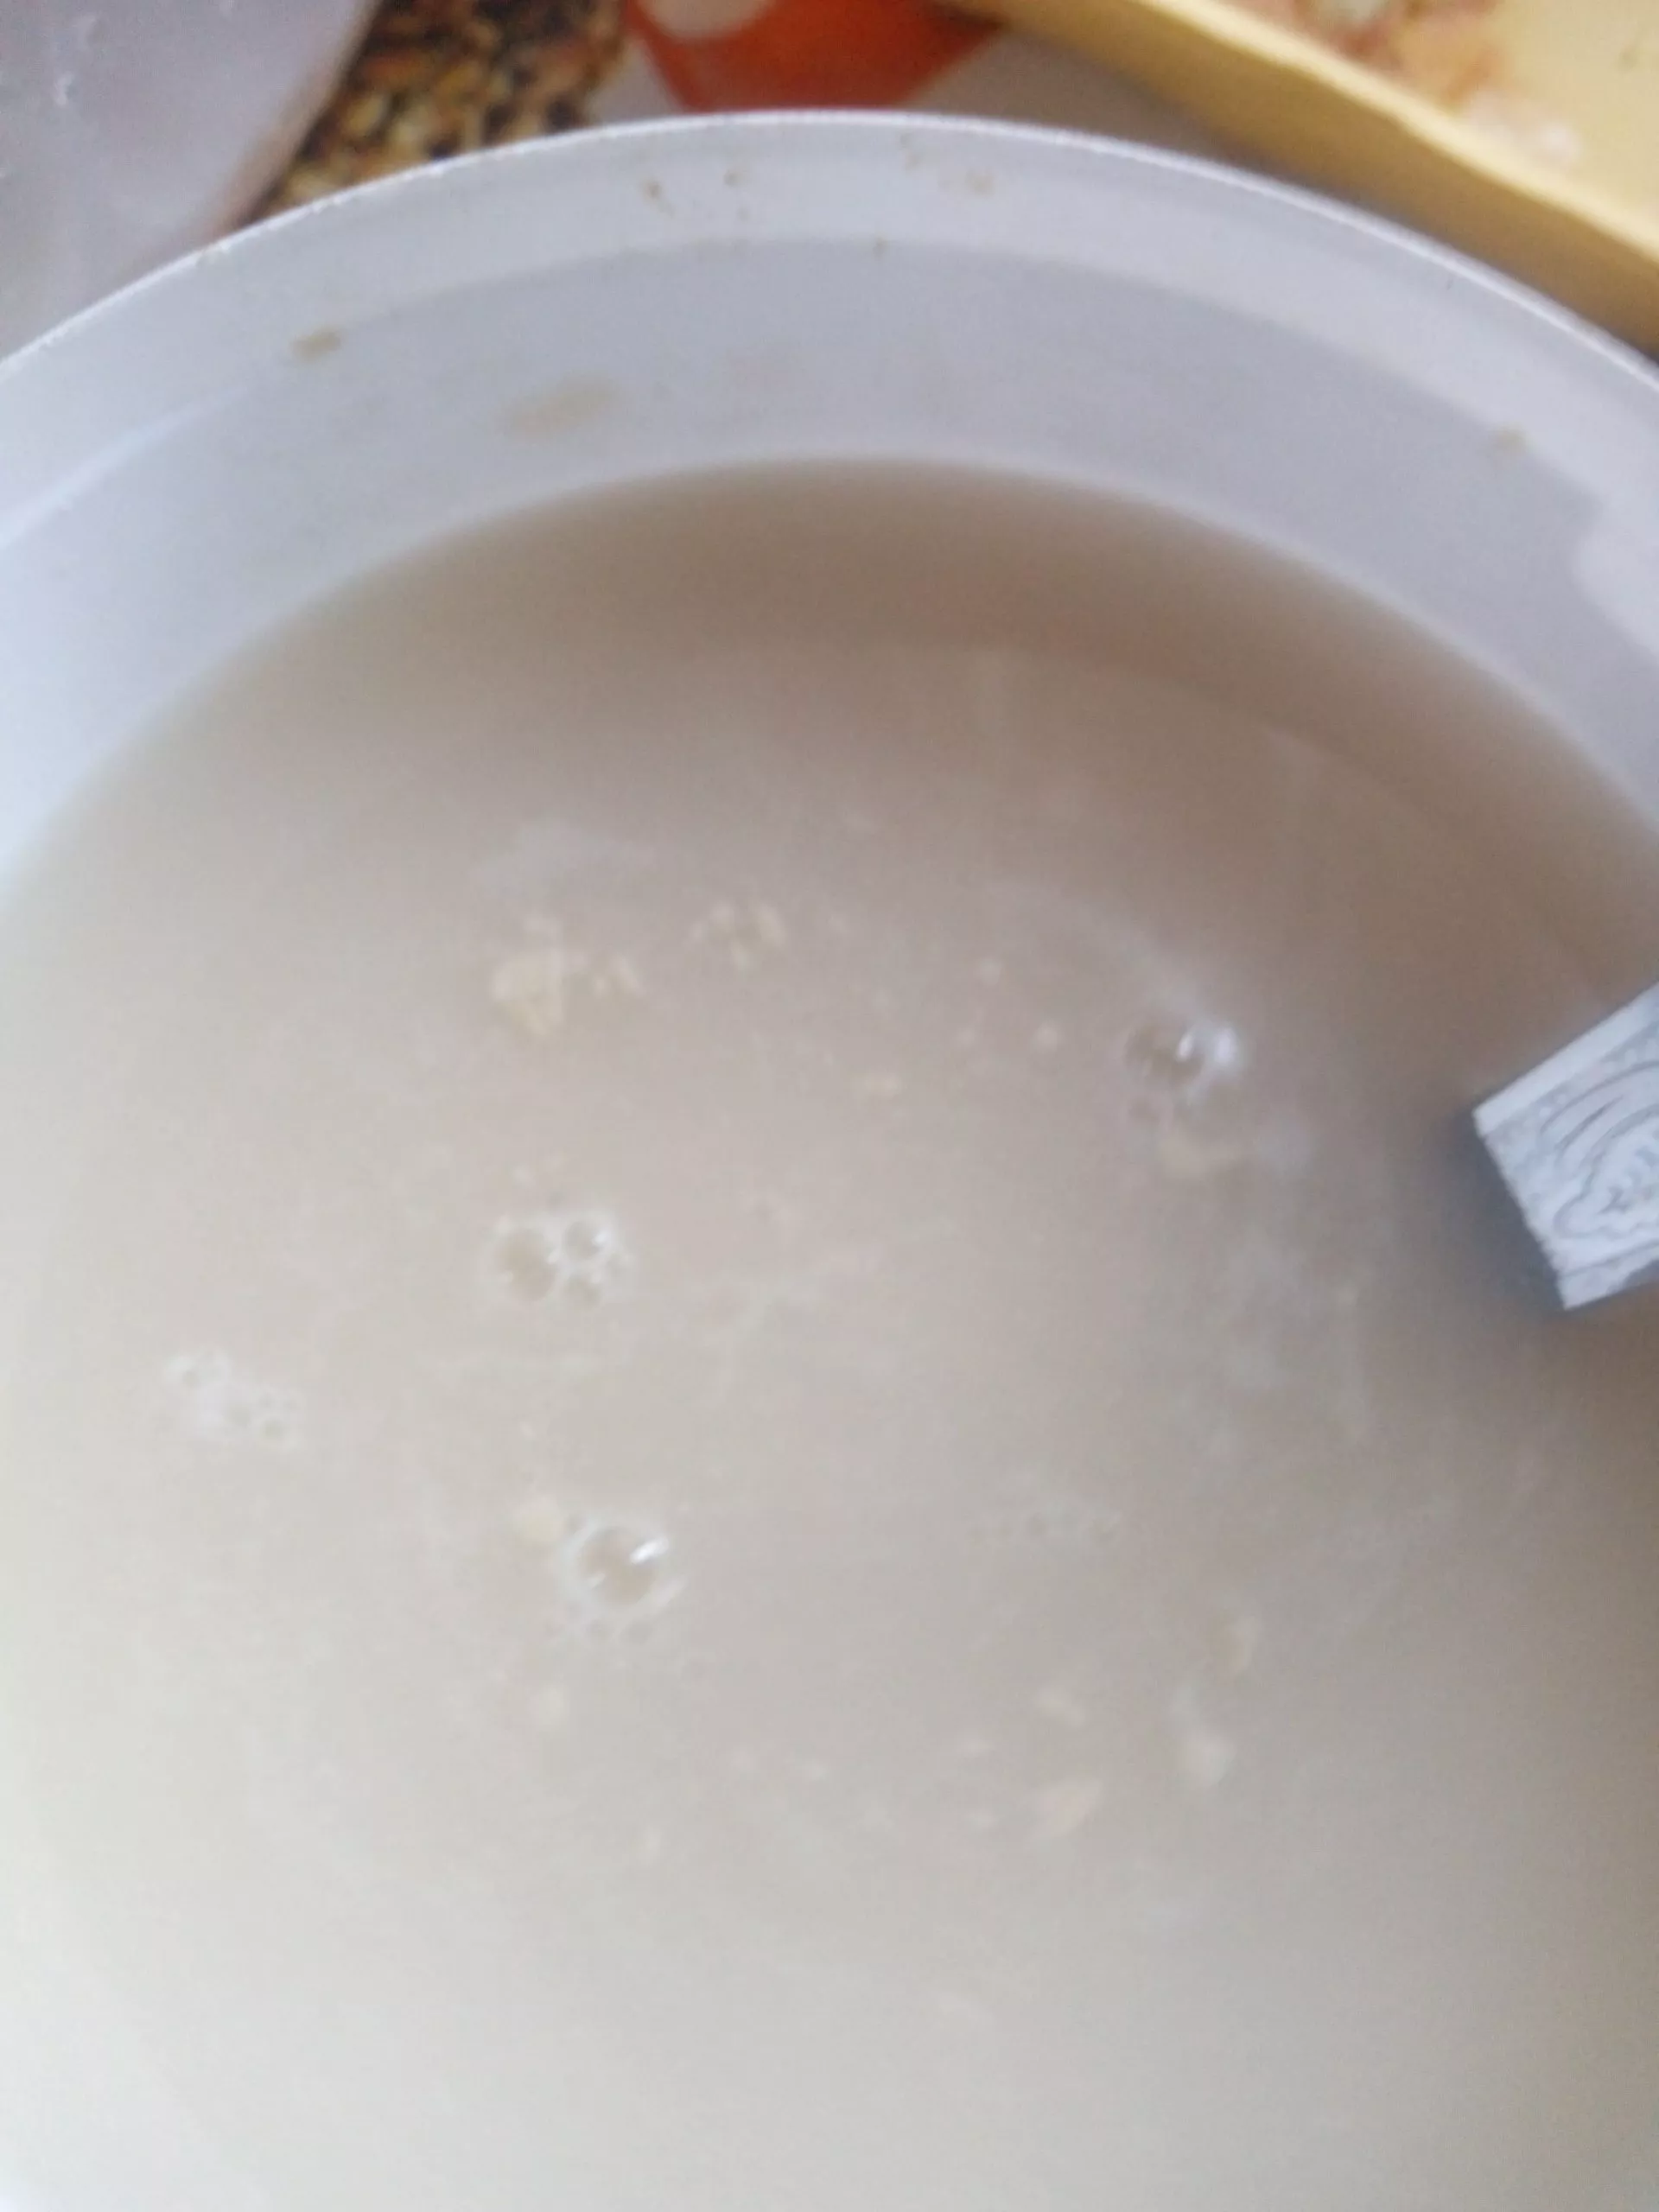
- I heated water in a kettle, but didn't bring it to a boil. The liquid should be just thick enough to easily insert your fingers. If the solution gets too hot, the yeast will "bake" and lose its potency. I poured the water into a plastic liter-sized bucket (like a sour cream container).

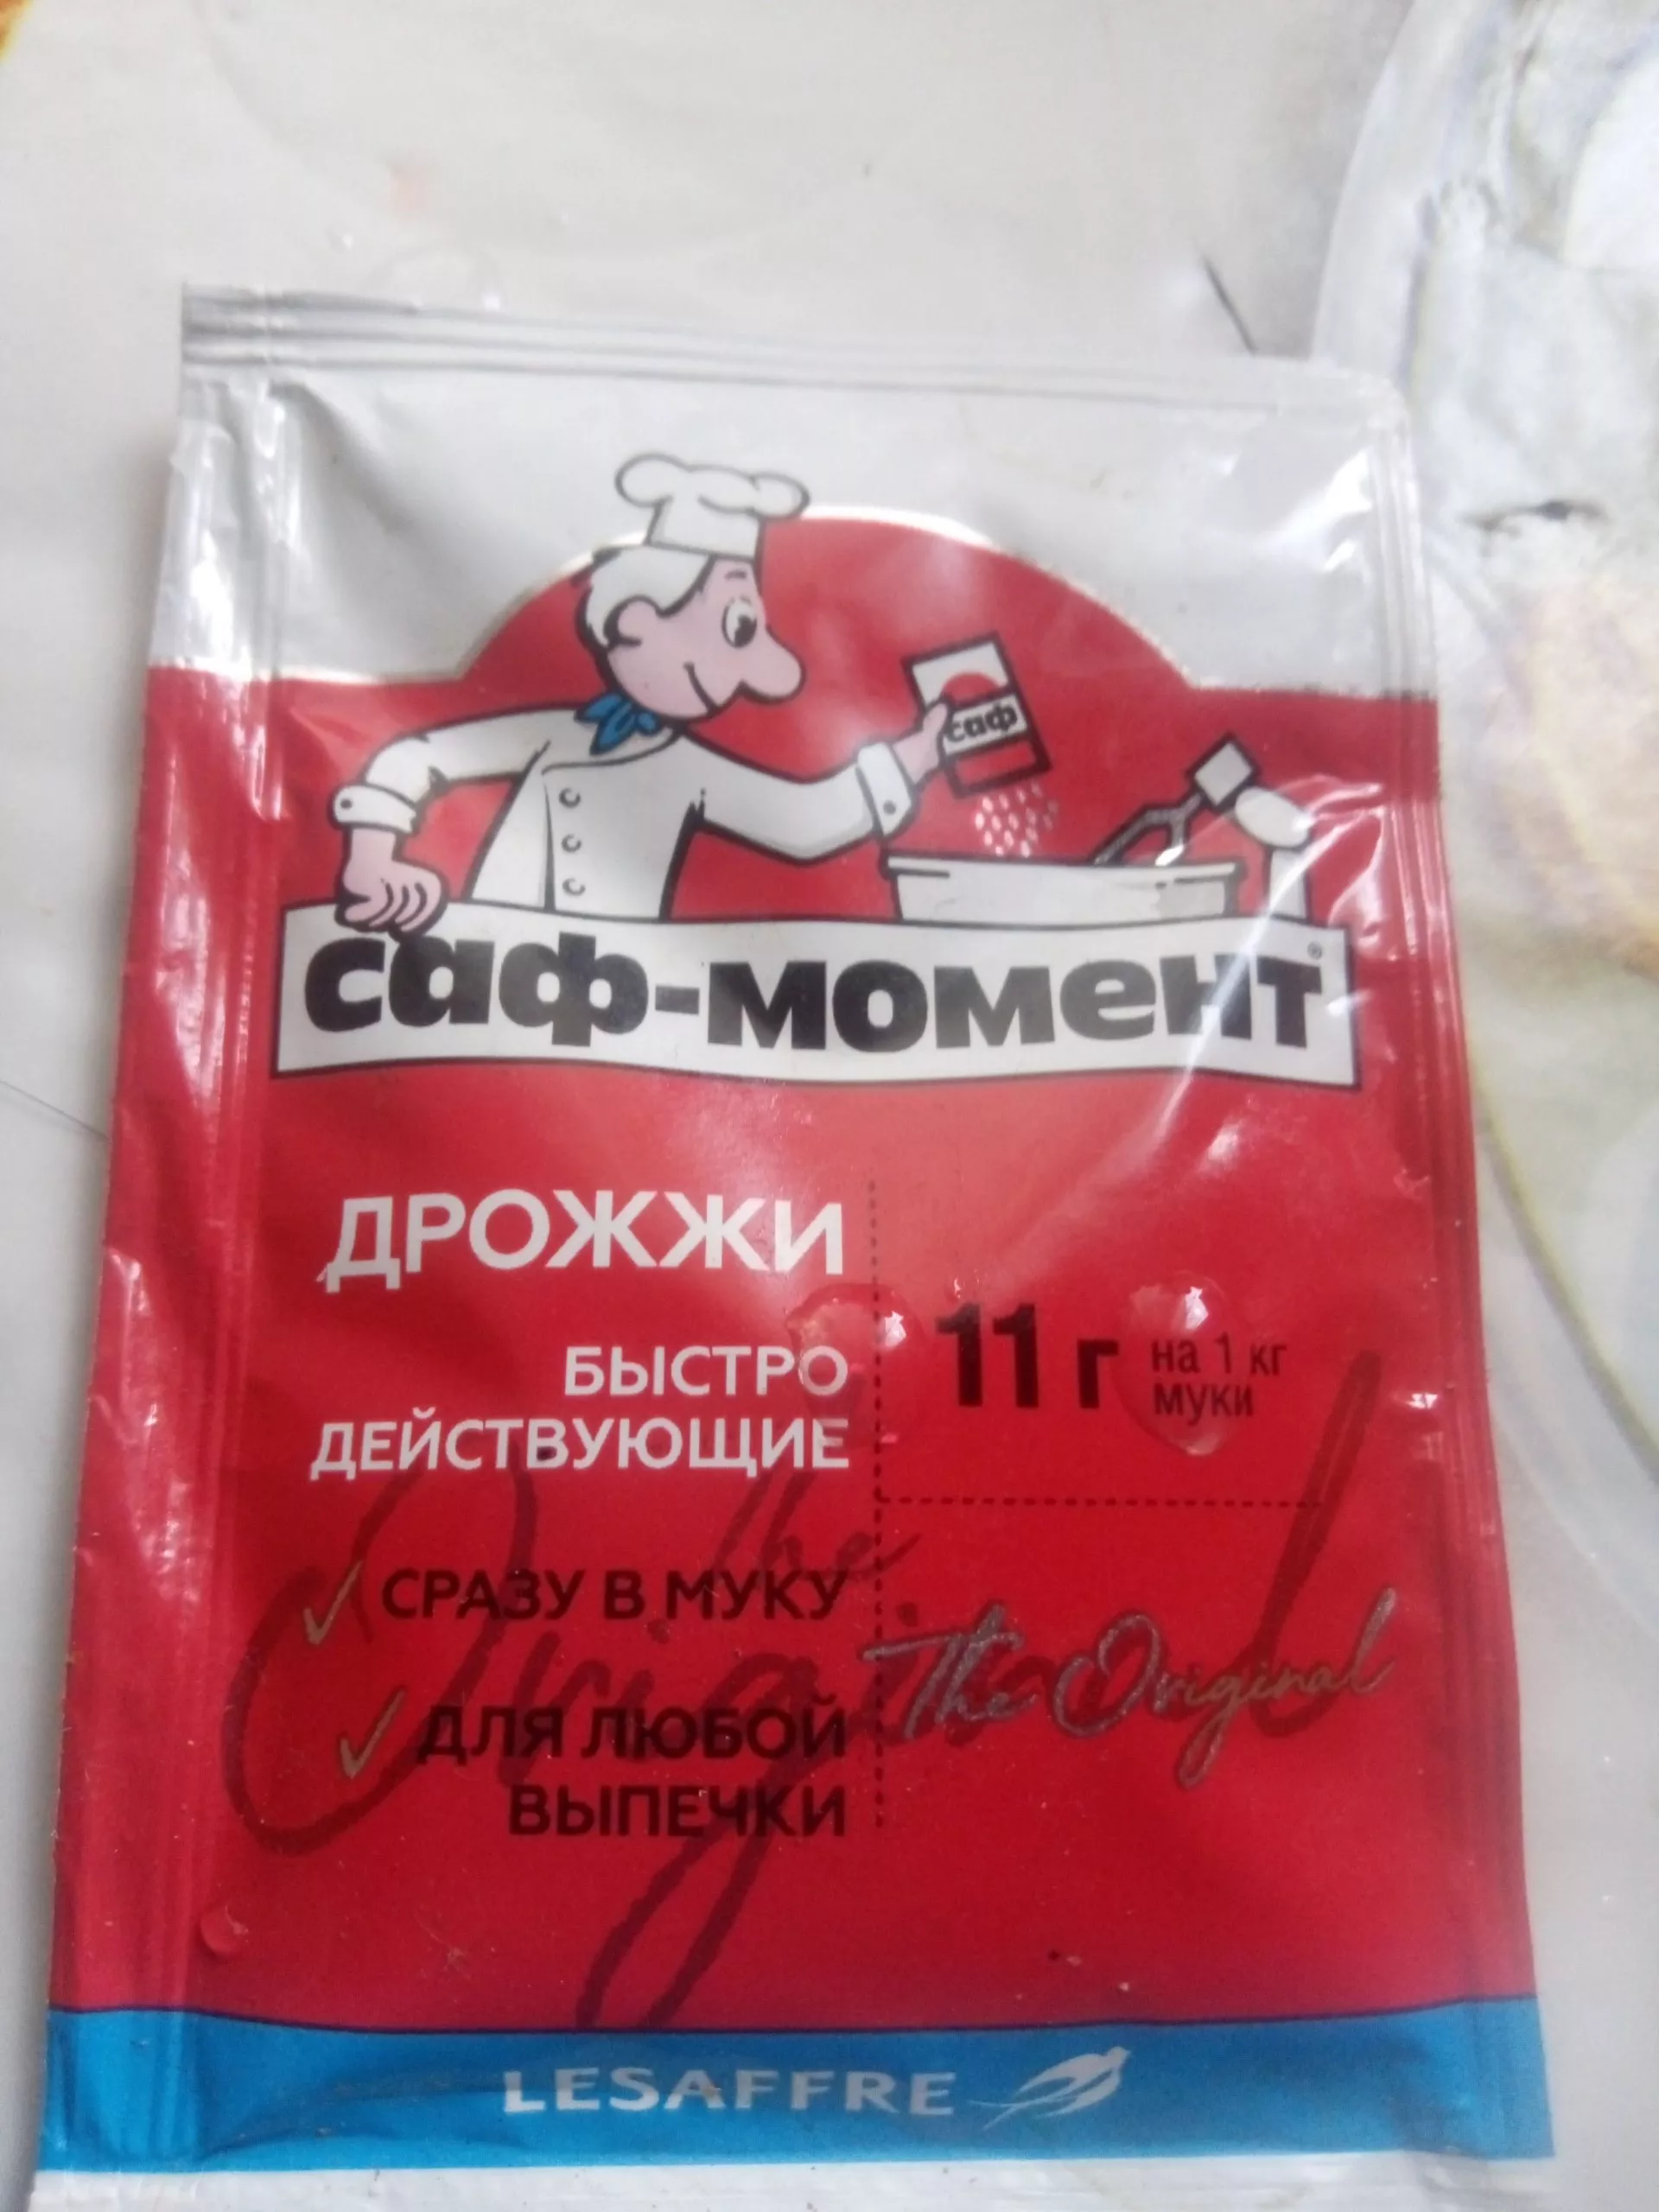
- I knitted 1 pack of small dry yeast - generally you need 10 g, but I had 11 g.
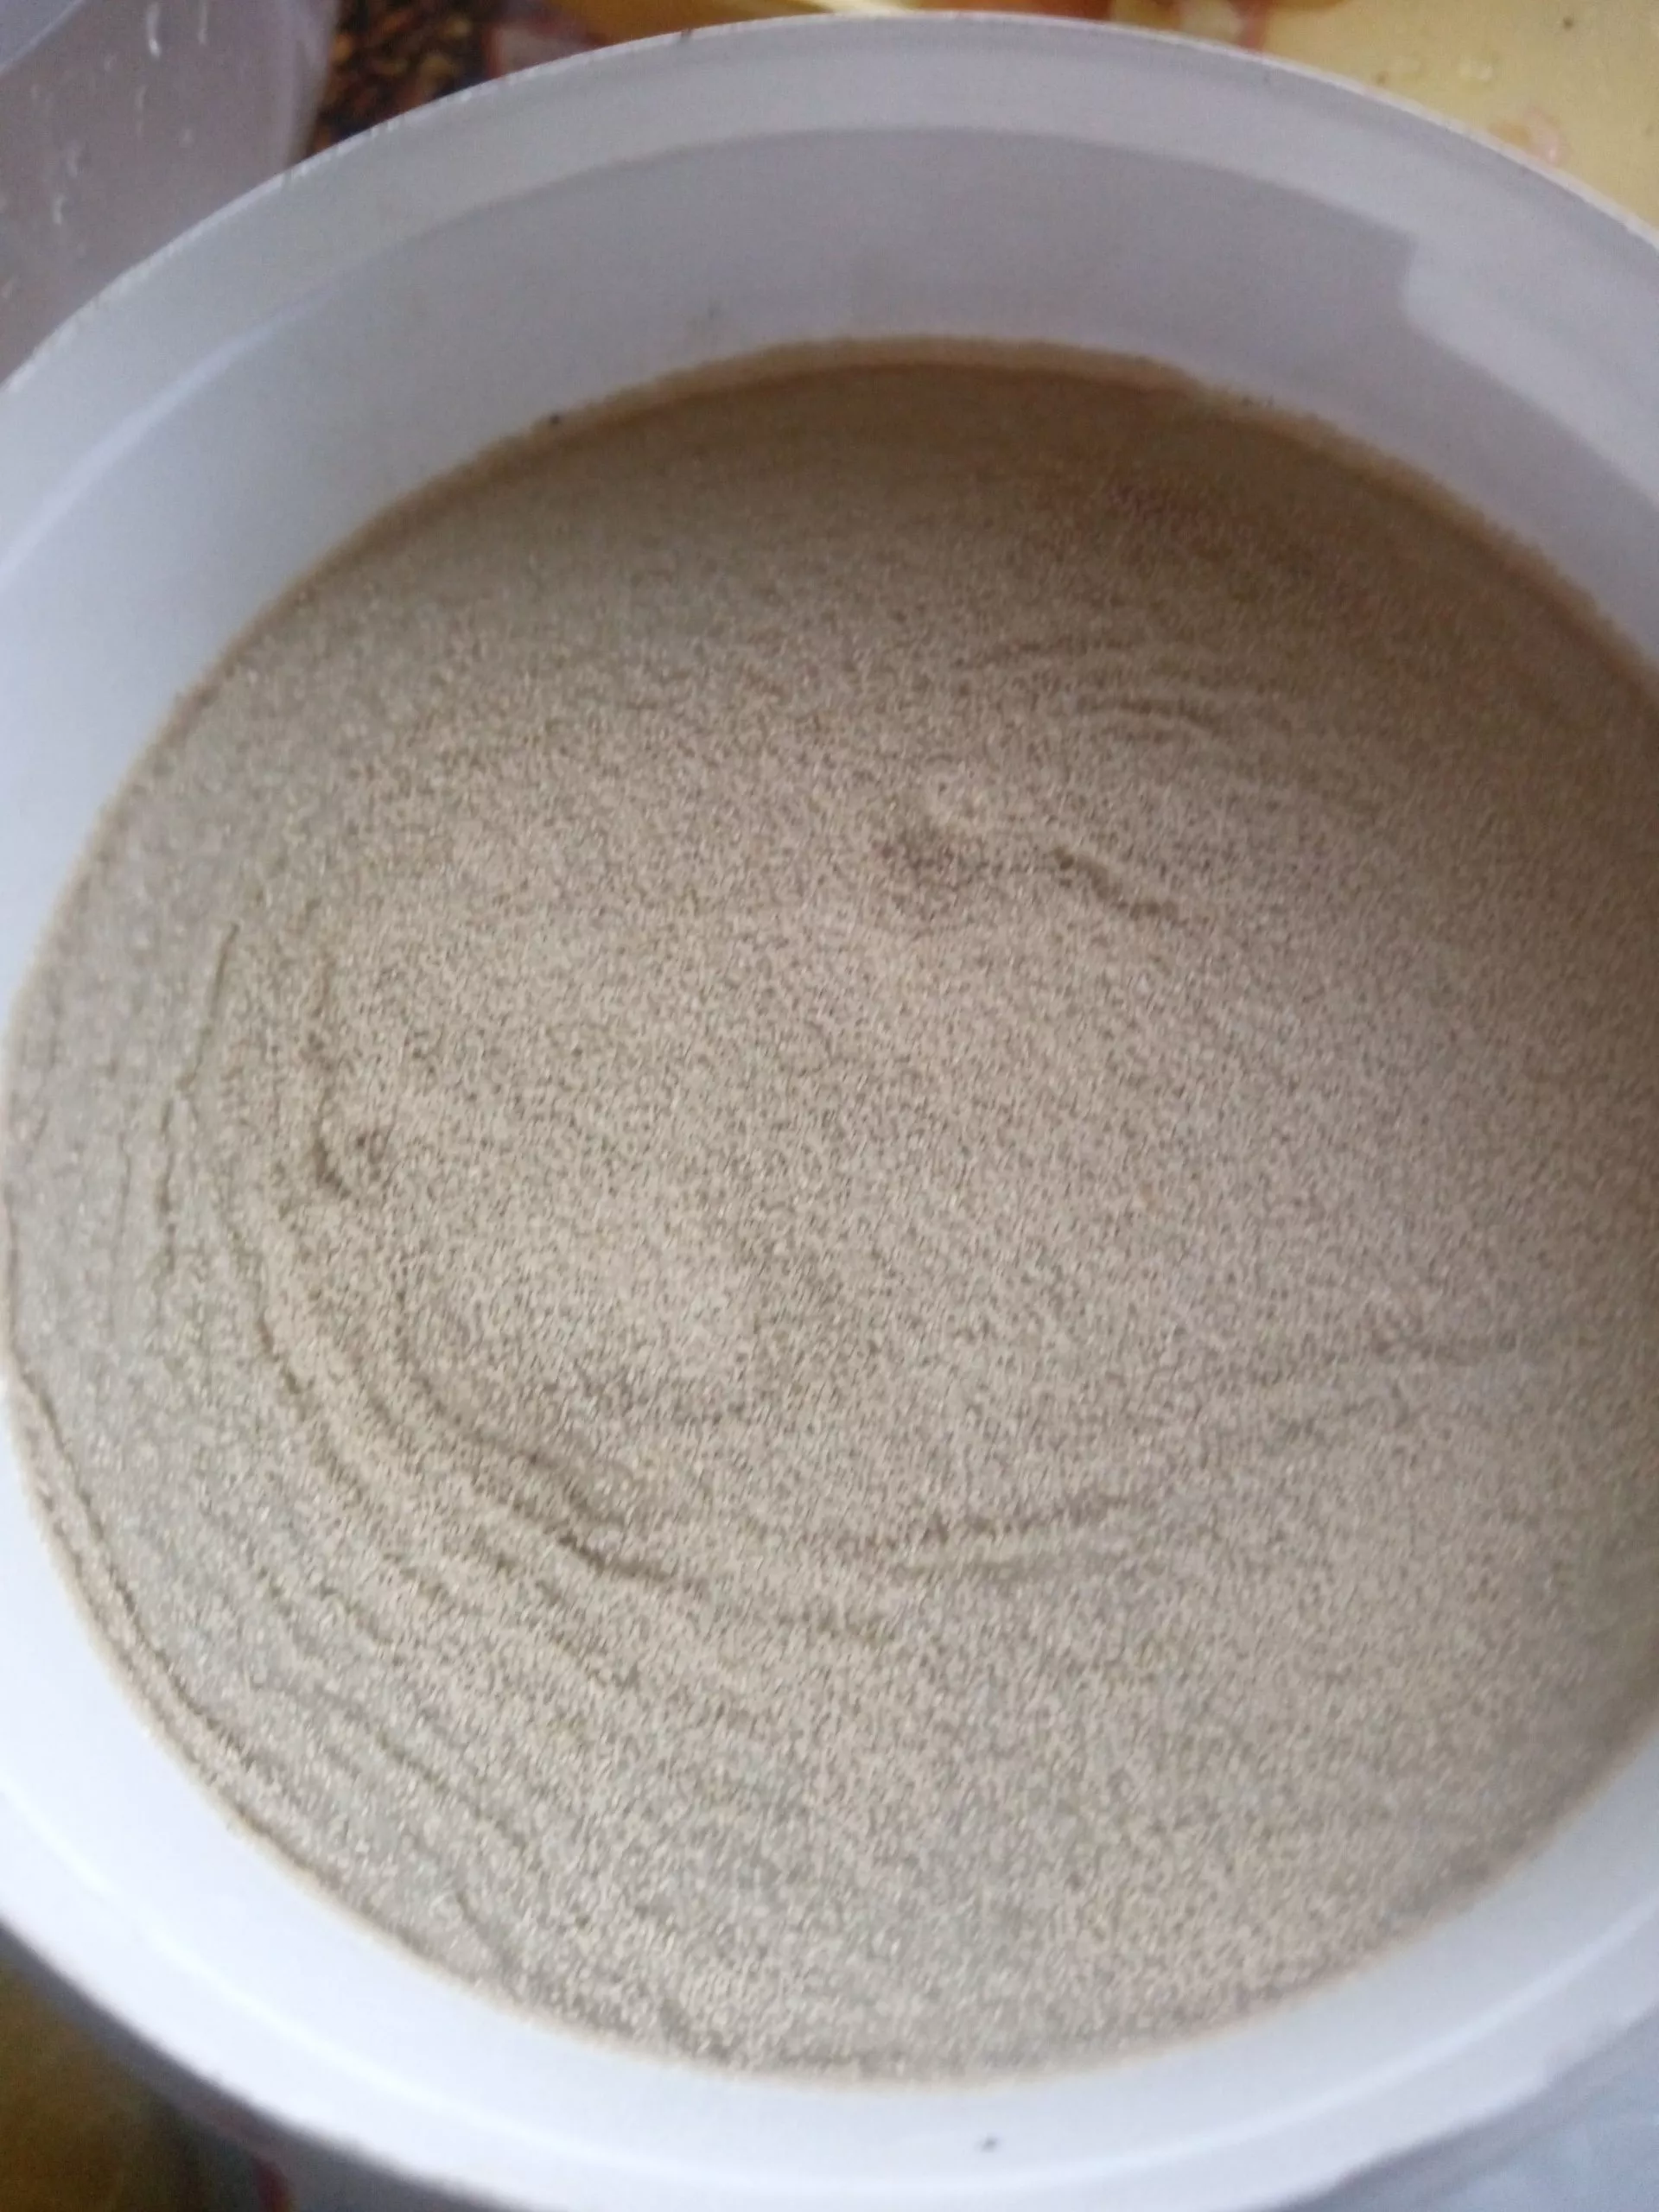
- I poured yeast into the water.
- Started stirring.
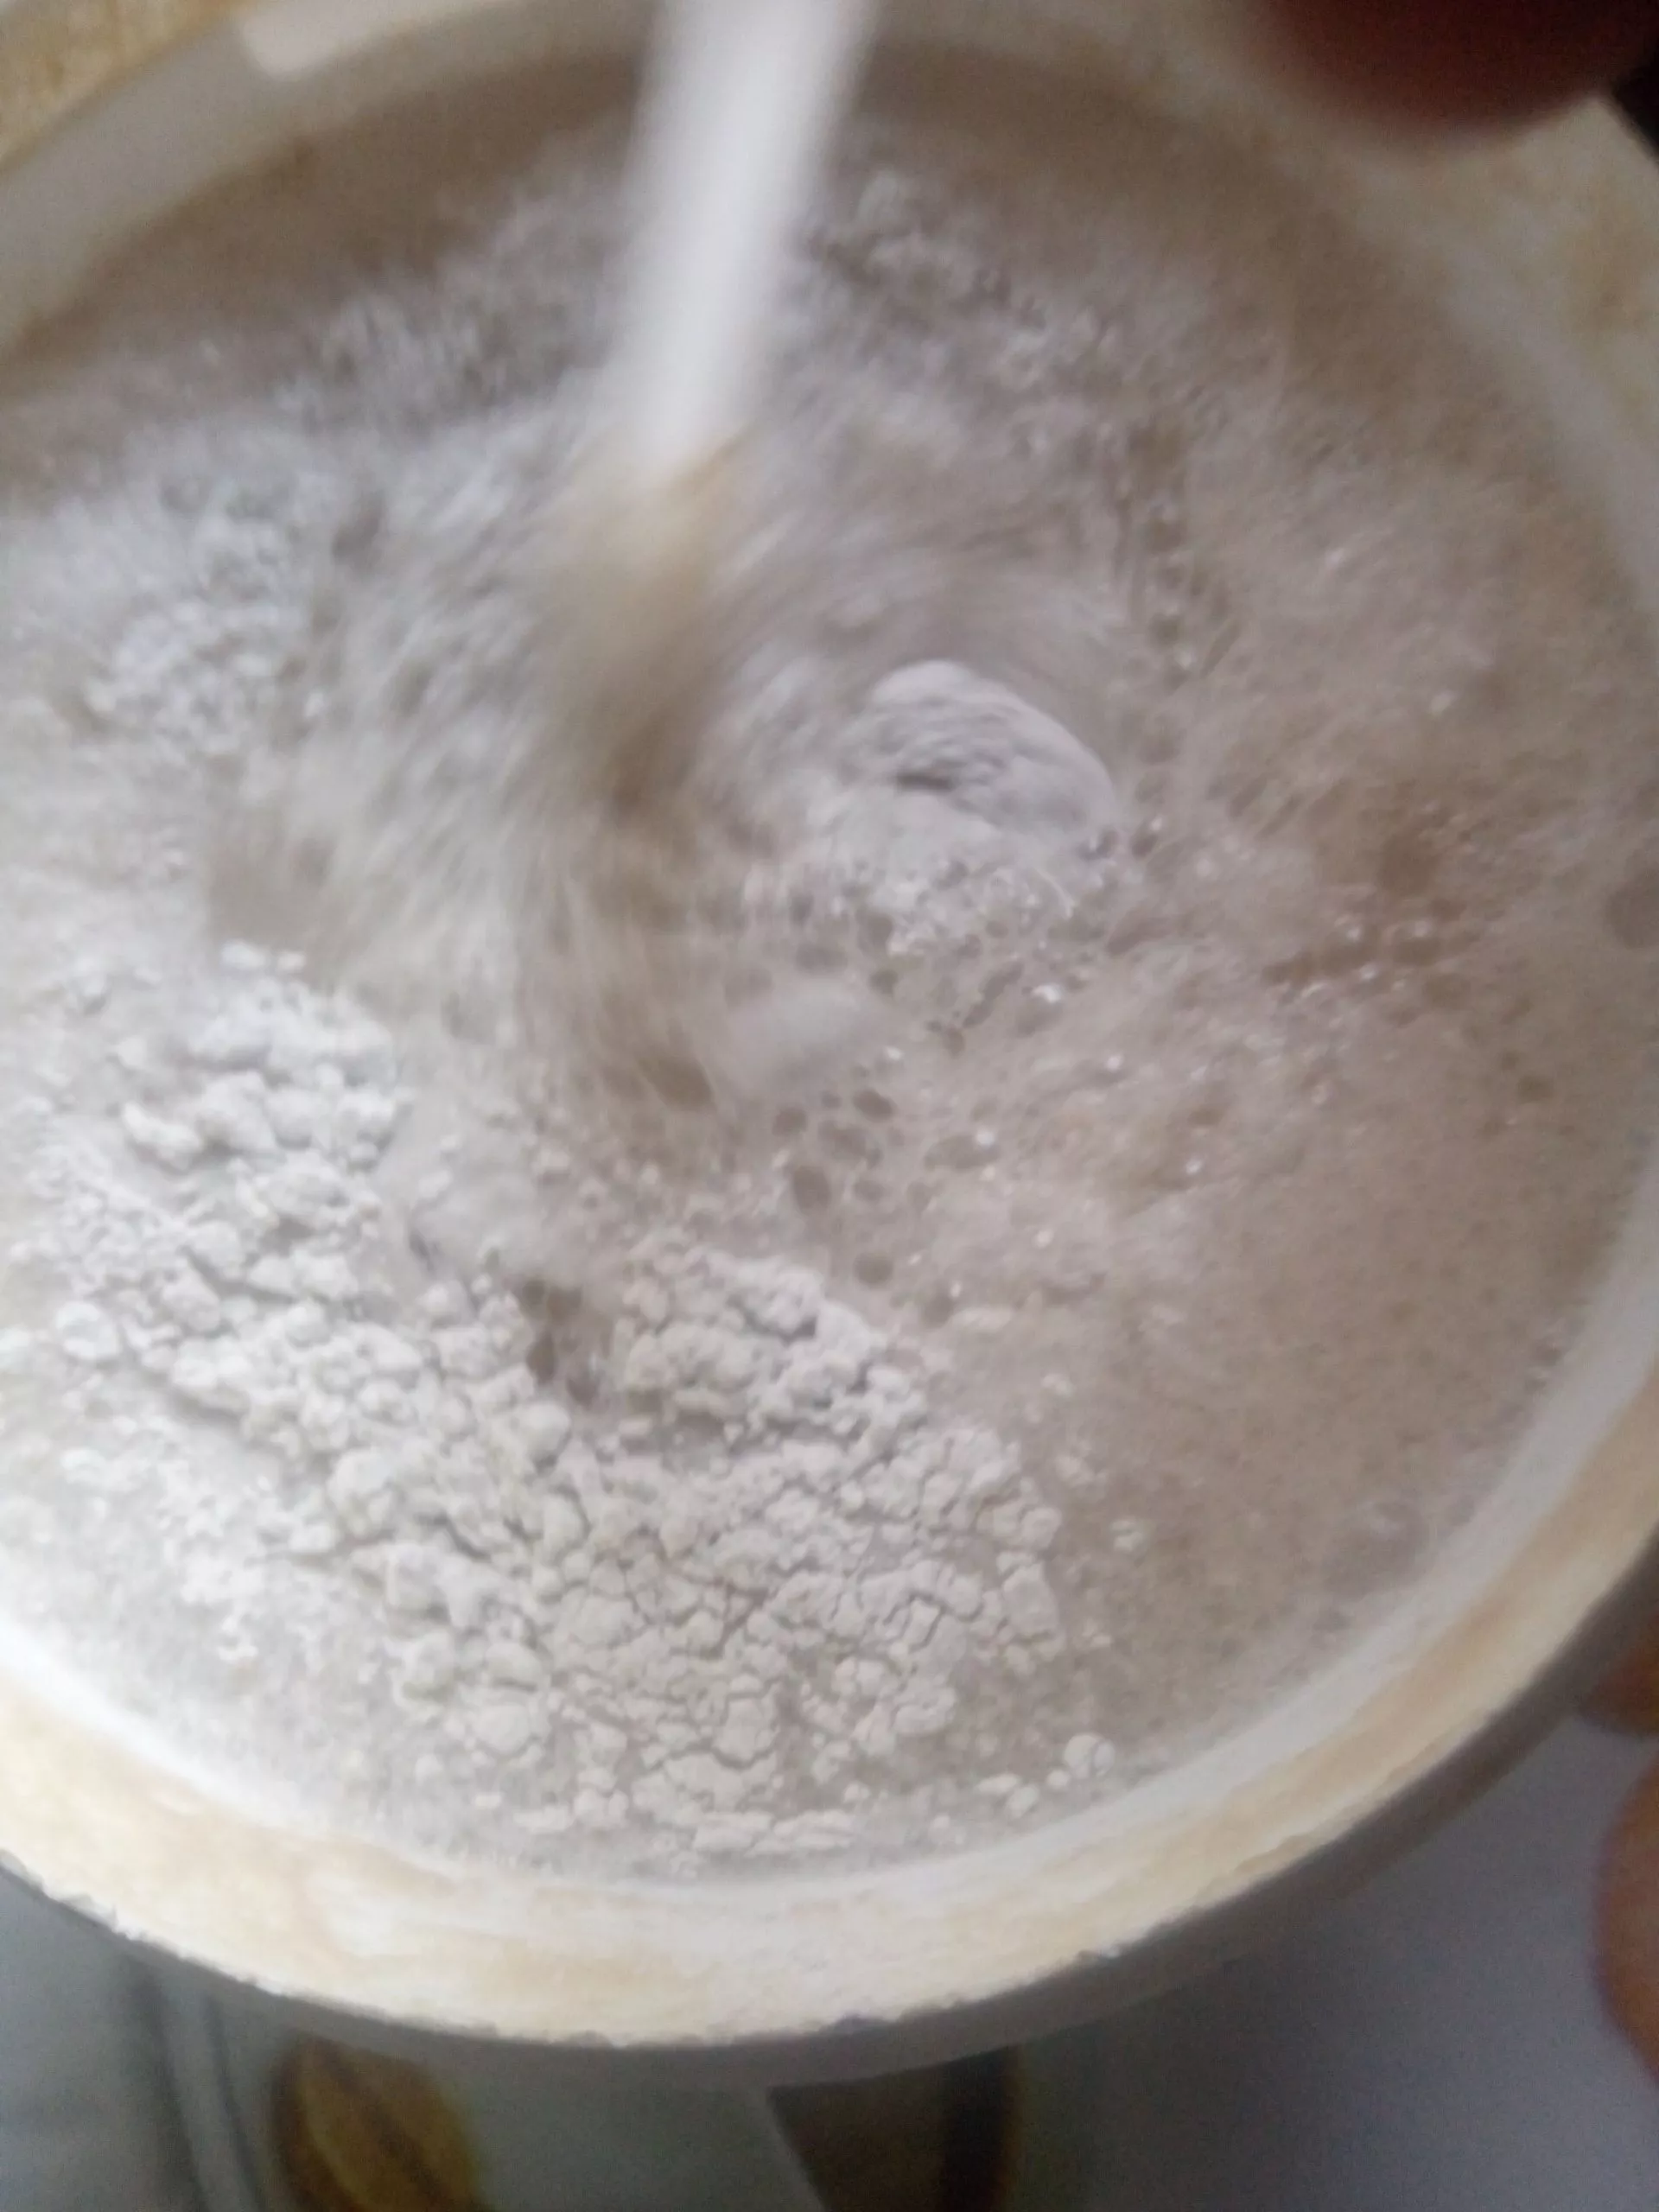
- This must be done until it is completely dissolved, so that there are no lumps.
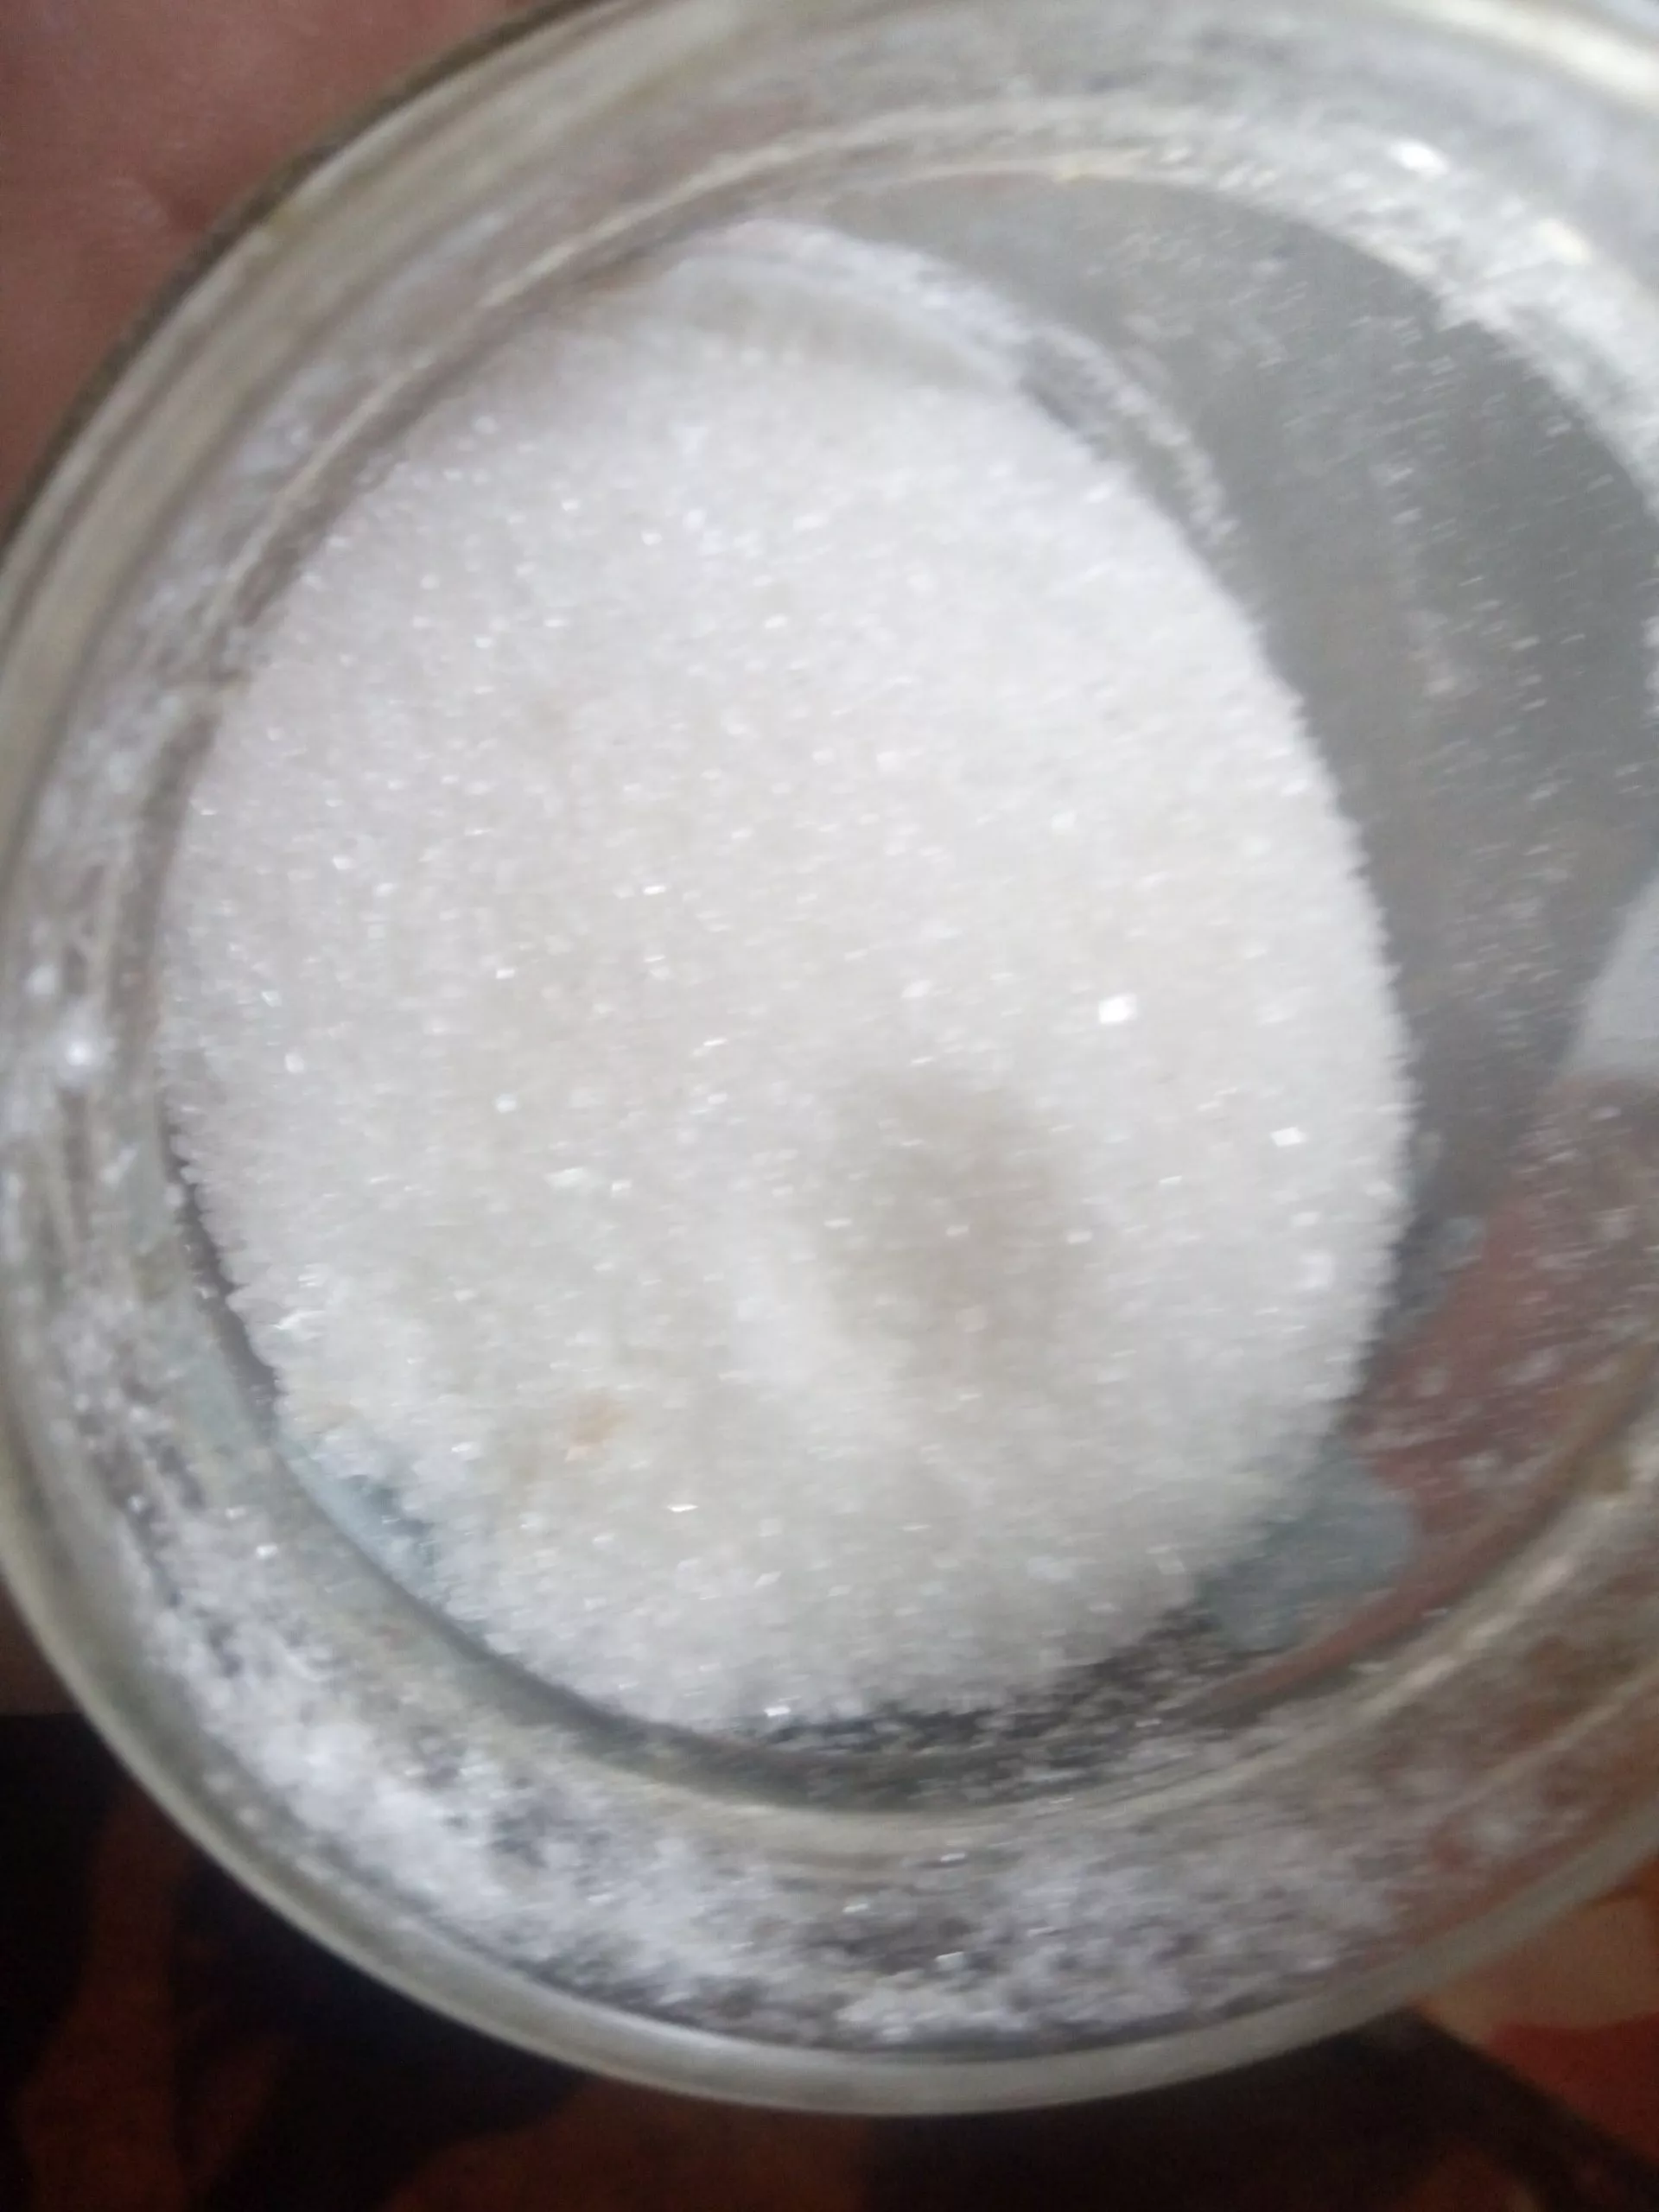
- I added 2 heaping tablespoons of sugar and mixed thoroughly again.
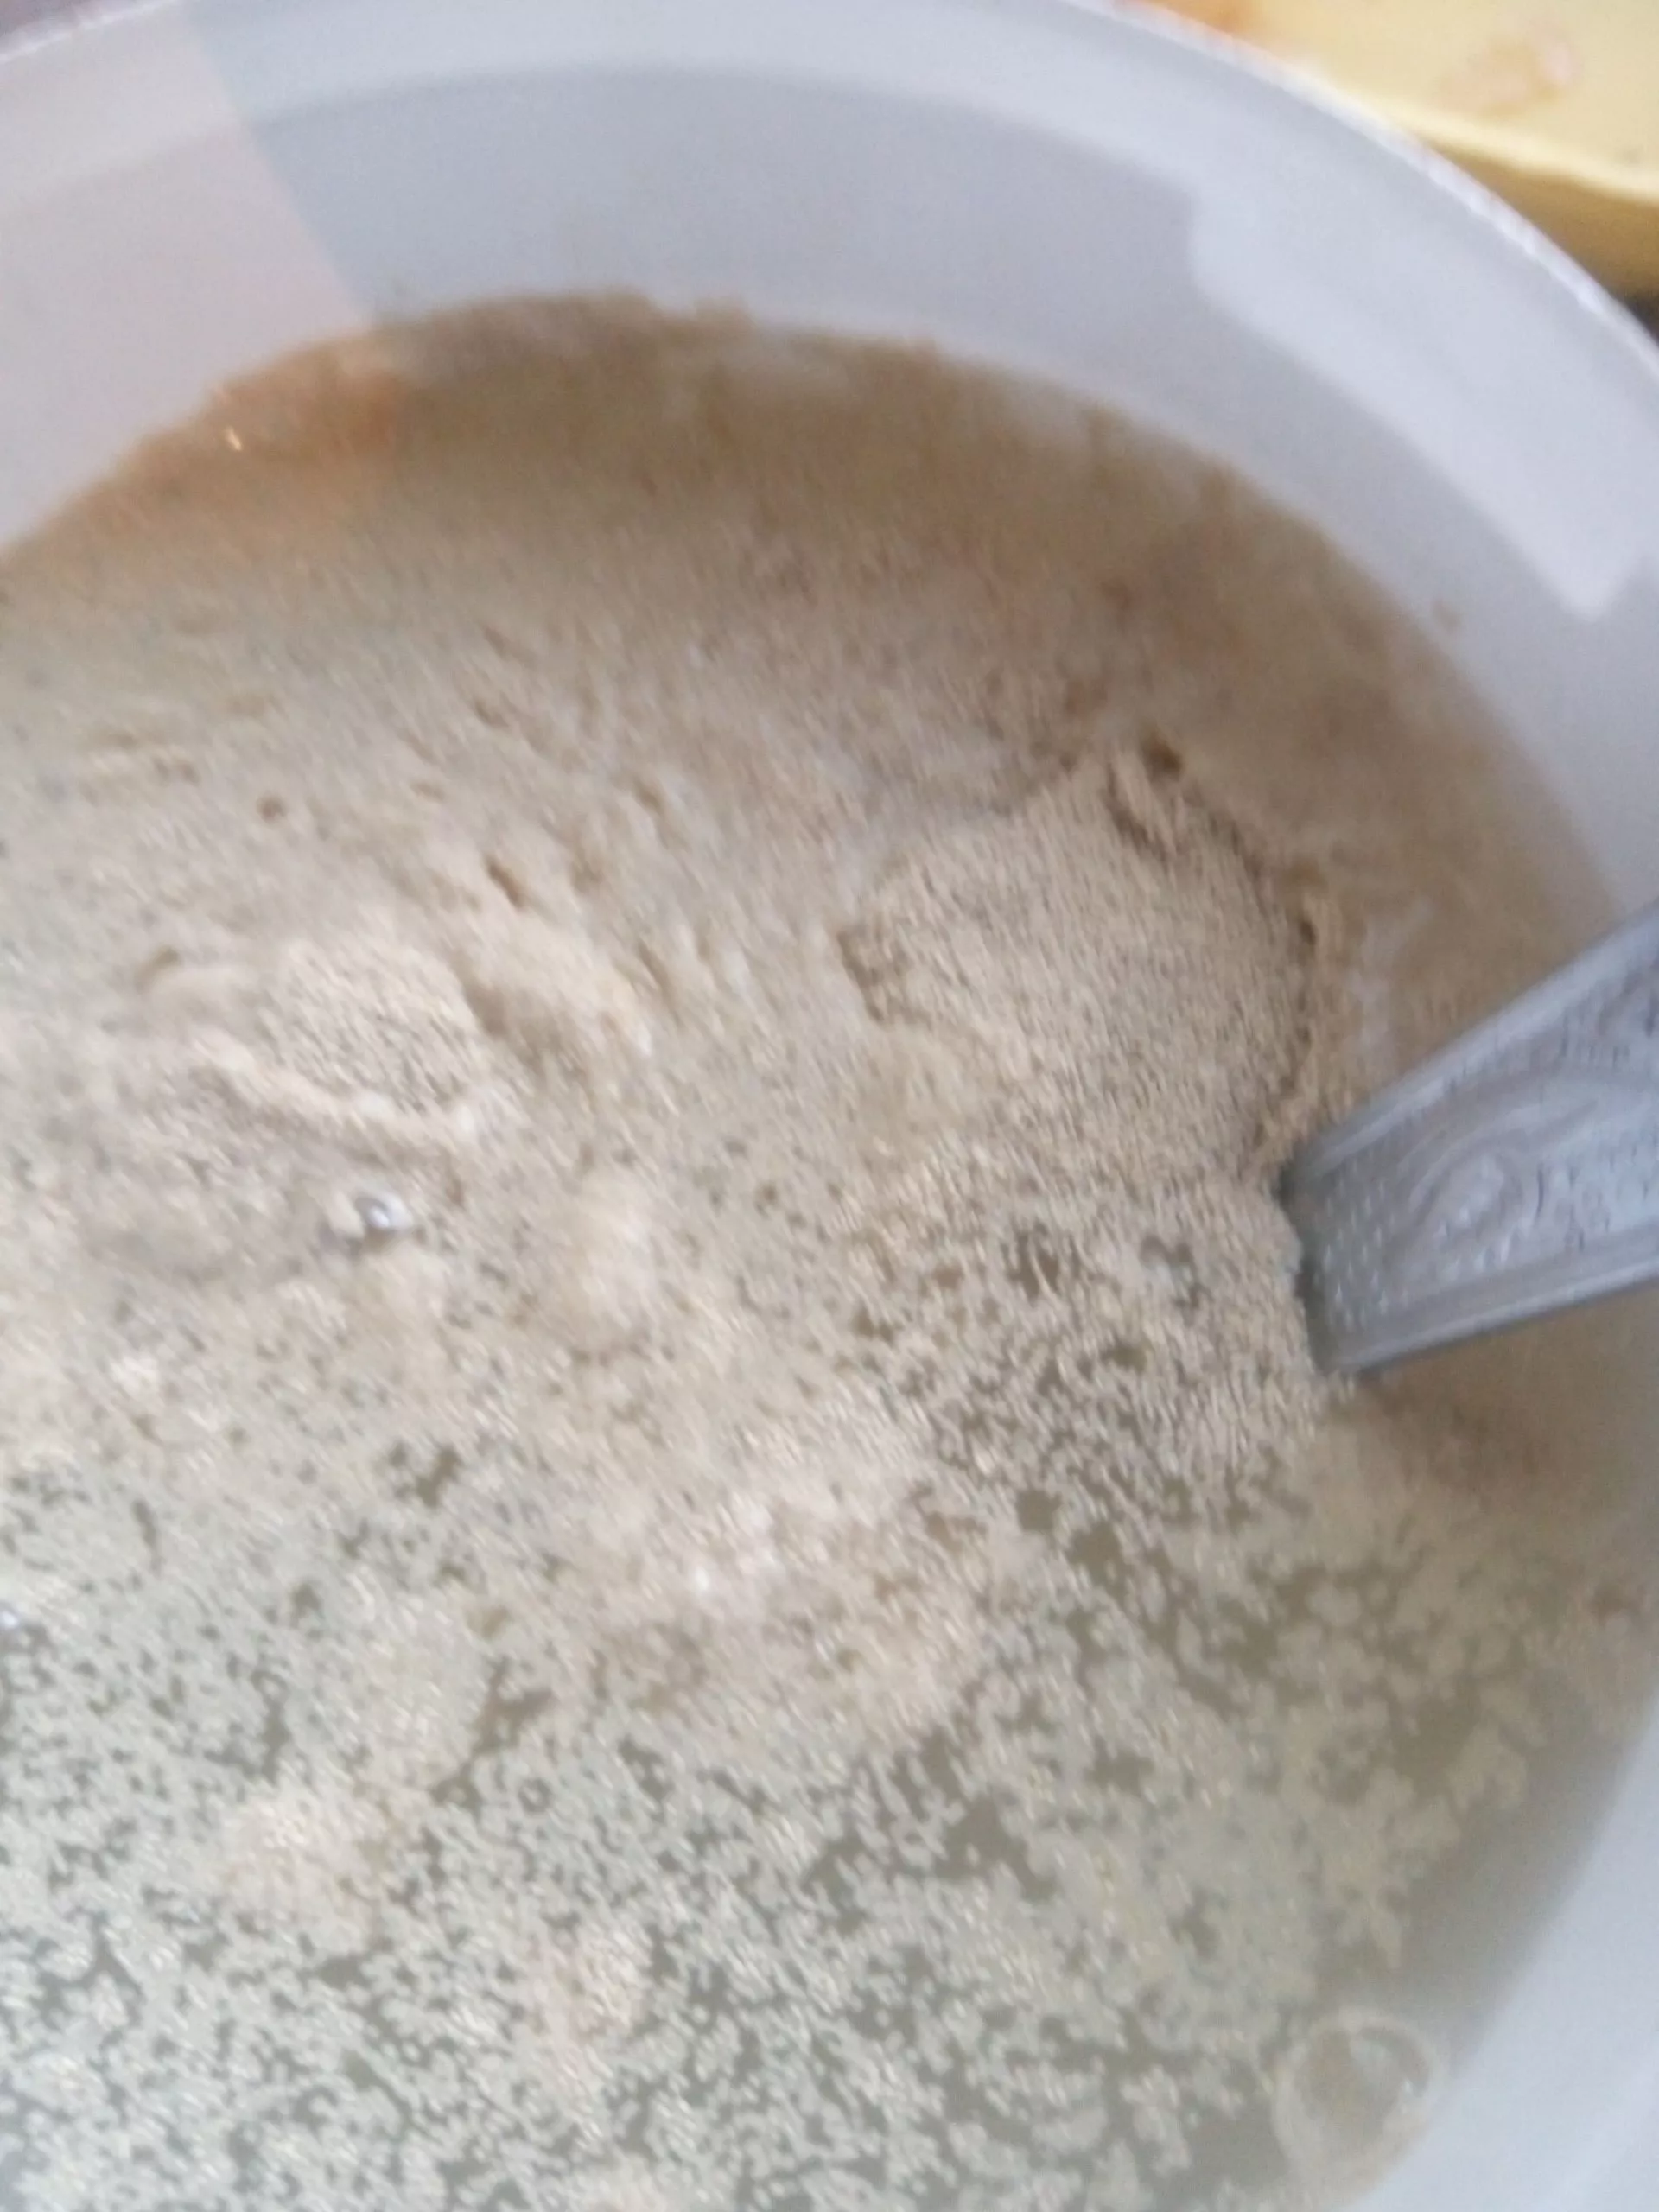
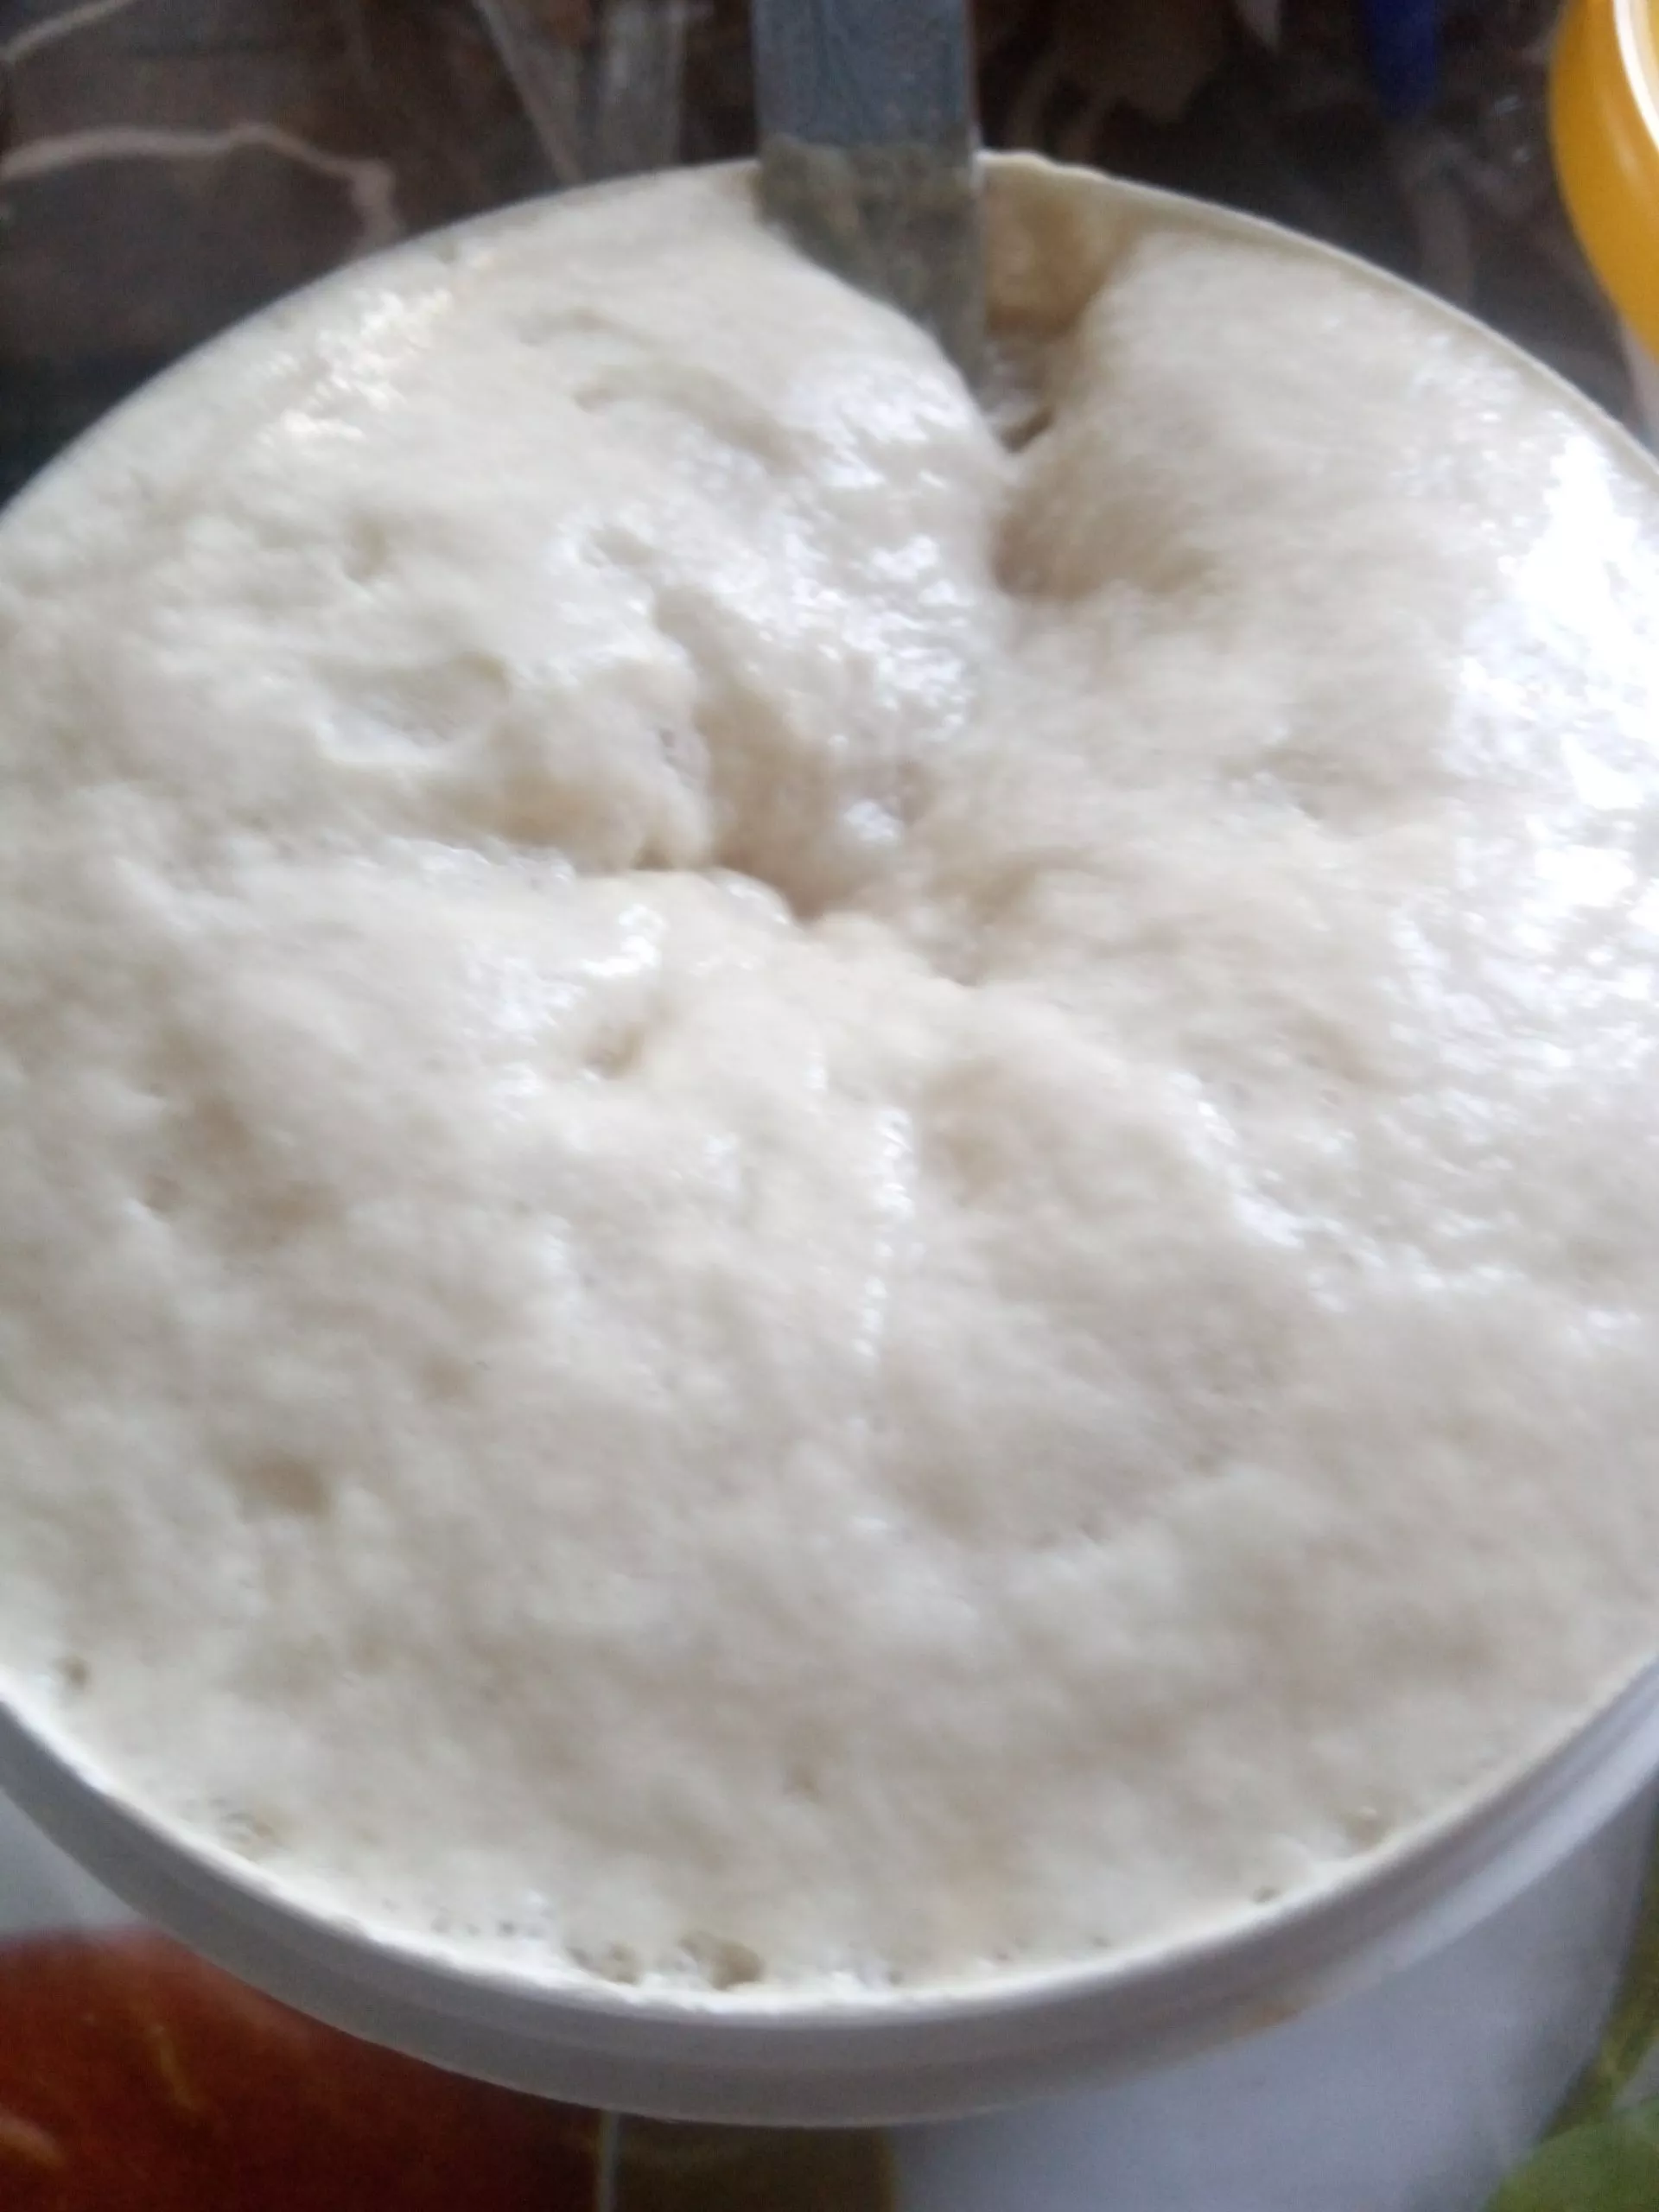
- I left it in the kitchen, where it's very warm. Literally 20 minutes later, I discovered this hat.
- I stirred it, the cap fell off, but the foam remained on top – that’s how it should be.
- I left the mixture for another 2 hours, stirring occasionally.
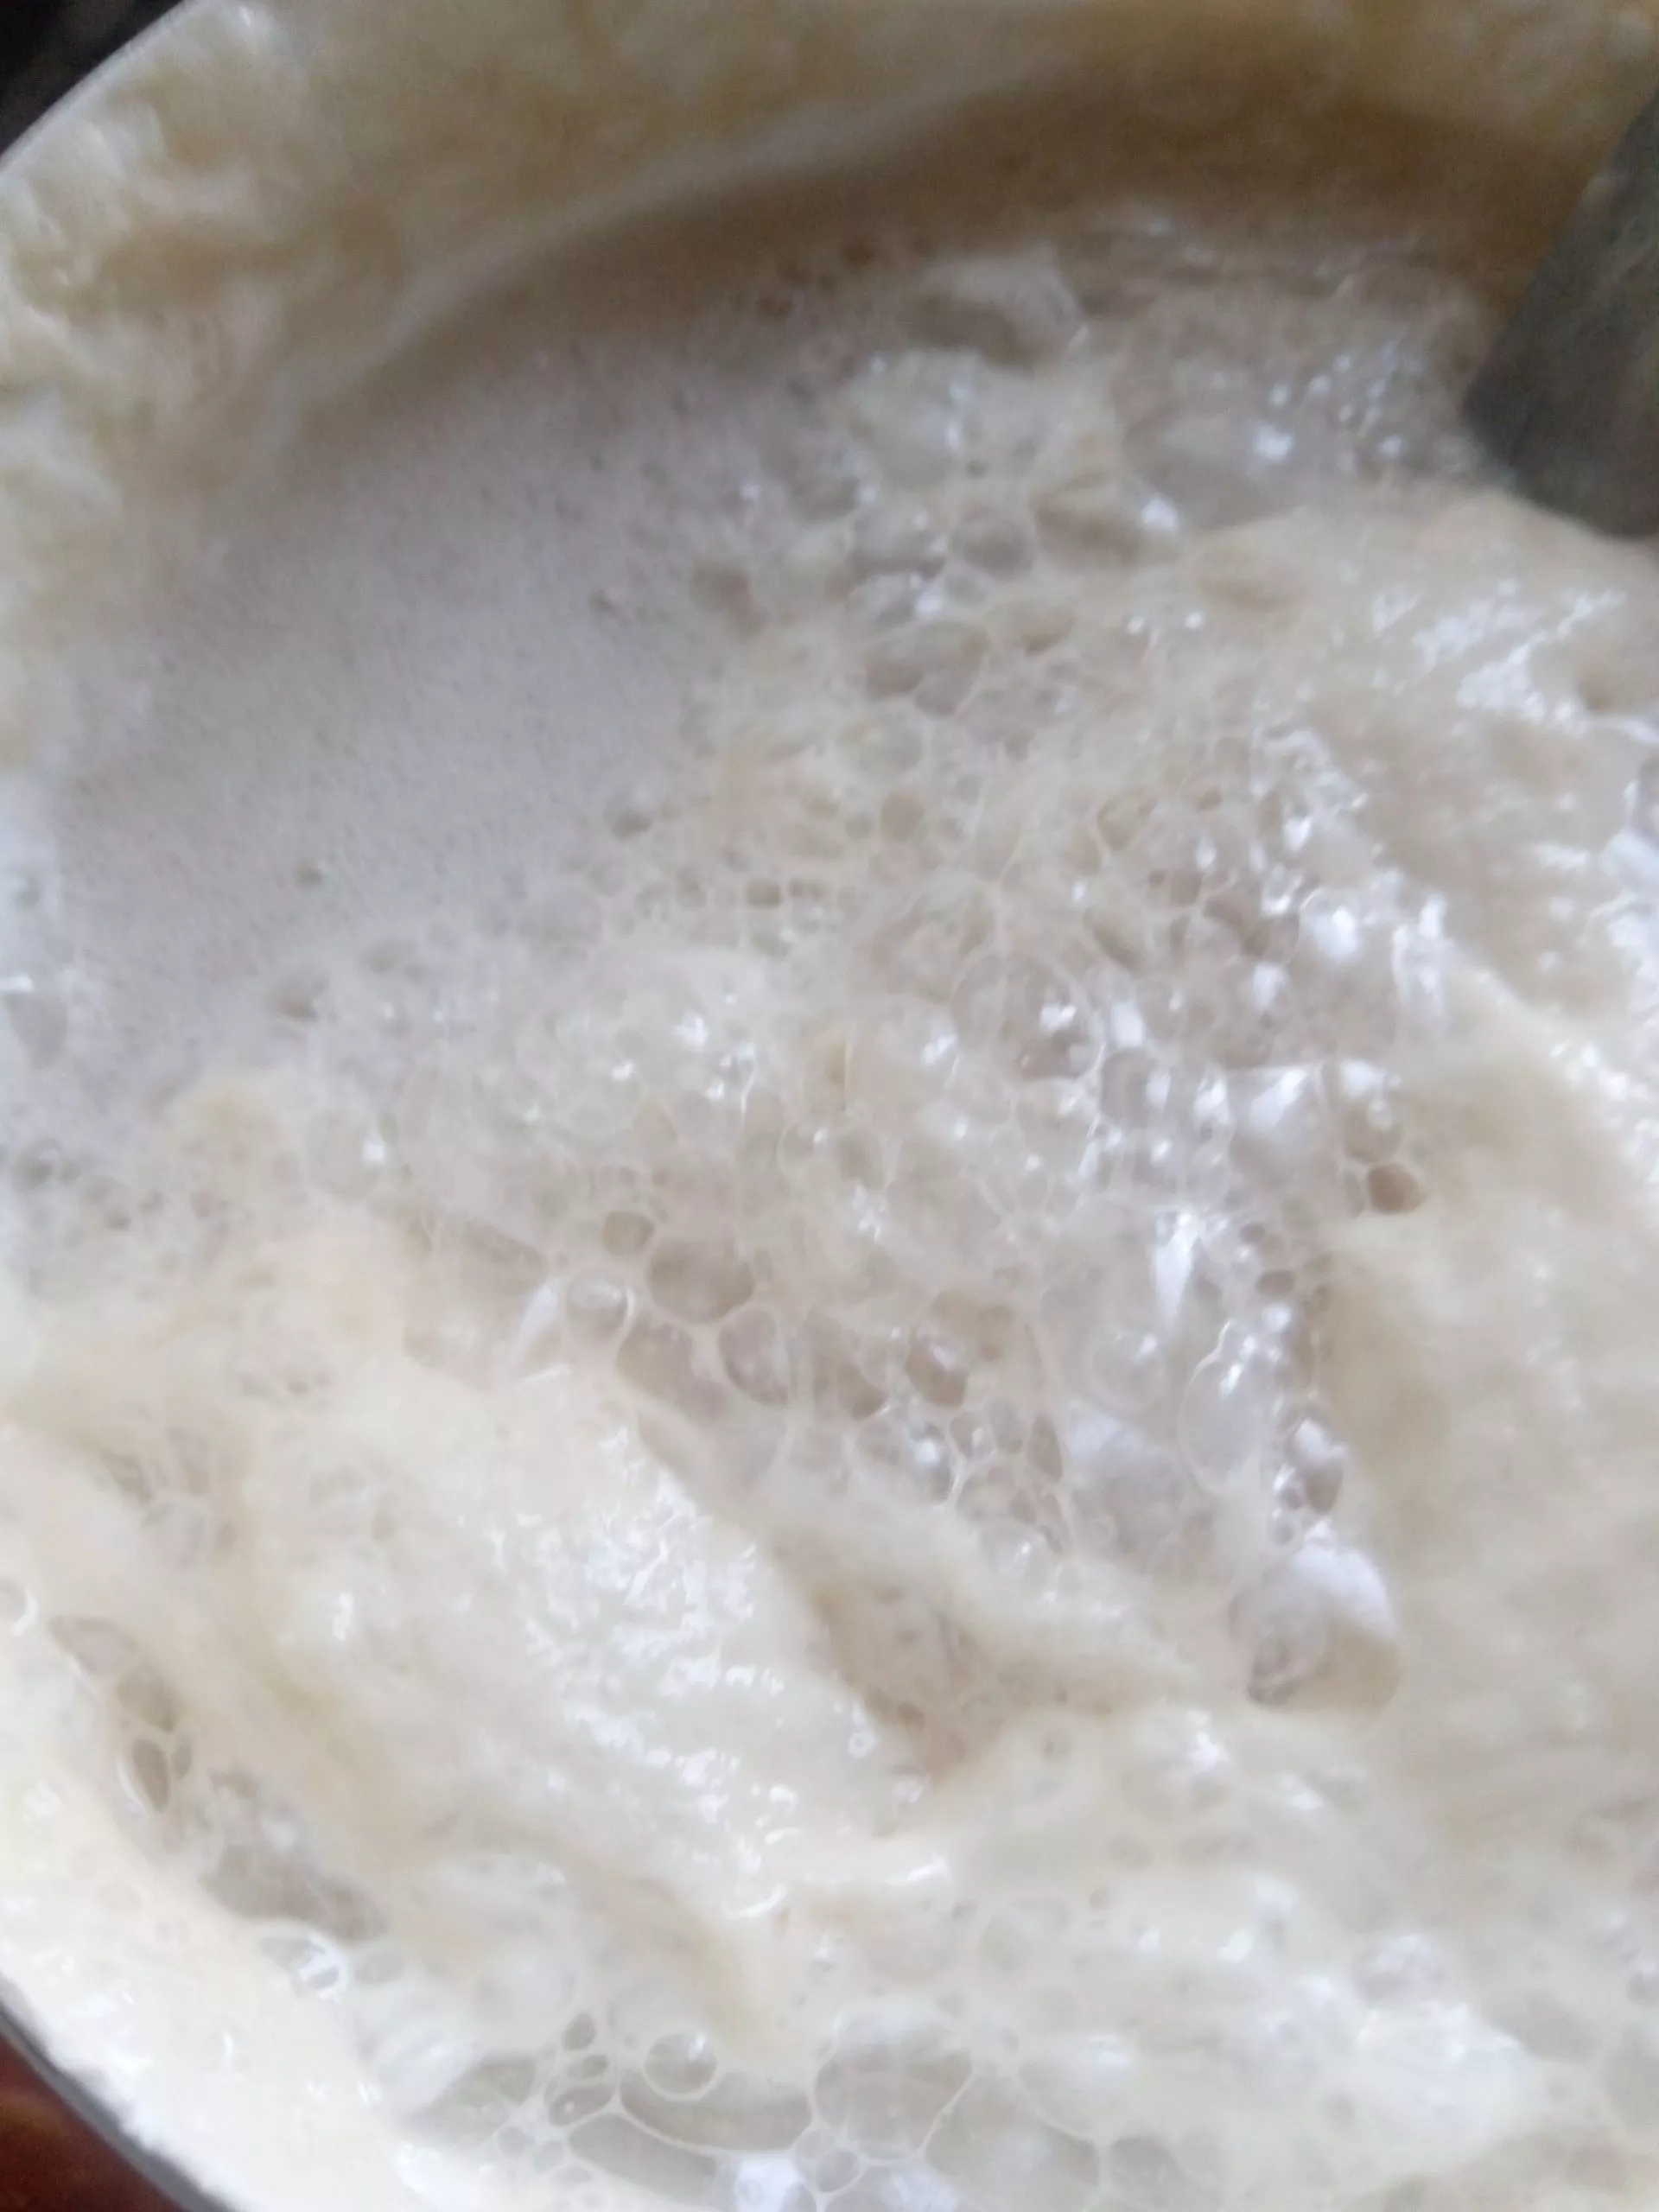
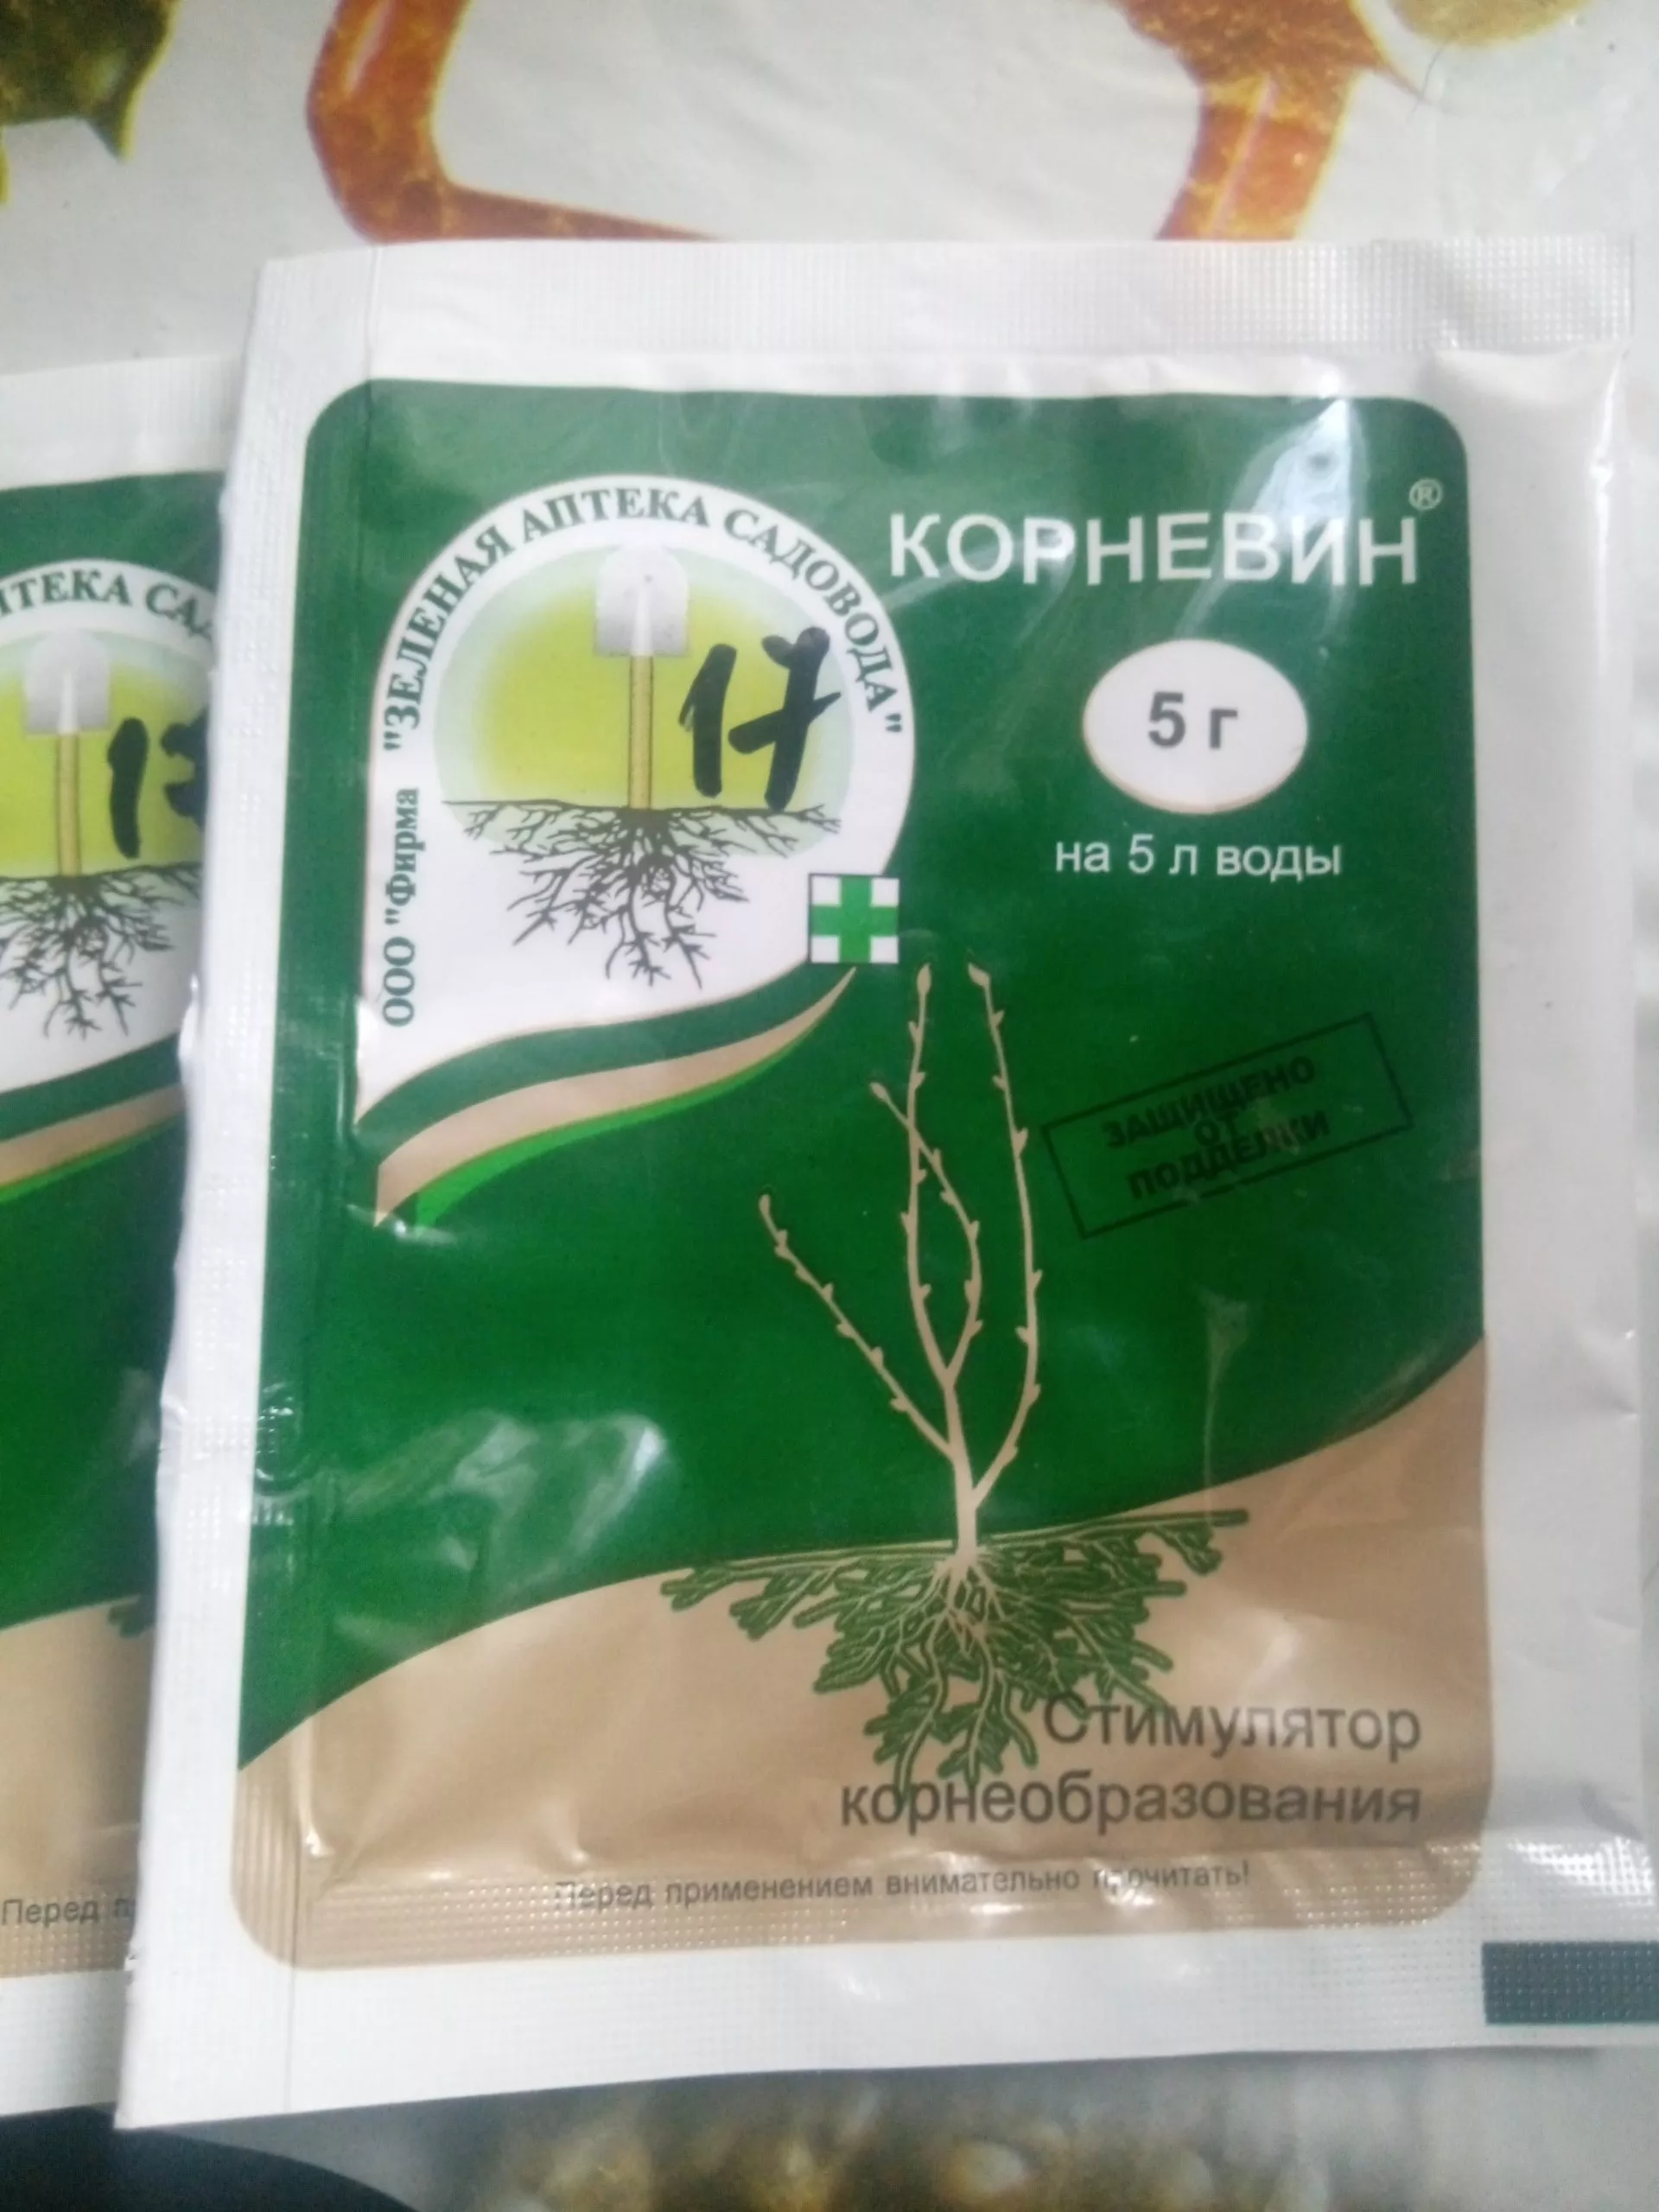
And now a little life hack: to speed up the action of this folk growth stimulant, this year I decided to experiment and add two packs of Kornevin to it.
The result was amazing – the seedlings emerged quickly and their development continued. So, use this recipe even without Kornevin (I needed it because my situation was so dire – nothing was sprouting due to the complete shade).