
I'd like to share how I grow late-season cabbage varieties. I don't plant early varieties because they don't keep well, but late varieties store well until almost March. This year, I planted two varieties, and I didn't bother with them too much, so I planted them right next to each other and interspersed.
 What varieties did I choose:
- Megaton F1. This is a hybrid cabbage of Dutch origin. I've grown it once before. It's the first of all the late-ripening varieties to produce a harvest. The heads are juicy (they're great for pickling in winter). Its characteristics:
- socket type – spreading and squat, very powerful;
- the foliage is large, moderately pale in color;
- the shape of the head is round, beautiful, even;
- the veins are well developed, and the edges of the leaves are slightly corrugated;
- waxy coating – present, which protects the fruit from negative factors, but it is almost invisible;
- the density is high, and the stalk is short (which is what I especially like about this variety);
- weight – about 3.5 kg;
- taste – sweetish (the dishes turn out excellent);
- good resistance to pests (it’s a mystery to me why they don’t visit this variety).
- Turkic. Another late-ripening variety, this one originating from Germany. It boasts a very long shelf life (up to almost 8 months). It's also resistant to pests and diseases, but most importantly, it tolerates drought very well. This is especially important for me, as I rarely visit my dacha. Other features:
- the heads of cabbage are not too big – about 2.5 kg;
- leaf elasticity – high;
- density of heads of cabbage - initially weak, good after full ripening;
- shape - regular, roundish;
- taste - more sweet notes;
- juiciness – very good;
- The color of the leaves is dark green.
As you can see, the varieties are almost identical, so I sow and care for them the same way. Both varieties also tolerate the first frosts well, and surprisingly, the leaves don't freeze, which doesn't affect their shelf life. The fruits need to be cared for in the same way as other varieties. The only important thing is proper feeding. I think this is because the growing season is long, so the nutritional requirements are appropriate.
I would like to talk about this separately and advise summer residents and gardeners on how to fertilize:
- The first time I add nitrogen minerals is when the second full leaf appears (2 g of any product in powder form per 1 liter of water);
- I filled it with Kemira-Lux for the second time – approximately 8-9 days after the first time;
- then once a month I add phosphorus and potassium, but I like Superphosphate better.
Since I'm always short on time and my garden is large, I try to make things easier for myself in the spring. So, I prepare the beds in the fall, after the previous harvests:
- I dig to the depth of a shovel blade;
- I immediately add rotted compost and wood ash (it contains all the necessary minerals);
- In the spring I dig it up a little (and sometimes not) and add nitrogen.
Late-season varieties are recommended to be sown first for seedlings, then pricked out and transplanted. Honestly, I'm too lazy and have no time to do that, so in early May (I live in the central region of Russia), I sow the seeds directly into the garden (be sure to sow in a sunny spot; shade or partial shade is prohibited).
 How I plant:
- First, I sort through the seeds and remove the empty ones after soaking them in water.
- Then I always disinfect them. This helps me avoid worrying about diseases later. I used to soak the seeds in water at 50 degrees Celsius for 15 minutes, then immediately transfer them to cold water for 2-3 minutes.
- Now I use fungicides—they're fast and effective. For cabbage, I used Planriz, and for other vegetables, I've tried Maxim and Alirin-B (also good products).
- After seed dressing, I treat the planting material with a growth stimulant (I like Zircon, Epin, and potassium humate—I've personally tried them). I keep the seeds in the solution for at least 10 hours.
- I dig holes in the beds. The distance between them is about 30-60 cm, but I don't really check.
- I put 1 teaspoon of superphosphate and some onion peels on the bottom (the latter keeps pests away – my mother taught me that).
- I put 2-3 grains in each hole, because there is a chance that one or two will not sprout or will be weak.
- As soon as I place the seeds, I immediately sprinkle them with a 2 cm layer of soil, water them and sprinkle a mixture of peat and humus on top.
- Now I cover them with plastic film and leave my seedlings like that until they develop 3-4 leaves. As I mentioned above, I'm at the dacha once a week, and it's impossible to keep the film closed all the time. So I found a solution: I make small holes all over the area. This allows air to enter and retains the heat.
- Next, I remove the covering and sort out the bushes—removing the weak ones, leaving one strong one. If there are other healthy sprouts, I plant them nearby (as seedlings).
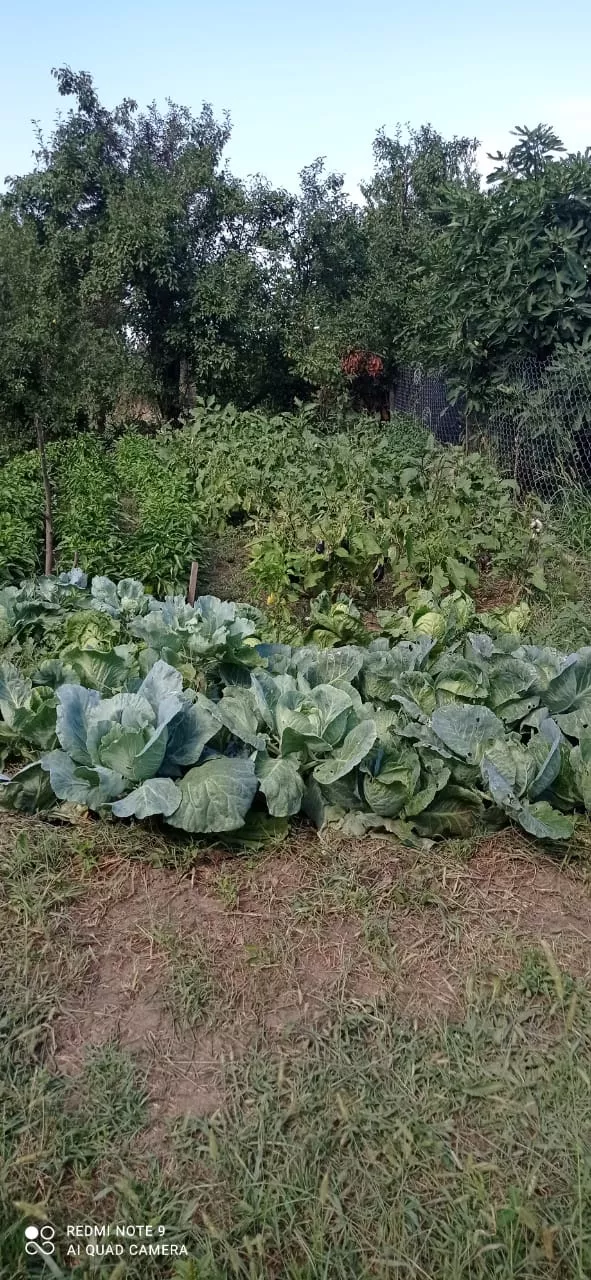
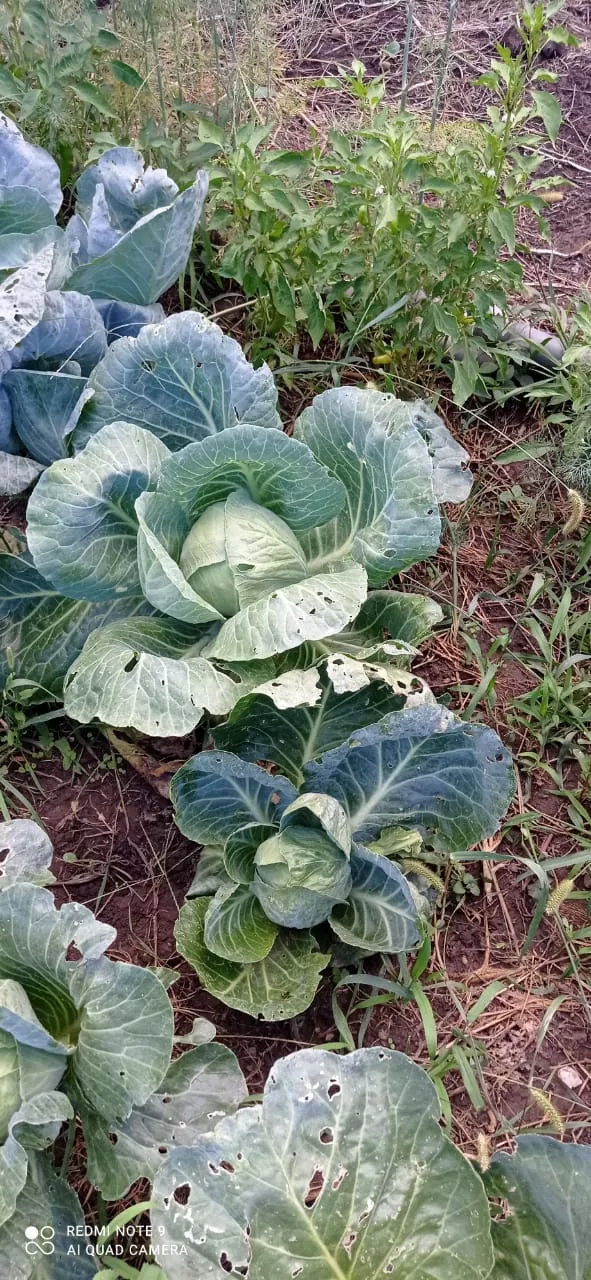
It's really easy to care for. As you can see from the photo, I haven't even had time to weed the grass this month, and the cabbage looks just fine!
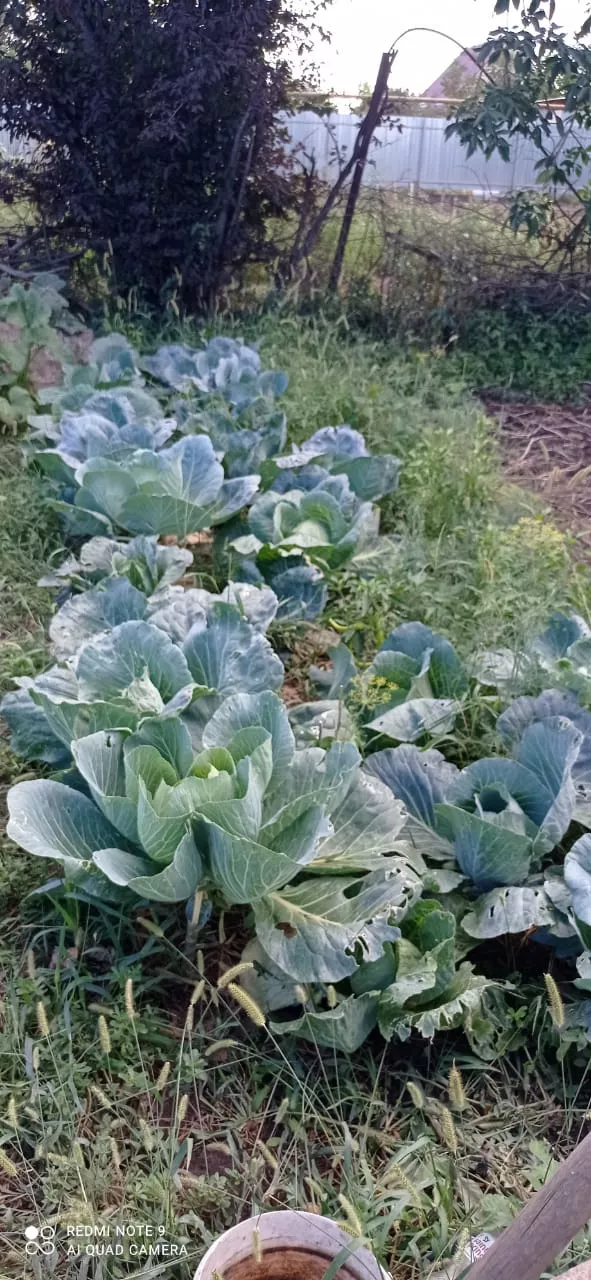
The main thing is to periodically loosen the soil under the bush itself, water, and mulch. I don't think I'm particularly concerned about these cabbage varieties, and they've produced a great harvest (I haven't harvested them yet, it's a bit early, but I made salads – delicious!!!).
Thanks for the info. It's really not that complicated. I'll try buying the same varieties in the spring and growing and planting them according to your instructions. I also liked the plastic cover idea—you just poke holes and it's no hassle. I've never tried that before, and I never even thought of it. Thanks for the idea, too.