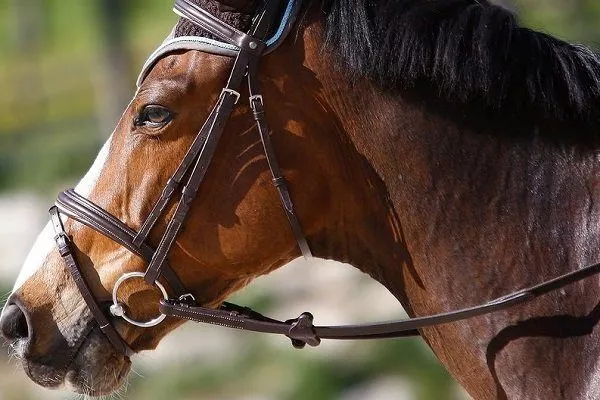
In addition to attention and care, keeping a horse requires specialized equipment. One essential item is a halter. This is a special piece of equipment for horses without a bit. It's most convenient for moving animals short distances or as a restraint while waiting, for example, during a veterinary examination or bathing.
Halter and its features
A halter is not made of iron, so it doesn't provide strict control. Its special weave ensures a comfortable fit on the horse's muzzle and allows for gentle control.
- ✓ Consider the horse’s allergic reactions to materials (for example, synthetics can cause irritation).
- ✓ Pay attention to the material’s resistance to weather conditions (rain, sun, frost).
The device itself looks simple and has a small set of parts:
- nose strap (capsule);
- carabiner or buckle;
- strap for cheeks, back of head and chin.
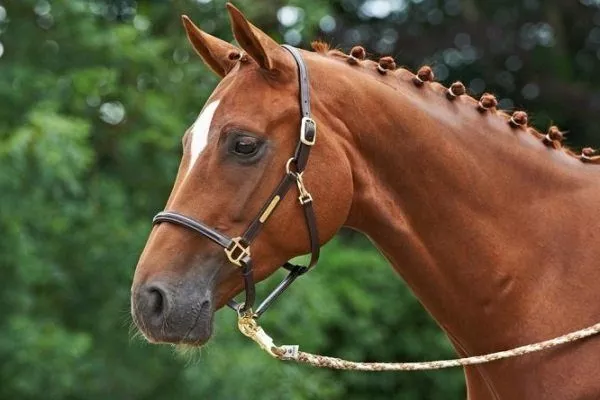
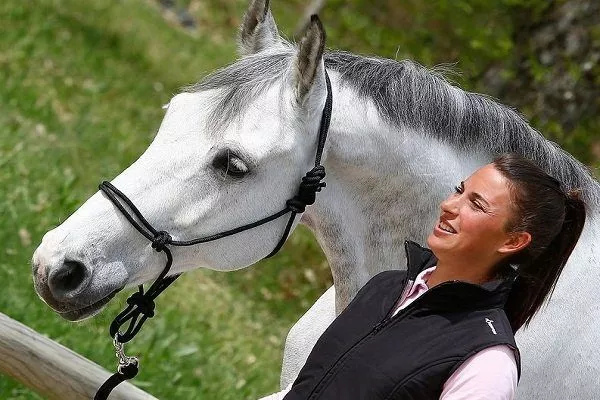
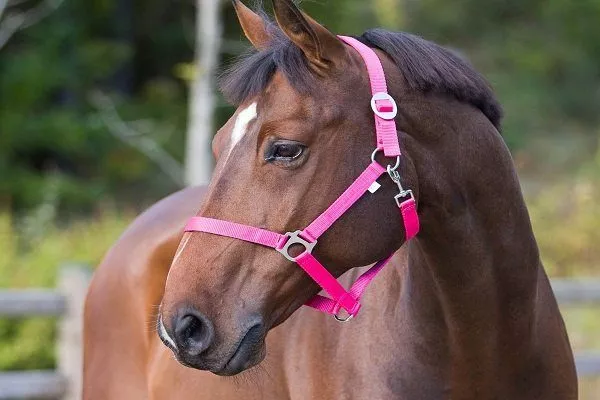
The photo clearly shows what the accessory looks like when worn on a horse:
Types of halters
| Name | Material | Purpose of use | Peculiarities |
|---|---|---|---|
| Exclusive show halters | High-quality durable leather | Off-site events | Soft backing, decorated with fittings |
| Everyday halters | Various materials | Daily use | Simple design without frills |
| Leather halters | Leather | Durability and convenience | Tight fit, does not cause discomfort |
| Rope halters | Nylon or yacht rope | For anxious horses | Reliability, knots for rigor |
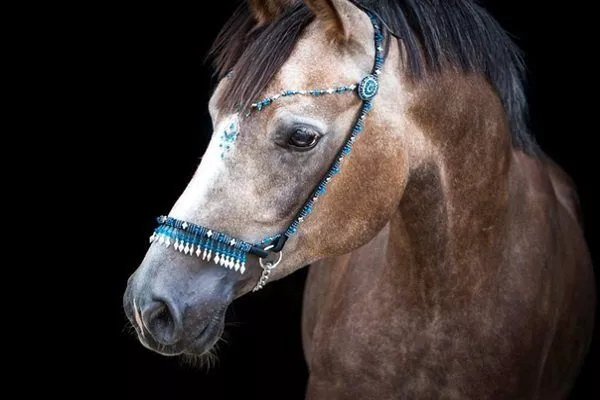
| Halters made of braid | Braid | Strength and diversity | Variety of colors, soft linings |
Horse halters are divided into several classifications. The most common classification is based on their intended use:
- Show (exclusive) halters. Very beautiful, elegant, and with a minimal number of straps, they're quite expensive and are often used for outdoor events like horse racing, shows, circus performances, and so on.
These devices look elegant and usually blend seamlessly into the animal's head. They are made of high-quality, durable leather. They feature a soft padding on the back strap and nose bridge. A buckle on the left cheek allows for size adjustment. They are often decorated with beautiful fittings.

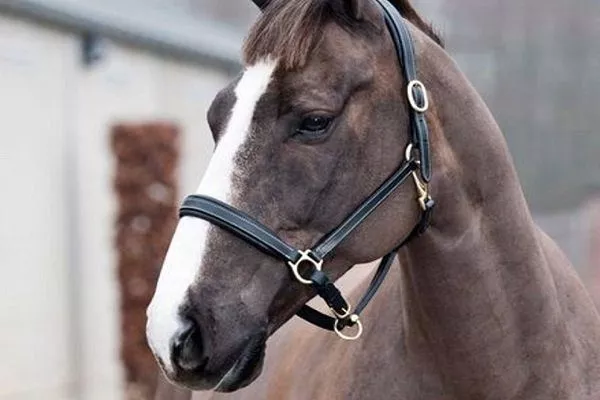
- Everyday halters. Used in everyday life, these are simple, no-frills designs.
A halter is one of the most essential pieces of equine attire. Let's look at the classification of materials used for this item:
- Leather halters. They are strong, durable, fit tightly to the horse's body and do not cause him any discomfort.
- Rope. The most economical. They are made from strong rope with a diameter of about 8 mm. These halters are considered among the most reliable. This rope accessory is most often used for particularly anxious horses. The knots on the halter help keep the animal under control.
This type of halter should be used carefully and sparingly. When using a rope halter, it's important to follow certain safety rules:- do not leave the animal in it for a long time;
- do not allow the horse to frolic;
- do not leave the horse unattended;
- The device must be optimally selected for your horse.
- Halters made of braid. These are the most common. They are distinguished by their durability and a wide variety of colors. These products are available with various lining options:
- On the back of the horse's muzzle and the bridge of its nose, soft velour or fleece is used as a lining;
- On some parts of the product or on all parts adjacent to the animal’s muzzle, sheepskin fur is often used;
- The inside of the belts is lined with leather.
Thank you, very interesting