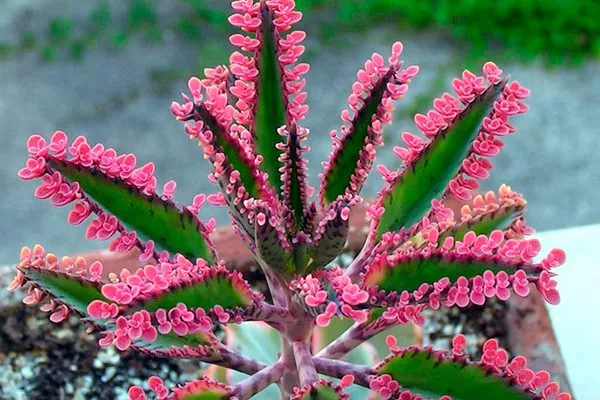
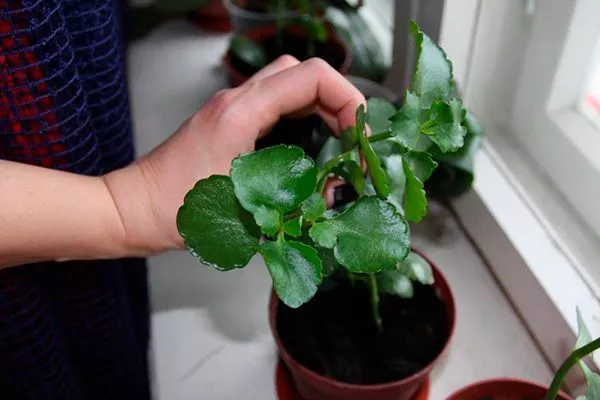
Kalanchoe is considered a popular and sought-after plant among Russian gardeners, so many of them engage in propagation. This houseplant is not only easy to care for but also possesses medicinal properties, making it especially appealing to folk medicine enthusiasts. It's especially pleasing that there are numerous ways to propagate Kalanchoe.
What time of year should Kalanchoe be propagated?
The propagation period for Kalanchoe depends on the method used to propagate the plant. However, the procedure can be performed at any time except winter, especially during shaping and pruning.
When and how to propagate – recommended dates:
- seeds - spring or late winter;
- by cuttings – spring, summer, autumn;
- leaf - spring or flowering period;
- axillary buds and babies - as they appear;
- dividing the bush - only in spring.
Methods of propagation of Kalanchoe
Kalanchoe is considered a versatile plant, as it can be rooted using any method. Each propagation technique has its own characteristics, advantages, and disadvantages, which a novice gardener should be aware of in advance.
| Name | Ripening period | Disease resistance | Care Features |
|---|---|---|---|
| Kalanchoe Blossfeld | Early | High | Requires bright light |
| Kalanchoe daigremontiana | Average | Average | Moderate watering |
| Kalanchoe pinnate | Late | Low | Requires high humidity |
Kalanchoe: propagation by cuttings
Cuttings are the most popular method of propagating many houseplants, but with Kalanchoe, it's especially advantageous, as cuttings can be rooted not only in water or substrate but also planted without sprouting. Cuttings root easily, and the shoots can be used after pruning.
What is needed to propagate Kalanchoe by cuttings?
To ensure minimal damage to the mother plant and avoid stress when taking cuttings, it is important to prepare all the necessary tools and materials:
- knife - it should have the thinnest blade and impeccable sharpness, so the best option would be a scalpel or a stationery knife;
- wood ash or activated carbon - necessary for treating cuts, which prevents further infection of both the cut shoot and the mother plant;
- soil (purchased or homemade);
- water (when rooting in water);
- any antiseptic agent – to disinfect the knife;
- capacity;
- growth stimulator – Epin, Heteroauxin, Kornevin or similar.
What cuttings are suitable for propagation?
To ensure your cuttings take root quickly, you need to choose the right shoots, so pay attention to the following:
- there should be no buds on the branch;
- The best choice is lateral and apical shoots, even those that are considered overgrown;
- the shape is exclusively straight, without curvature;
- the distance between nodes should not be large (excessively elongated shoots are not suitable);
- condition – no signs of disease or pests, dryness or mold;
- length – 8-10 cm.


- ✓ Cuttings should be taken from plants that have not been subjected to stress or disease in the last 3 months.
- ✓ The optimal thickness of the cuttings is at least 5 mm to ensure a sufficient supply of nutrients.
How to cut and prepare a cutting:
- Select a quality shoot.
- Make a cut at an angle.
- Sprinkle with activated charcoal immediately.
- Leave it on a paper towel for 30-40 minutes to allow the solution to soak in and disinfect the shoot. Don't forget to sprinkle ash on the cuts on the mother plant as well.
- Remove all the leaves from the bottom side (where the cut is at an angle) – there should be about 3 leaves left on top.
All that remains is to send the cuttings for germination or rooting, which can be done in different ways.
Conditions for rooting
To help the cuttings take root faster, they should be kept under the following conditions:
- air temperature – from +20 to +25 degrees;
- Lighting – diffused soft light with a daylight duration of 12 hours;
- drafts are excluded;
- Air humidity – does not matter.
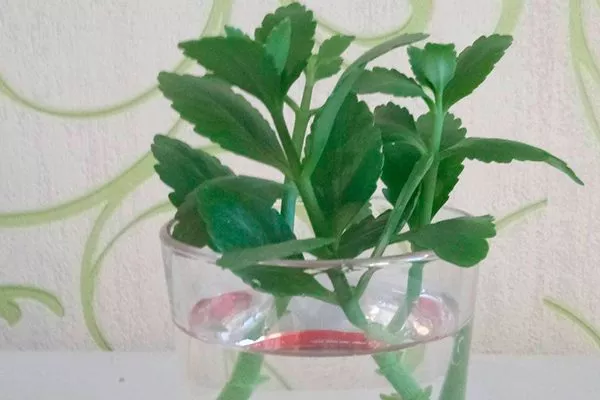
Germinating roots in water
This is a fairly simple method that allows you to monitor the root system's growth process, but on the downside, it increases the risk of the lower part of the cutting rotting. The rooting process:
- Treat the lower edge of the shoot with a growth stimulator.
- Fill a glass with warm, settled (or boiled) water. It is recommended to add one tablet of activated charcoal.
- Place a sheet of paper with a small hole in the center on the glass.
- Place the cutting into the hole so that it is approximately 1/3 full in the liquid.
- Cover with a plastic cup or plastic bag, but this step is optional.
- Place in favorable conditions.
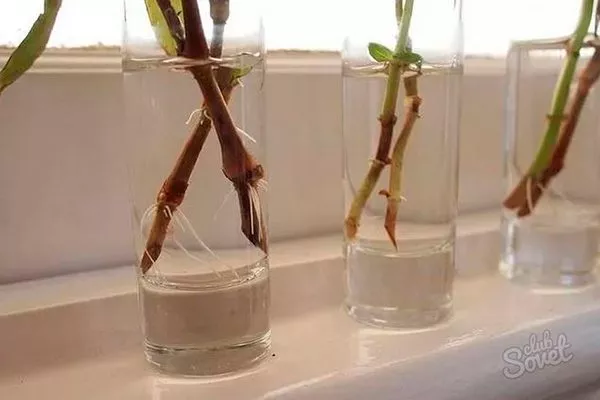
The first roots will appear in 7-9 days, after which the covering can be removed completely. Transplanting to a permanent location can be done in another 1.5-2 weeks.
Watch our video to see how gardeners root cuttings in water:
Sprouting roots without water
There are two options for rooting cuttings without placing the shoot in water. The first involves the following steps:
- Take a plastic bottle.
- Pour some water into it.
- Place the cutting so that there is 2 cm left from its edge to the water and secure it.
The second method involves the use of a substrate:
- Prepare a mixture of equal parts peat and sand.
- Moisten it with a spray bottle.
- Pour into a glass with holes in the bottom and drainage material.
- Treat the lower cut with a rooting stimulator.
- Install the prepared cutting at 1/3 of its length.
- ✓ The substrate must be pre-steamed to destroy pathogens.
- ✓ The optimal moisture content of the substrate is when no water is released when squeezed in the hand, but the lump retains its shape.
You can then cover the plant with plastic wrap or leave it off. The main requirement is to water the substrate periodically, which stimulates root growth. You can transplant it to a permanent pot after a month.
In this video, you can learn more about the rooting method in a substrate:
Rooting cuttings without germination
This is the easiest method for propagating Kalanchoe cuttings, as the cutting is immediately placed in a permanent container. Unlike rooting in soil, you need to use a different soil type—one specifically designed for succulents—and plant the cutting almost halfway up.
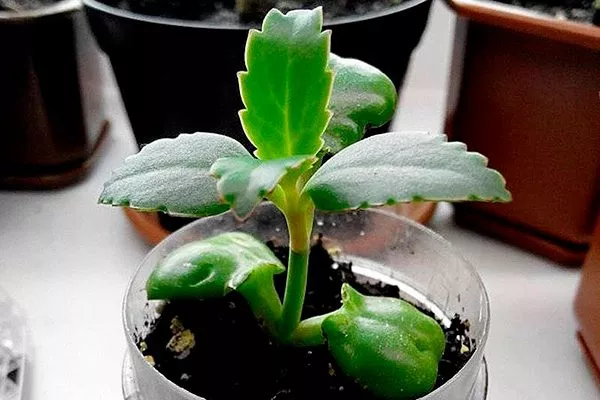
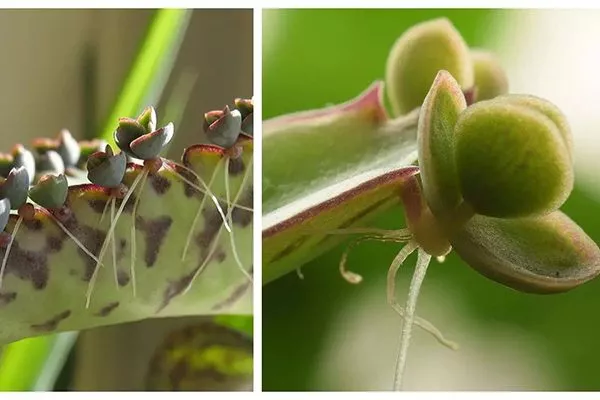
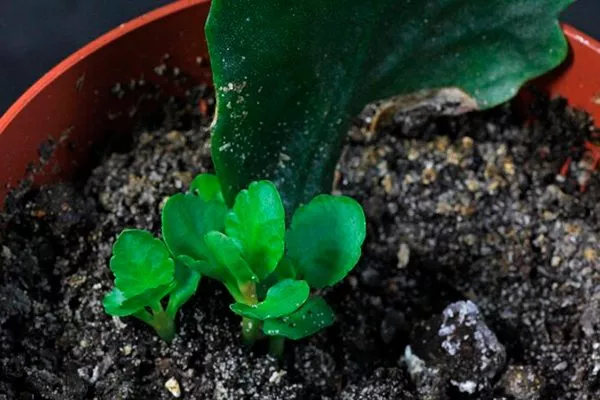
Children
Offspring are the brood buds that grow along (directly on) the leaves. This technique is used exclusively for viviparous varieties and species of Kalanchoe, such as pinnate, Degremona, and others. These offspring are ready for planting, as they are formed leaves with rootlets that attach them to the leaf blade of the mother plant.
How to propagate by cuttings:
- Carefully separate the brood buds from the mother plant.
- Pour a substrate intended for succulents into the container.
- Moisten its surface.
- Make small indentations in the pot with a stick or your finger.
- Place the baby plant in the hole and compact it lightly.
Rooting occurs very quickly, so immediately after planting, you can grow Kalanchoe as an adult plant.
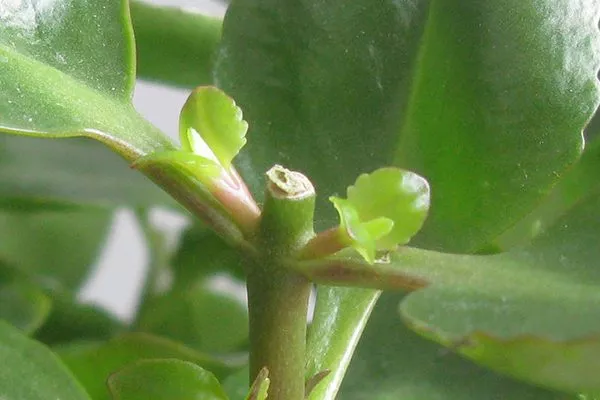
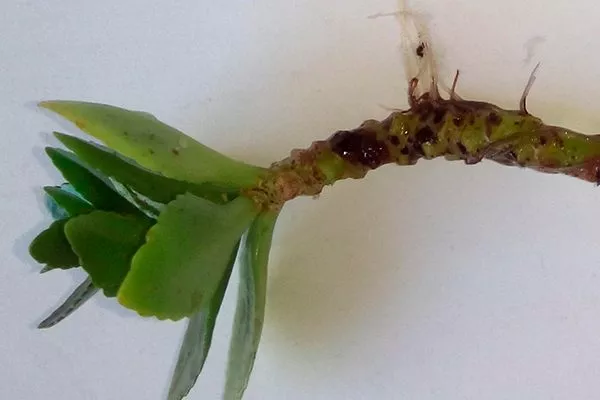
Axillary buds
Axillary buds develop only in one type of Kalanchoe—Blossfeldiana. They form after flowering and leaf shedding. They are located in the leaf axils. For propagation, select plants with a stem length of 1 to 2 cm.
How to do it:
- Using a sharp knife, or better yet, a blade, cut off the axillary bud.
- Place it in a moistened substrate, as with the pups. Alternatively, you can use a mixture of peat and sand.
Rooting occurs after 7 days, and replanting is carried out after 2 or 3 weeks.
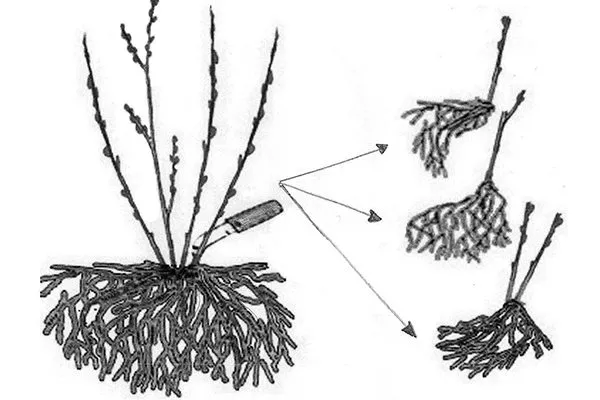
By dividing the bush
This technique is used when replanting Kalanchoe. In other cases, it's best not to disturb the plant's sensitive roots. How to propagate by division:
- Water the flower the day before the procedure.
- The next day, prepare suitable soil (depending on the varietal characteristics).
- Remove the bush from the pot and clean it from any remaining substrate.
- Using a sharp knife or pruning shears, divide the plant into several parts so that each part has root shoots.
- Place drainage in the container and substrate on top.
- Plant new bushes in the standard way and care for them as usual.
Offspring
Offshoots are basal shoots that appear only in Kalanchoe blossfeldiana. They grow in the root zone of the bush. They can be replanted only when they reach one-third the height of the parent plant.
How to propagate by suckers:
- Moisten the soil the day before the event.
- In the morning, lightly loosen the soil.
- Using careful movements, remove the shoots from the ground.
- Prepare a substrate of sand and peat in equal proportions.
- Pour it into containers and make indentations.
- Place the cuttings and compact the substrate slightly.
- Lightly moisten with a spray bottle.
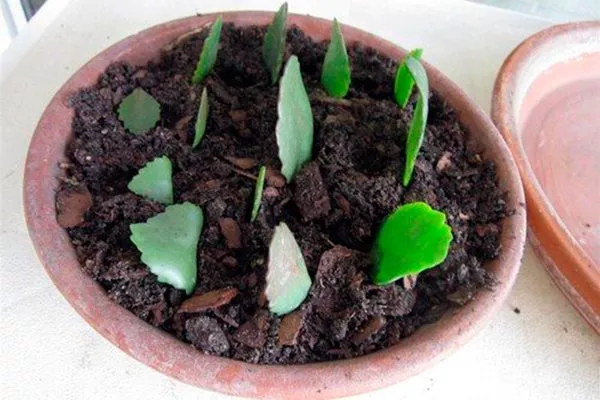
Leaves
Absolutely all varieties and cultivars of Kalanchoe can be propagated by leaf propagation, as all leaf blades are capable of rooting. The process is as follows:
- Cut a leaf from roughly the center of the bush. You can simply break it off or use a recently fallen leaf. However, the leaf must be fully grown and mature.
- Treat the cut with activated carbon.
- Prepare the substrate. You will need sand, leaf mold, and peat in equal parts.
- Moisten the soil and push the leaves into it to a maximum depth of 1.5 cm.
Watch the entire leaf rooting process in the video:
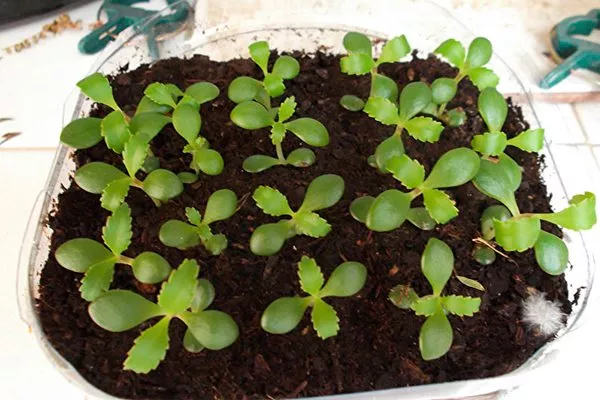
Seeds
This technique is rarely used by gardeners because it requires a lengthy process and requires a lot of effort. However, there are other reasons for this:
- You cannot use seeds collected last year - only fresh ones, otherwise you will not achieve germination;
- the characteristics and signs of the mother bush are not preserved;
- Not all varieties bloom profusely;
- labor intensity of the process.
The best plants to propagate by seeds are Kalanchoe Marmorata, Blossfeldiana and Beharskii.
The procedure looks like this:
- Buy ready-made seeds from the store or collect your own.
- Prepare the planting material: select whole and undamaged ones, discarding any hollow ones. Then disinfect them in a light pink solution of potassium permanganate.
- Prepare a substrate of peat and sand in equal proportions.
- Spread it over the container and lightly moisten with a spray bottle.
- Place seeds 3cm apart (this will prevent early thinning).
- Lightly press the planting material onto the soil surface.
- Moisten again with warm water from a spray bottle.
- Cover the container with plastic wrap.
- Place the container in a bright and warm place – +20-22 degrees.
- Air the plant daily and remove any condensation from the film. Water regularly.
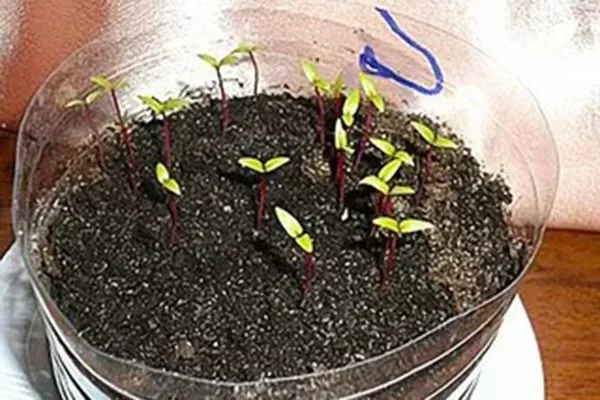
- When seedlings appear, remove the covering.
- When 4 true leaves have formed, transplant the sprouts into separate containers.
If you choose to buy purchased planting material, it is better to buy granulated seeds, as other types are very small (difficult to work with).
Features of reproduction of different species of Kalanchoe
Kalanchoe is divided into different species and numerous cultivars. Each has its own unique structure, appearance, and physiology, so there are differences in propagation. For example:
- It is customary to propagate tubular flowers, pinnate species and Dergemona using babies;
- leaves and petioles - all varieties;
- offspring - only to Blossfeld;
- axillary buds - paniculate;
- seeds - felt and feathery.
Potential problems when propagating plants
Sometimes problems arise when propagating Kalanchoe. This isn't just a problem for novice gardeners; experienced florists can also encounter it. To avoid mistakes, carefully review the main issues.
Decay
This is the most common problem when propagating, especially when using cuttings, seeds, and leaves. However, it can also occur with other methods of propagating Kalanchoe. The main cause is overwatering of the substrate and high humidity. Therefore, carefully monitor the substrate to ensure there is no stagnant water, avoid misting the seedlings, and reduce the humidity in the room.
Putrefaction also occurs for another reason: infection and subsequent disease. To prevent this, disinfect instruments and treat cut surfaces.
Roots are not developing
The root system does not grow back for four reasons:
- cuttings or leaves were not dried after cutting and processing, and it is not for nothing that experts advise this;
- shoots that have flowers or buds take root - all forces are directed towards flowering;
- the stalk is excessively long and elongated;
- very short process.
The seedling begins to develop, but quickly dies.
There are many reasons for this situation:
- fertilizer was applied too early and in large quantities;
- unsuitable conditions for further development and viability;
- diseases and pests;
- using soil for flowering Kalanchoe (it is needed only for adult bushes);
- incorrect composition or structure of the substrate;
- root system rot.
Caring for young seedlings
Regardless of the Kalanchoe propagation technique, it's important to properly care for young seedlings. To do this, pay attention to a few nuances:
- take into account the requirements for a specific variety;
- daylight hours should not be less than 8-9 hours;
- Plants should not be exposed to direct sunlight;
- drafts are excluded;
- The room temperature should not fall below +20 or above +25 degrees.
To avoid problems when propagating Kalanchoe, strictly follow all instructions, consider the variety and species, and always disinfect the tools you use. Be sure to learn the intricacies of each method and choose the most optimal and suitable one for you.