Repotting cacti is essential for maintaining plant health and stimulating growth. Proper repotting ensures optimal conditions, prevents disease, and promotes root health. It's important to consider the characteristics of each species, exercise caution, and follow certain guidelines to avoid damaging roots and leaves.
Why do cacti need to be repotted?
Cacti are replanted for several reasons:
- The plant has outgrown its current pot and needs more root space.
- The soil has become depleted and has lost its nutrients.
- Signs of root problems such as rot or pests have appeared.
- The desire to change the design of the composition or update the decorations.

The procedure makes it possible to eliminate the above-mentioned problems and improve the overall condition of the plant.
When is the best time to repot cacti?
Choosing the right time for repotting significantly impacts the health and well-being of cacti. There are specific periods when this procedure brings the greatest benefit to the plant and minimizes the risk of root damage.
The best time for transplantation:
- Spring and early summer. This is the optimal season for repotting most cacti. During this period, plants awaken from winter dormancy and enter the active growth phase. New roots develop more quickly, and the plant recovers more easily from stress caused by changing conditions.
- Late summer period. It's also acceptable to repot cacti at the end of summer if necessary. However, in this case, it's important to remember that growth activity will decrease, and acclimatization will take longer.
- Autumn and winter. It's best to avoid repotting during the fall and winter, when plants enter a dormant phase. The exceptions are extreme cases, such as root rot or critical nutrient deficiencies.
Factors affecting the timing of transplantation:
- Plant size: Young and small cacti require annual repotting every 1-2 years, while adult specimens tolerate pot changes less frequently, once every 3-5 years.
- Soil type: depleted soil signals the need for replacement, regardless of the calendar time.
- External signs: If the roots have filled the entire volume of the pot, the plant has begun to grow more slowly, or a decrease in leaf turgor is observed, this is a reason to think about changing housing.
Tips for choosing the right time to transplant:
- There should be sunny and dry days to minimize the risk of disease.
- Remember that plants need to get used to a new location at least a month before the onset of winter.
- Plan your transplant in advance, taking into account the climatic features of your region.
Following these recommendations will help your cacti survive the change in environment safely.
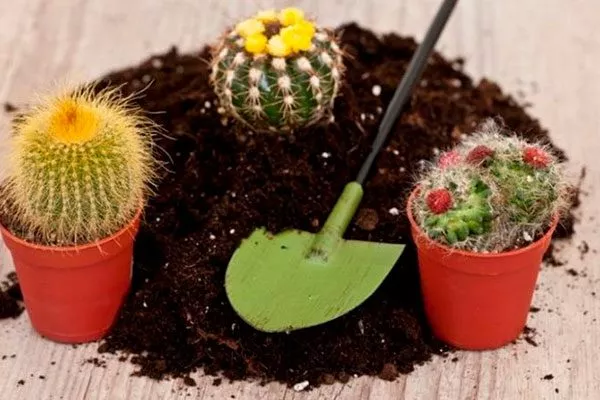
What materials will be needed?
Before the procedure, prepare the necessary materials:
- a new, larger pot (preferably ceramic or clay);
- fresh substrate for cacti (sandy soil mixed with peat and humus);
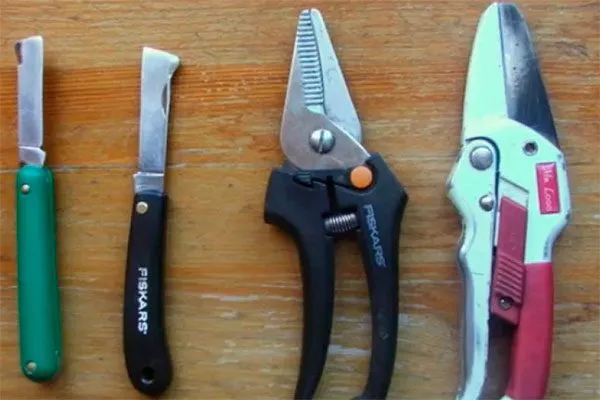
- a sterilized sharp knife or pruning shears;
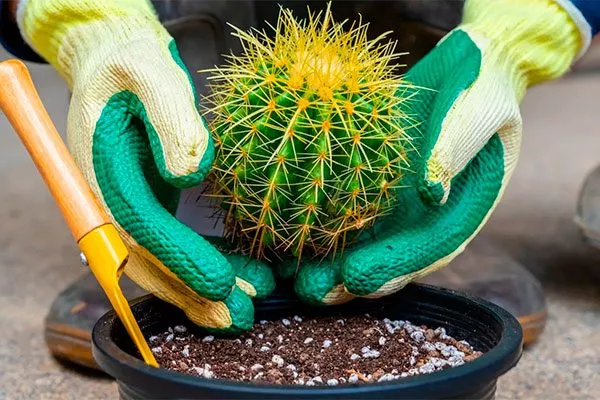
- gloves to protect hands from sharp thorns;
- chalk or charcoal for processing cut areas;
- gravel or expanded clay to create a drainage layer.
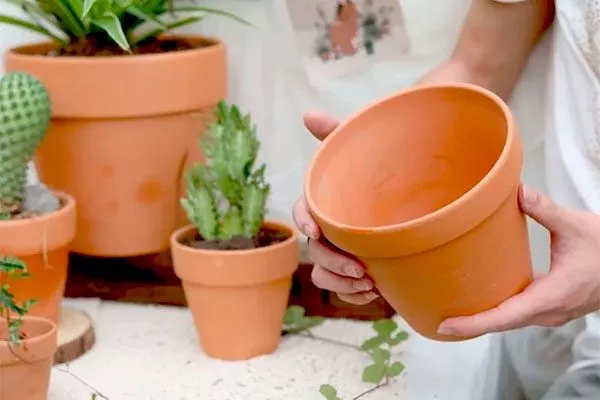


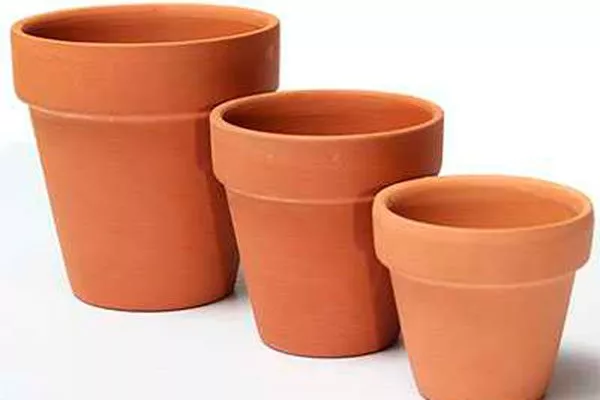
How to choose the right container for replanting a cactus?
Selecting the right container is key when repotting cacti and other succulents. This will facilitate the plant's growth and development while minimizing stress.
The main factors when choosing a pot:
- Type of roots. If your cactus has a deep taproot, it is preferable to choose tall and narrow pots. But varieties with a superficial, branched root system will feel comfortable in low, wide containers.
- Capacity parameters. The pot size depends on the plant's current condition. For example, if repotting is due to root problems (rot), it's best to choose a smaller container, 10-15 mm smaller in diameter than the previous pot.
For mature and actively growing cacti, choose a slightly larger pot—increase the pot diameter by 20-30 mm. For older specimens that have almost stopped growing, you can increase the diameter by just 10 cm. - Features of the material. The material the pot is made of isn't crucial. Ceramic or neutral plastic containers are most commonly used. The main consideration is ease of subsequent repotting.
Ceramic pots are often more fragile and heavier, but they offer better air circulation. Plastic pots are lightweight and flexible, making it easier to remove the root ball along with the plant. - Presence of drainage holes. Regardless of the material chosen, good drainage holes in the bottom of the pot are essential. These can be single large holes or several small ones. Good drainage prevents water stagnation and protects the roots from rotting.
- INPossibility of replacing the substrate. Even if you keep the old container, you should always replace the substrate completely and disinfect the pot itself before planting the plant again.
Preparing a high-quality substrate for cacti
A properly selected soil mixture is the key to the health and longevity of cacti. In their natural environment, these plants are accustomed to a poor, loose, and well-aerated substrate. Therefore, an artificial soil mixture should mimic natural growing conditions.
Cooking options:
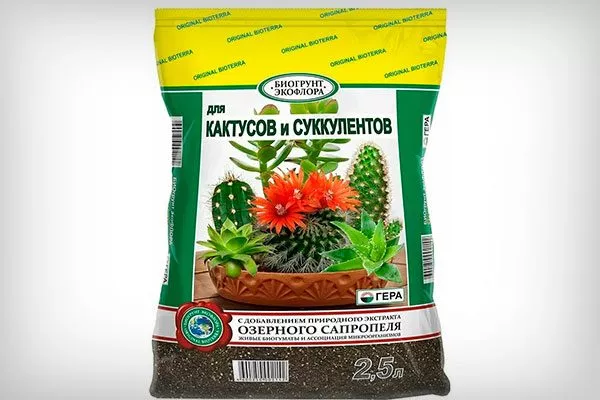
- Store-bought version. The most convenient way is to purchase a ready-made potting mix specifically designed for cacti. These mixtures are widely available and labeled "For Cacti."
The finished soil has a good structure and composition, close to natural conditions. - Self-production. If you want to personally control the composition and properties of your soil mixture, try the following universal recipe:
- 3 parts garden soil (pre-baked in the oven to kill pathogens);
- the same amount of cleaned coarse sand (rinse and dry it before adding);
- 1 part perlite (increases air permeability);
- 1 part high-moor peat (adds acidity and regulates pH);
- a little charcoal (an antiseptic that absorbs excess salts and toxic compounds).
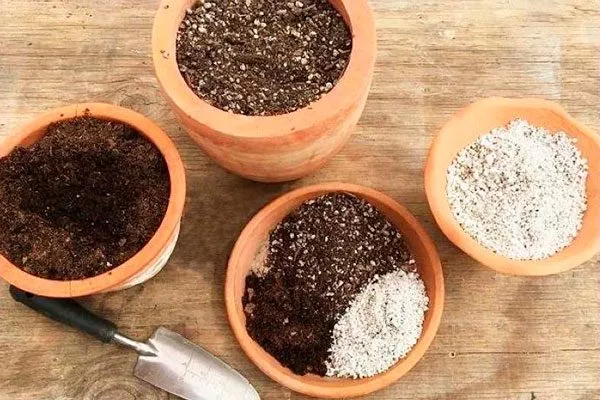
Mix all ingredients thoroughly until smooth. Pay particular attention to the quality of the sand: it must be coarse-grained and well-washed, otherwise the opposite effect will occur, resulting in compaction and waterlogging of the soil.
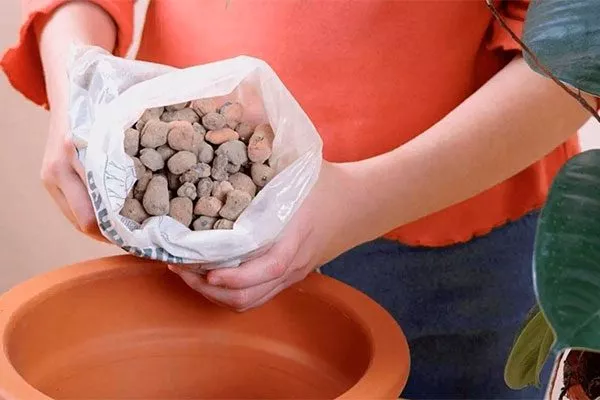
Additional elements and preparation of the pot:
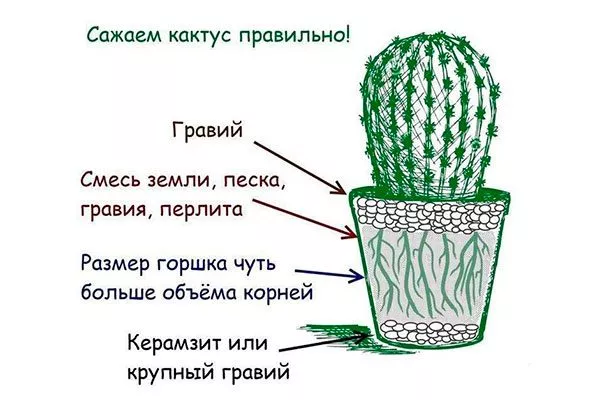
- Organization of drainage. Before filling the pot with substrate, it's important to ensure adequate drainage. Use expanded clay, finely crushed brick, or similar materials.
The drainage layer should be between 1/6 and 1/3 of the pot's volume. It's best to fill the bottom layer with coarse aggregate, and wash the top layer and add coarse sand. - Giving stability. If you plan to plant a large and heavy plant in a light pot, add a large stone inside the drainage layer to give the structure stability.
Preparing a plant for transplantation
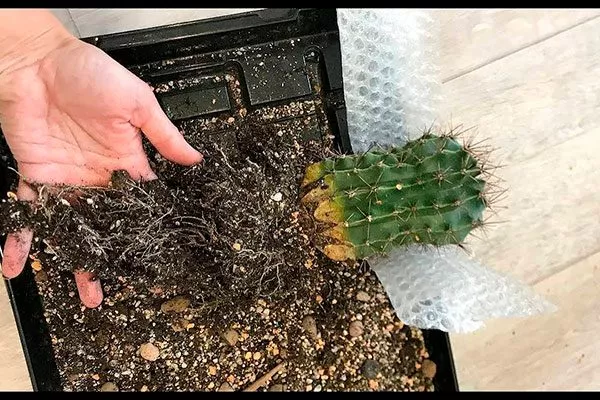
Stop watering approximately three to four days before the scheduled procedure. This will make it easier to remove the plant from the pot and allow you to better examine the condition of the roots, identifying any damage or signs of rot.
Before planting, carefully remove the prepared plant from the container and shake off any remaining soil from the root system. If you suspect fungus or pests, soak the roots in warm water for 10-15 minutes. Afterward, carefully inspect the cleaned roots, removing any rotted or damaged parts.
Step-by-step instructions for repotting a cactus
To make the plant's transition to its new home easier, be sure to follow these instructions:
- First, make sure your work area is clean and spacious. Protect furniture and floors from accidental soiling or damage from spikes.
- Carefully remove the old cactus from its original pot, holding it close to the base with your hand or a towel. Try to keep the root ball intact, but don't worry if the roots are slightly damaged.
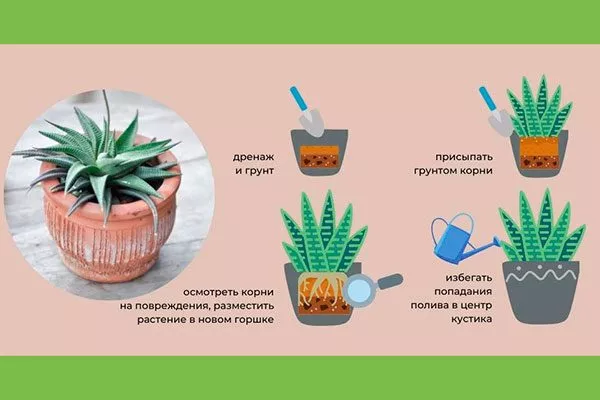
- Inspect the extracted roots for rot, dry areas, or pests. Damaged areas should be carefully removed with a sterile instrument, treating the wounds with chalk or charcoal.
- Fill the new pot with a drainage layer of expanded clay or crushed stone, then add half the required volume of fresh soil.
- Place the cactus in the center of the new pot, distributing the root shoots evenly. Gradually add the remaining soil, lightly compacting it around the plant.
- Finish filling the pot with new soil, leaving about 12 cm of headspace at the top. Water the plant lightly to stabilize it in the new medium.
Repotting a healthy cactus requires a special approach that minimizes stress on the plant and accelerates its recovery. Let's take a closer look at the process of repotting a cactus, taking into account its various features:
- Transshipment. This method is recommended for completely healthy plants. Transplanting involves transferring the plant, along with some of the old soil, to a new, larger pot. This preserves the root ball structure and minimizes stress on the plant.
It is recommended to use transshipment for young plants and rarely transplanted adults. - Replacement of soil. If a complete soil change becomes necessary, proceed carefully to avoid damaging the roots. The procedure is as follows:
- Remove the plant from the old pot, keeping as much soil around the roots as possible.
- Carefully clean the rhizome from the remains of old soil, working manually or using a thin wooden stick.
- To make cleaning easier, soak the roots in warm water until the soil is completely moist. Then, carefully remove any dirt from the roots.
Features of replanting different cacti
The above are general planting recommendations; now let's look at the nuances of replanting different types of cacti.
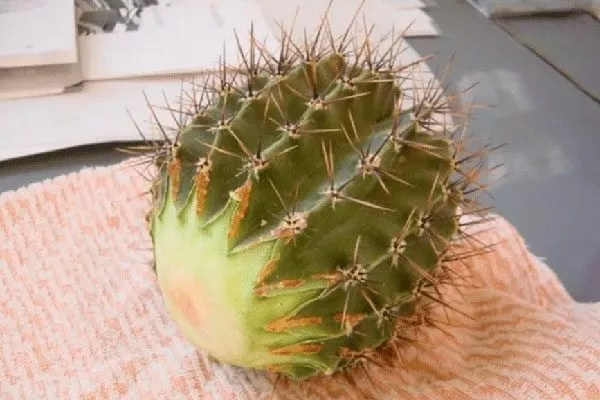
Large specimens
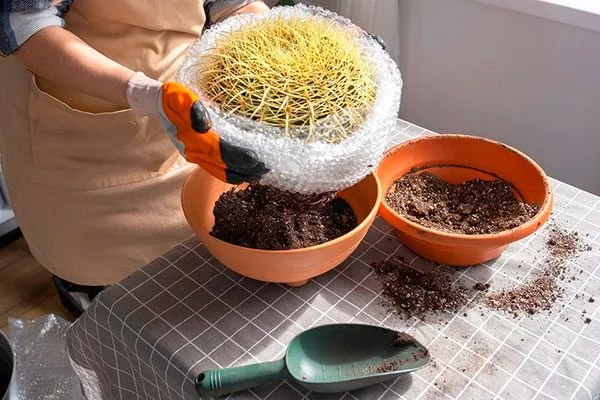
Repotting large, massive cacti is the most challenging task in indoor gardening. Sometimes, it even requires the help of a second person. If you don't have help, we suggest the following method:
- Carefully lay the cactus on one side on a flat or slightly inclined surface.
- Remove the old pot and clean the roots of excess soil. Mature plants can be repotted with the root ball intact, so complete removal is not necessary.
- Prepare a new container of a suitable size, placing drainage and some fresh substrate on the bottom.
- Tilt the pot and carefully position it over the plant's root system.
- Raise the cactus to a vertical position, gently tapping the sides of the pot to ensure the soil evenly fills the spaces between the roots. Then fill the remaining voids with soil.
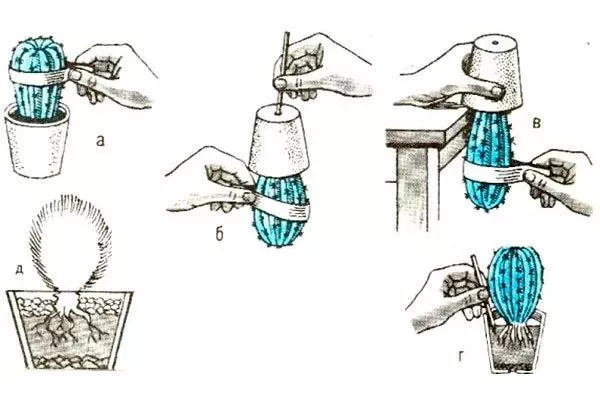
Small size
Very small cacti are easily repotted using tweezers and a spoon. The tweezers help hold the prickly plant, and the spoon is used to gently loosen the roots. When simply replacing the pot and soil without any signs of disease, the transshipment method is sufficient, preserving the root ball completely around the roots.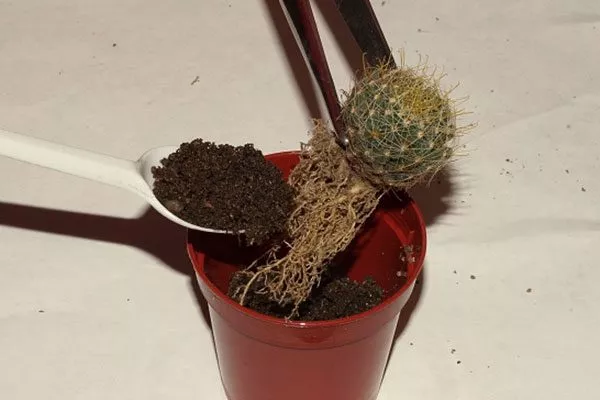
Without roots
The absence of roots can be explained by two reasons: either they have been destroyed by disease, or a new plant needs to be replanted. Ideally, the cactus should first be placed in moist sand to allow roots to develop, then transplanted to its permanent location.
If this isn't possible, it's acceptable to plant directly into prepared soil. To do this:
- the lower end of the stem must be carefully sharpened like a pencil;
- It is important to dry the resulting cuts by placing the plant in a dark, ventilated place for a couple of days;
- Once drying is complete, planting can begin.
It's worth keeping in mind that 100% survival of such cacti is unlikely: many of them die soon after planting.
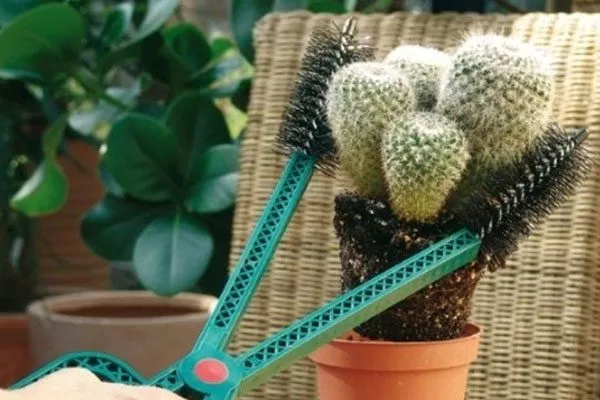
How to replant a prickly cactus without getting pricked: life hacks
Repotting a cactus is like playing with a wild hedgehog: one wrong move and you immediately realize who's in charge. To protect yourself and make the task easier, there are many helpful life hacks that can simplify the process of repotting cacti, whether small or large.
Tools for comfortable cacti repotting:
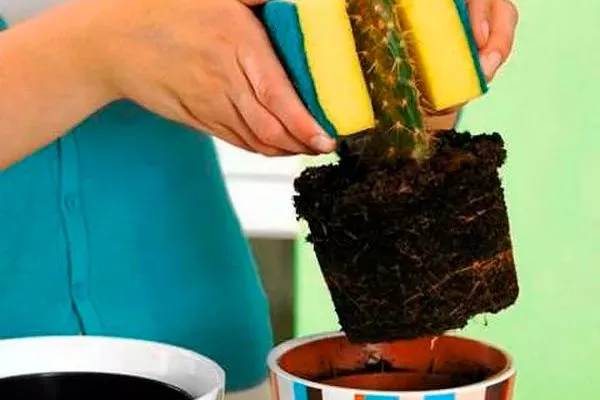
- Sponge pliers. Foam kitchen sponges can be a great help. Simply cut the sponge lengthwise, without cutting all the way to the edge, creating a kind of soft pliers. They perfectly grip the cactus and protect your fingers from painful pricks.
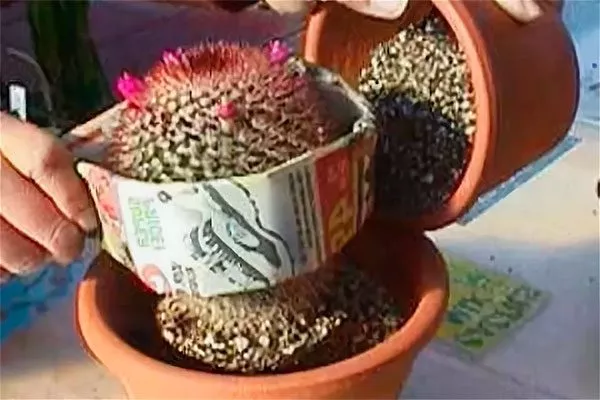
- Cardboard or newspaper. Another great method is to use a thick piece of cardboard or several layers of newspaper. Wrap the cactus tightly in the material, grasping the folded edges like a bag handle. This is an excellent technique for large and heavy specimens.
- Durable gloves. The classic method is to use high-quality rubber-coated gardening gloves or specialized models for working with prickly flowers. This is the safest and most common method.
- Tweezers. Very miniature cacti varieties or babies are best handled with standard tweezers—plastic or metal. Their dexterity allows for delicate handling of small plants.
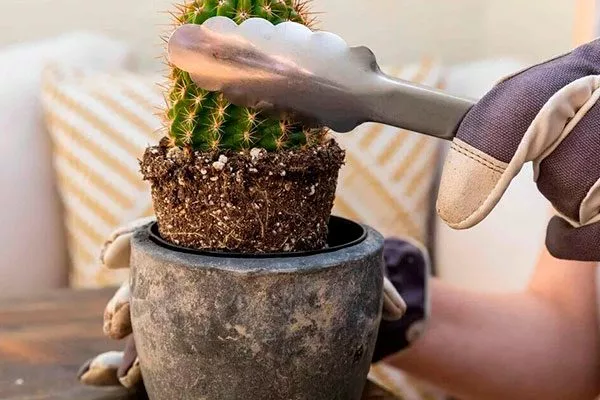
- Silicone kitchen mittens. Modern silicone kitchen accessories are also becoming useful in the garden. Mittens or tongs securely hold cacti, eliminating the hassle of thorns.
- Wooden or metal tablespoons. Another unique tip: small, thin, and awkwardly spiky plants (like prickly pear) can be easily handled with tablespoons, using them like tweezers. This allows for careful transfer of the plant to a new container.
Recommendations for care after transplantation
After repotting, allow the plant to rest for a few days without watering, allowing it to recover from the procedure. Proper post-transplant care will help the plant recover more quickly and prepare for full growth. Let's look at some important aspects that require special attention.
Adaptation phase after transplantation
Immediately after repotting, the cactus needs to be given the opportunity to adapt to its new conditions. The most important step is to ensure calm and gentle conditions:
- Avoid exposing the plant to direct sunlight for the first week.
- Provide a shady location with diffused light.
- Avoid any mechanical impacts and touching.
Watering mode
One of the key aspects of post-repotting care is monitoring the water balance. Watering immediately after transplantation is contraindicated, as freshly injured roots are sensitive to moisture and at risk of rot. The first watering should be done 5-7 days later, or in some cases later, depending on the individual characteristics of the plant.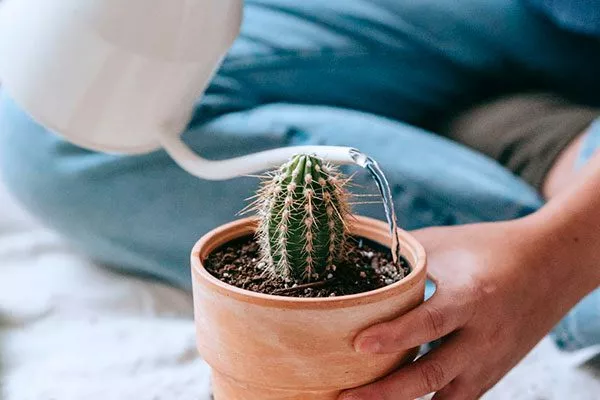
Recommended measures:
- Water only along the edge of the pot, avoiding water getting on the trunk and leaves.
- Moderation is the key. Overwatering can lead to rotting and loss of vitality.
Nutrient supplements
Fertilizing is recommended only after the adaptation phase is complete, usually 2-3 weeks after repotting. Before this point, introducing additional micronutrients can harm the young roots and hinder their recovery.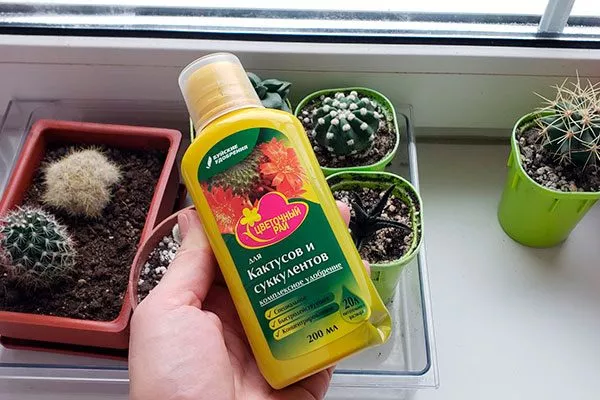
When choosing a fertilizer, choose complex products designed specifically for cacti and succulents. Pay attention to the phosphorus and potassium content, which are essential for strengthening the immune system and supporting regeneration processes.
Monitoring the condition of the plant
Pay special attention to visually inspecting the plant during the first month after repotting. Pay attention to the following:
- The color of the stem and leaves (signs of yellowing and darkening may indicate problems).
- The formation of new growth points indicates a good recovery.
- Signs of weakness and loss of elasticity indicate a possible lack of care.
Common mistakes when repotting cacti
Despite the widespread belief that cacti are extremely easy to care for, beginners often make simple but fatal mistakes when repotting that can ruin the plant. Here's a list of those to avoid:
Practical tips:
- Always prepare your instruments and work area before starting the procedure.
- To avoid mechanical damage, try to work carefully and gently.
- For convenience, you can secure the plant with a napkin or paper, wrapping it around the body of the cactus.
Repotting cacti is an important aspect of plant health. Following simple guidelines will help you cope with the task and provide your beloved plants with the best possible conditions for thriving. Following post-repotting care recommendations promptly will help maintain their health and ensure the best conditions for growth and development.