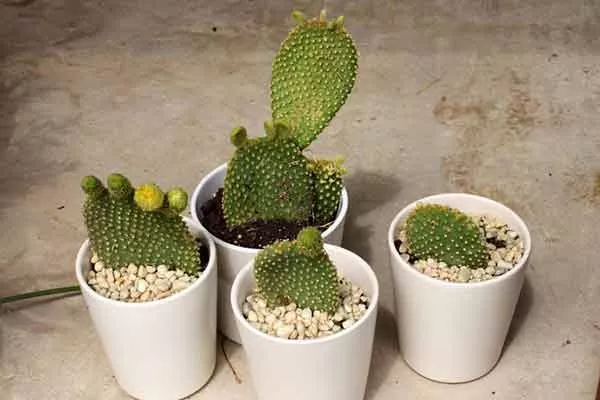
Propagating cacti by cuttings is a popular method among gardeners and houseplant enthusiasts. Cuttings allow you to quickly increase the number of your favorite species without having to buy new plants. However, the success of this method depends on choosing the right timing and conditions.
Advantages and disadvantages of cuttings
This method has its advantages and disadvantages, which should be taken into account before starting the breeding process.
When to propagate cacti by cuttings?
The best time to propagate cacti by cuttings is spring and early summer. This is when plants are actively growing and easily adapt to new conditions. Root growth begins in spring, so the chances of successful rooting increase significantly.
Autumn and winter are considered unfavorable seasons for cuttings, as the plant is dormant and slows down its growth processes.
When is it worth taking cactus cuttings?
Cuttings are an effective method of propagating cacti, allowing you to preserve varietal traits and obtain additional specimens. Let's consider situations when this method is recommended:
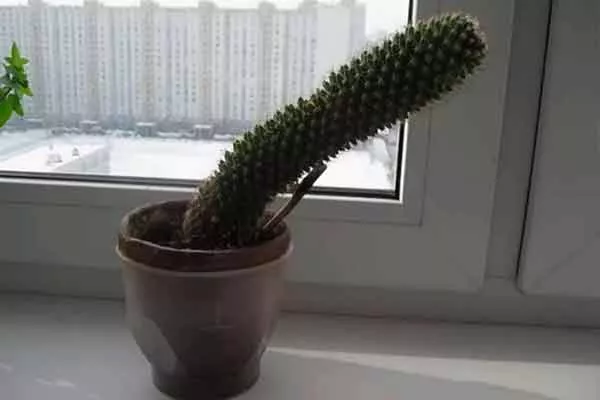
- If there is a long single stem:
- it became excessively elongated and lost its decorative effect;

- creates a risk of the pot falling.
- it became excessively elongated and lost its decorative effect;
- The plant is limited to the space of a shelf or windowsill, where it does not fit anywhere else.
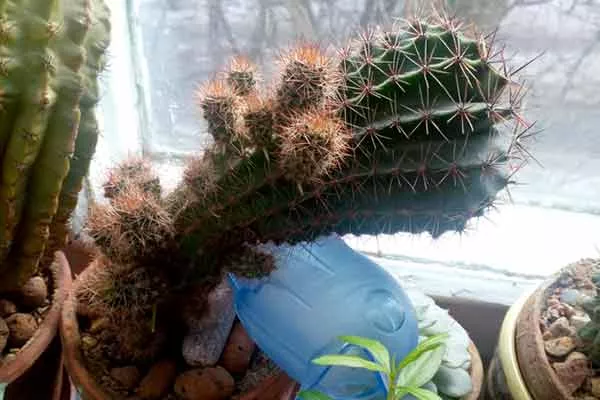
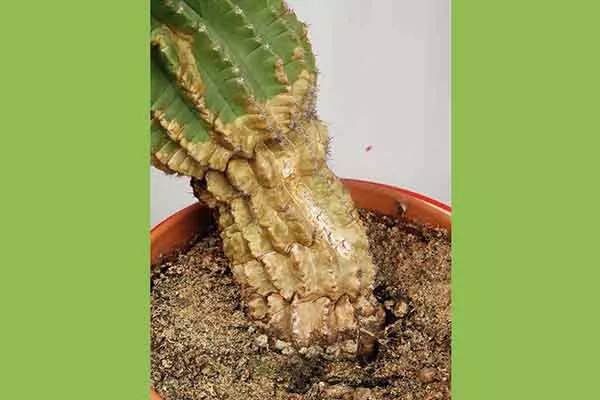
- The lower part of the stem has begun to become woody, or problems with rotting of the roots and base of the stem have appeared.
Typically, the procedure involves removing the top portion of the stem and re-rooting it. If the stem is long enough, several sections can be cut for subsequent propagation.
Properly conducted cuttings help solve aesthetic and practical problems, and also contribute to the preservation of rare and valuable varieties of cacti.
Tools, soil, pots
To ensure the process goes as smoothly and safely as possible for the plant, you will need a number of tools and materials:
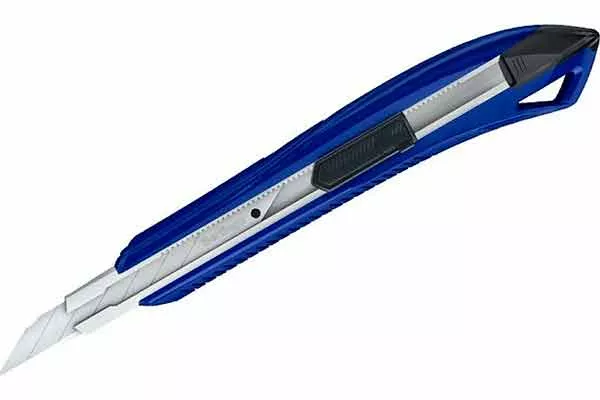
- Sharp instrument. Use a thin, straight-edged utility knife or a razor blade. The key is to ensure the tool is sharp enough to ensure a clean cut.
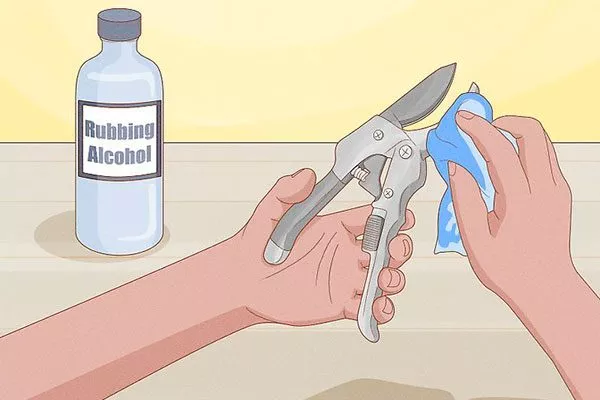
- Antiseptic. Before the procedure, be sure to disinfect the cutting surface with alcohol. This will prevent infection from entering the plant tissue.
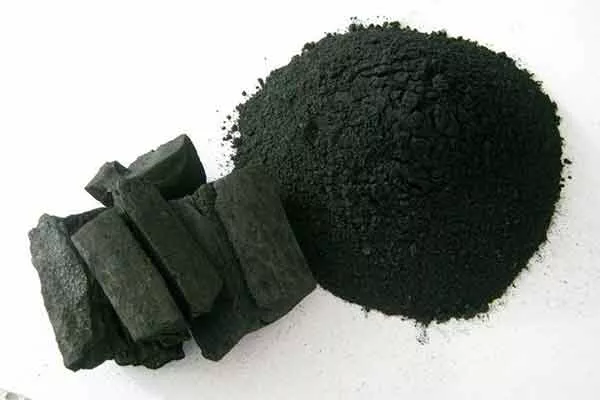
- Charcoal. Crushed charcoal is used to dust cuts before planting. It has antiseptic properties and accelerates wound healing.
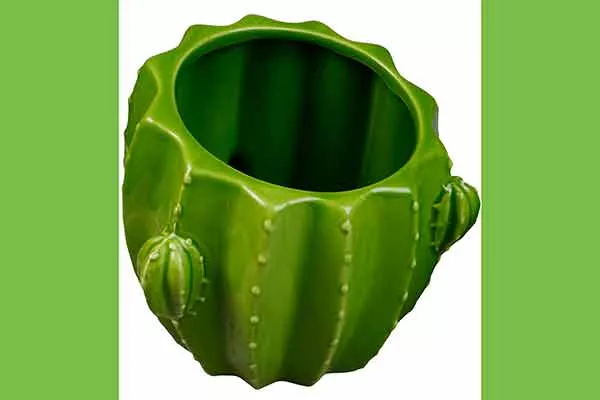
- Container for planting. Choose a small pot or special container (plate) with sufficient drainage holes. This will ensure proper drainage of excess moisture.
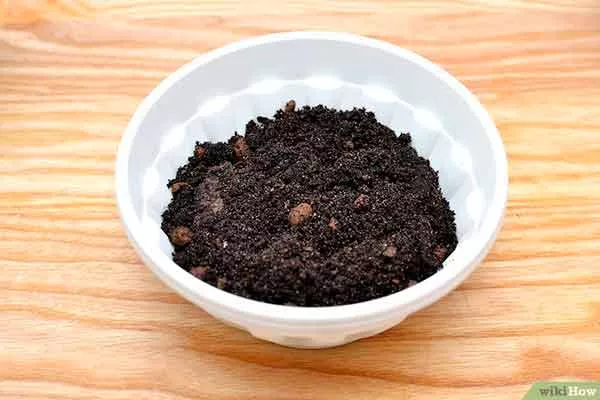
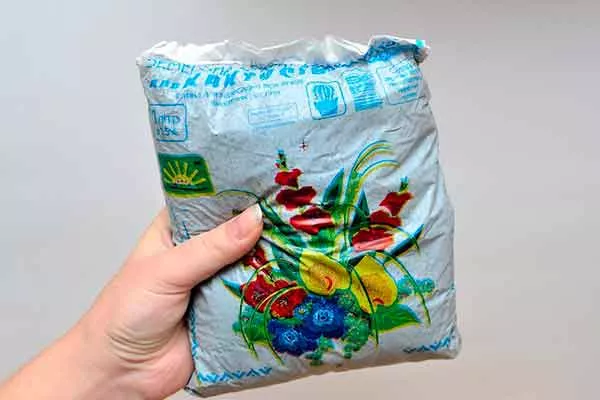
- Soil. Prepare a specialized soil for cacti that has good aeration qualities and low moisture capacity.
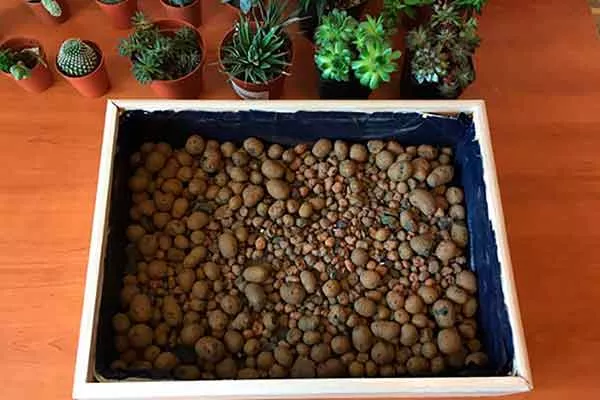
- Pebbles. Several small stones are needed to create a bottom drainage layer in the pot, preventing water stagnation near the roots.
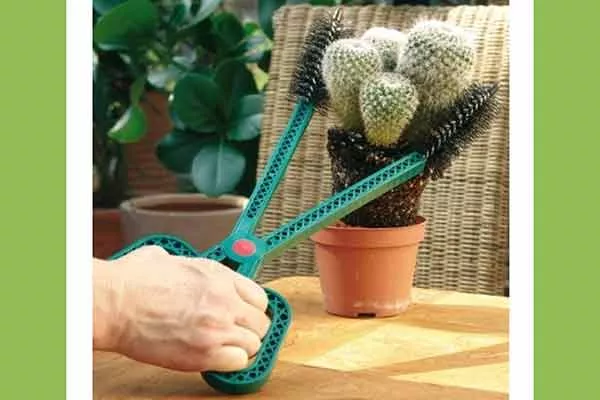
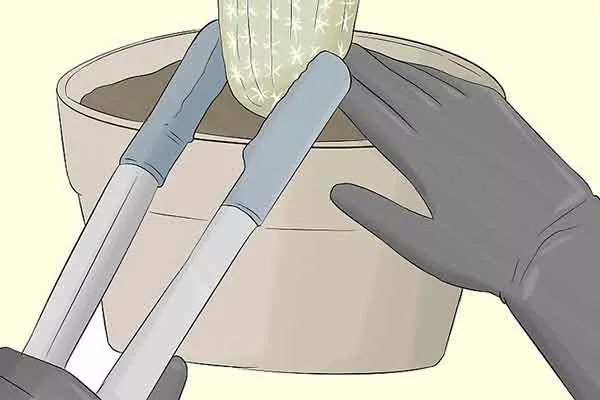
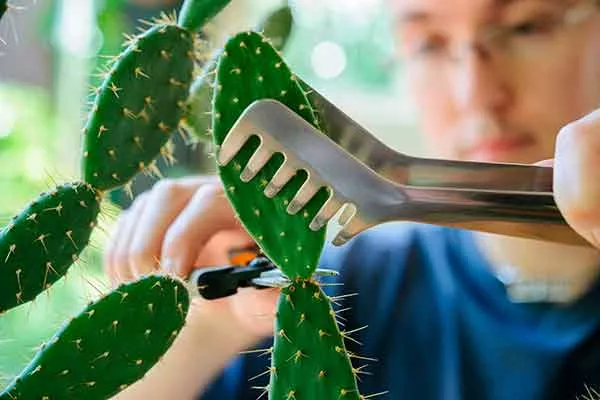
- Tweezers or tweezers. Large plastic tweezers or special kitchen tongs with soft tips are useful for carefully moving the prickly parts of the plant, preventing injury to your hands.
These simple items will allow you to carry out the cutting procedure correctly and carefully, ensuring the successful rooting of your cacti.
Ideal soil composition for succulents and cacti:
- Ordinary soil. Use one part plain garden, vegetable, or forest soil. It provides the necessary mineral base and improves the structure of the mixture.
- Purchased soil or black peat. Add an equal amount of ready-mixed store-bought potting soil or black peat moss. These ingredients contain organic matter and improve plant nutrition.
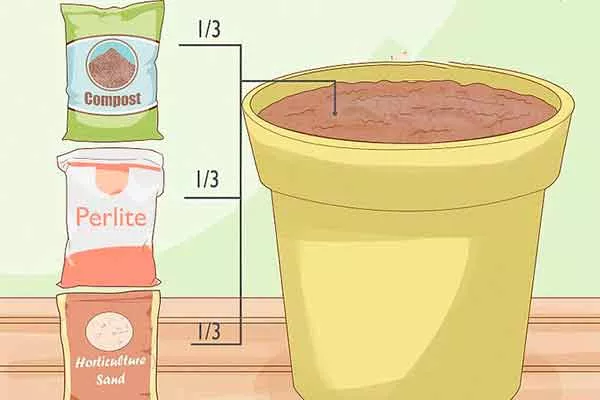
- Leavening additives. Coarse sand or any available loosening agent will help ensure good air permeability and water drainage: perlite, vermiculite, fine expanded clay, brick chips, crushed foam, or even small decorative beads.
The pot size is also important: several compact containers with a diameter of about 5-6 cm are sufficient. There's no need to cover the jar with a lid or frequently water the cuttings—this will only harm the plant.
How to form a correct cutting?
Before starting the cutting process, it's important to ensure the selected specimen is healthy and fully formed. To do this, select a strong shoot or side branch and carefully separate it with a sharp knife or blade. Then, allow the cut to dry for several days to prevent fungal infections.
Preparing a high-quality cutting plays a key role in the successful adaptation and further development of a new plant. Follow these recommendations:
- Cut shape. Make the bottom edge of the cutting slightly beveled ("tapered"). This shape promotes the development of a dense and branched root system.
- Drying the cuttings. Place the cutting in a warm room with minimal light for a while. This step is necessary to ensure the fresh cutting dries completely and prevents potential diseases.
- Using an antiseptic. It's helpful to treat large cuts on large specimens with activated charcoal powder. This will protect the plant from pathogens.
- Cutting tool. Use a utility knife and a blade wiped with alcohol. Proper handling ensures a clean cut and preserves the health of the mother plant.
By following these simple rules, you can create a high-quality cutting that will guarantee successful rooting and the well-being of your young cactus.
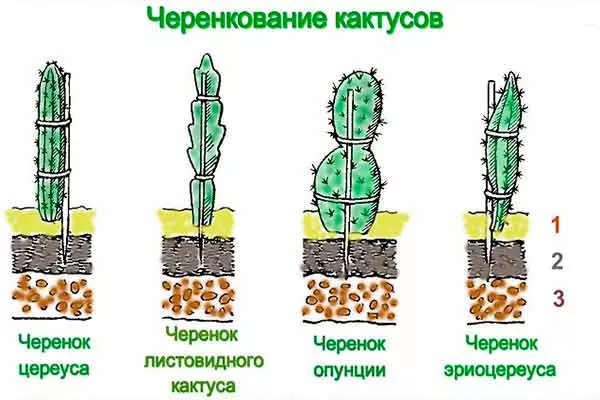
How to propagate by cuttings depending on the species?
Cacti come in many varieties, and not all varieties produce cuttings suitable for propagation. To help a novice cactus grower understand how to propagate both spherical and flat-topped plants, it's worth exploring this topic in more detail.
Can you cut off the top of a cactus to propagate it?
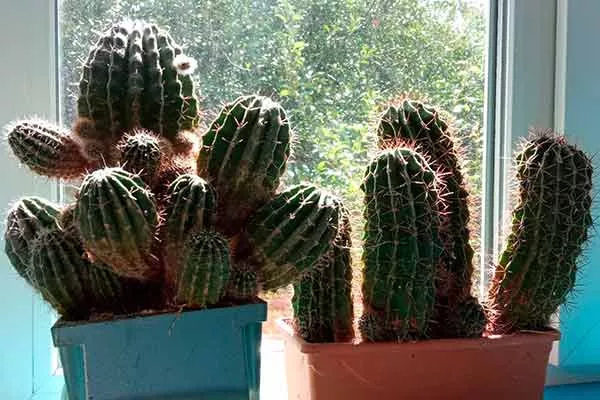
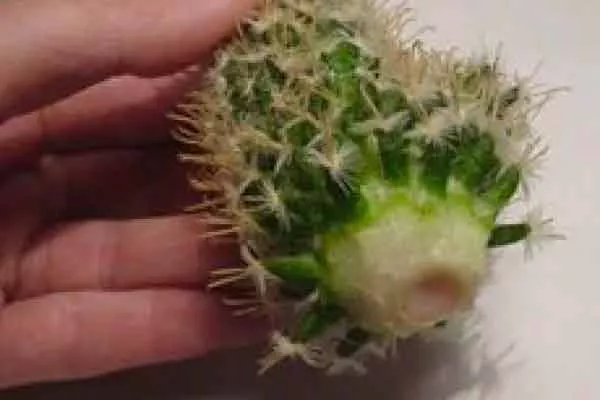
Ball cacti are among the most popular members of the Cactaceae family due to their unusual shape and variety of colors. Many houseplant enthusiasts wonder how to properly propagate these plants and ensure successful rooting. One of the most effective methods is cuttings from the top of the plant.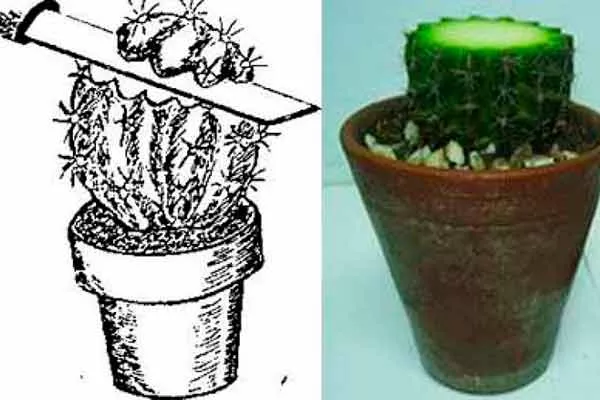
Step-by-step instructions:
- Clean and disinfect the knife or blade with rubbing alcohol to eliminate the risk of contamination of the future cutting.
- Determine the point where you will perform the crown removal. Try to select an area just below the crown, ensuring it is free of damage and signs of disease.
- Secure the cactus with your fingers through the cloth or with tweezers, being careful not to damage the needles (or your fingers). Due to the dense structure of spherical cacti, securing the cactus should be relatively painless.
- Make the cut carefully, keeping your hand steady and level. The more precise and even the line, the faster the healing process will be.
- Place the crown on a clean sheet of paper and leave it in a dry, ventilated area for a couple of days. Avoid direct sunlight. It's a good idea to treat the fresh cut with a small amount of charcoal powder or sulfur to reduce the risk of bacteria and fungi.
- Fill a small container with specially prepared cactus soil. Place the cutting on the surface so that the cut edge is about 10 mm above the top layer of soil.
- Press the crown lightly into the ground and support it with stones or wooden sticks if it is not stable enough.
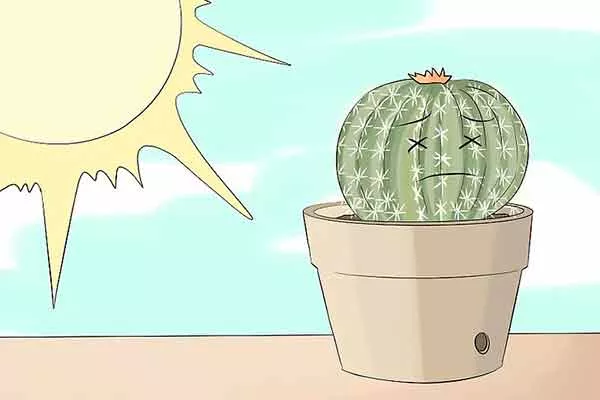
- Place the container in a warm, dry place, protected from bright sunlight.
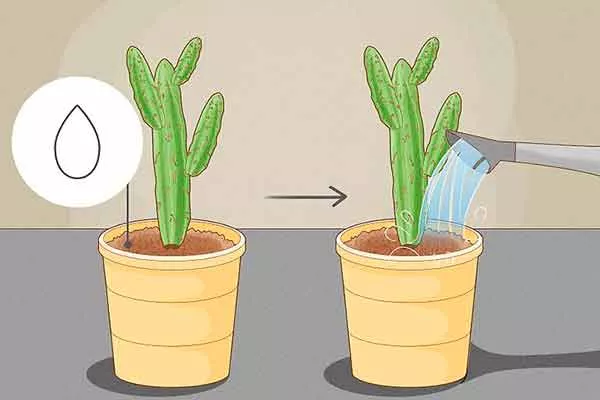
Begin watering gradually a week or two after planting, monitoring the soil moisture level. Avoid completely flooding the soil, as this will lead to rot.
The rooting process takes different amounts of time depending on the cactus species and environmental conditions. Be patient and closely monitor the progress of your prickly friend.
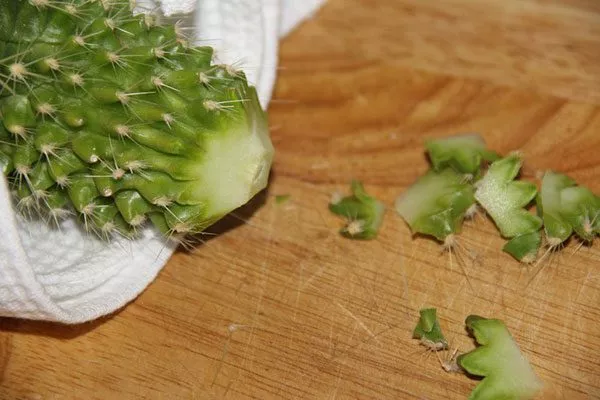
Reproduction by “ears”
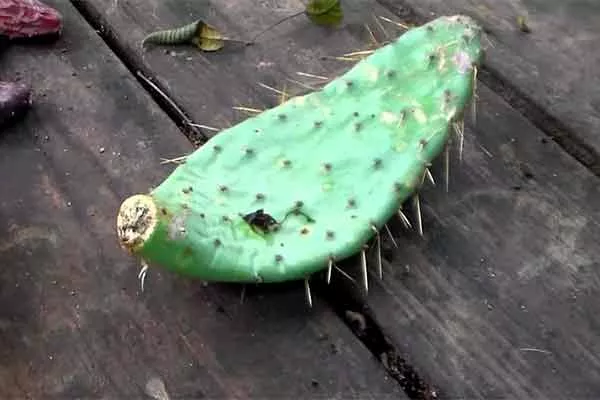
The Opuntia cactus, also known as bunny ears, is excellent for vegetative propagation, using the plant's distinctive flat segments.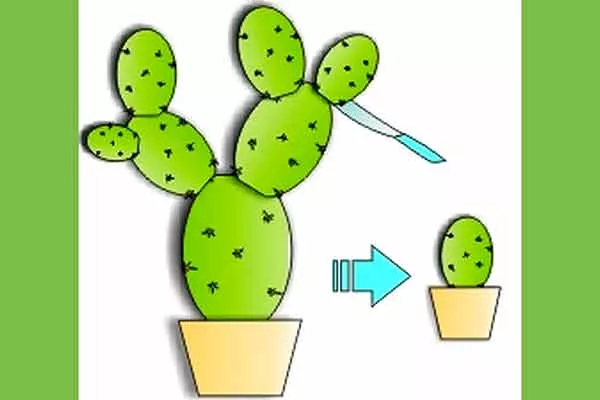
Stages of Opuntia propagation by segments:
- Getting a segment. Find a mature adult plant and carefully break off or cut off a green leaf that is free of disease and pests.
- Drying. Leave the resulting segment to dry in the shade at room temperature for three days. This will reduce the risk of rot and infection.
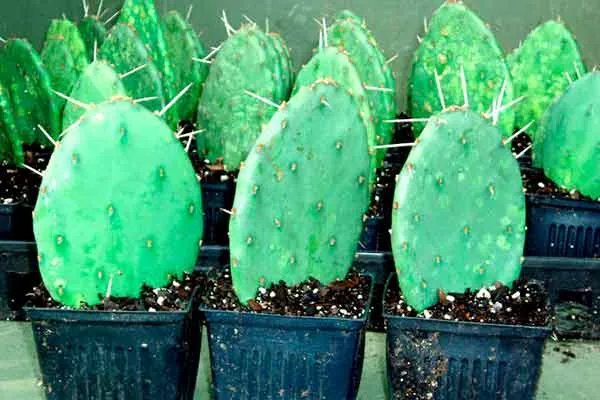
- Landing. Plant the dried leaf vertically in a loose and moderately moist soil mixture, deepening it to a depth of only 3 cm.
- Creation of a greenhouse effect. Cover the planted segment with a transparent bag or glass jar, creating a greenhouse effect.
- Regular care. Periodically remove the cover for ventilation and light moistening of the substrate, avoiding overwatering.
- Monitoring development. The first signs of root formation appear as new shoots emerge. Now you can remove the protective covering and begin careful, regular watering.
This method makes it easy and quick to expand your Opuntia collection or share plants with other succulent lovers.
How and where to root a cactus?
Cacti are considered versatile when it comes to rooting cuttings. They can be placed in water, buried in soil, or even perched on a rock.
In the ground
Rooting cactus cuttings in a substrate is one of the most common and reliable methods for establishing these plants. The steps are simple.
Preparing the cuttings
Select the appropriate cutting from the parent plant. A healthy, mature, and developed lateral shoot is ideal. Next, proceed as follows:
- Using clean tools, make a cut at the very base of the cutting. The cut should be perfectly straight.
- After removing the cutting, let it dry. Drying time varies from one to five days depending on the size and type of cactus. Small cuttings dry faster, while larger ones require more time.
- Carry out the drying process in a dark place, protected from direct sunlight.
Planting a cutting
The landing process is quite simple:
- Fill the pot with a special mixture for cacti or make your own mixture from equal parts of all-purpose soil and coarse sand.
- Be sure to provide good drainage in the form of pebbles or expanded clay at the bottom of the pot.
- We place the cutting in pre-prepared soil and lightly compact the soil around it.

Caring for the cuttings
At first, avoid watering the cuttings, as excess moisture can lead to mold and rot. After two to three weeks, you can begin infrequent, sparing watering with warm, settled water. Maintain the air temperature between 20-25 degrees Celsius and provide the plant with adequate light, but avoid direct sunlight.
After a month, check the cutting's stability in the soil. If it holds firmly and has begun to form side shoots, the roots have begun to develop.
Advantages of the method
Disadvantages of the method
Rooting cactus cuttings in soil is an effective and reliable method of propagation, requiring adherence to basic agricultural practices and attention to the condition of the plants.
In the water
Although the classic method of rooting cacti in water is considered undesirable, some enthusiasts offer an interesting alternative method: placing cuttings or shoots above the water surface, preventing direct contact with moisture.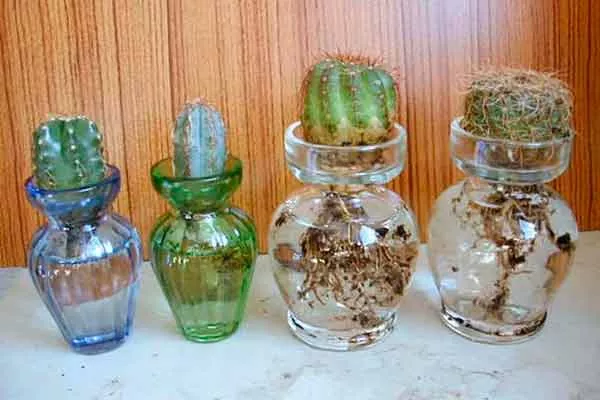
Peculiarities
How it's done:
- Pour a small amount of boiled water into a suitable container.
- Place the cutting or plant so that the distance between its base and the surface of the liquid is approximately 0.5-0.7 cm.

Root formation will gradually begin, accelerated by the vapor from evaporating water. Check the water level regularly and top up as needed.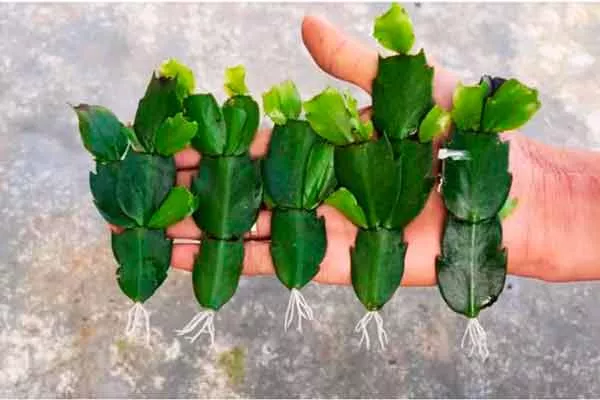
Advantages and disadvantages
The method of rooting cactus cuttings above water is unconventional and requires a special approach. Despite its exotic nature, it attracts the attention of many novice and experienced cactus growers.
On the stones
Rooting cacti on rocks is a rather specific method and is used less frequently than traditional methods such as soil or water rooting. However, it is interesting because it minimizes the risk of rot that occurs when exposed to a wet environment.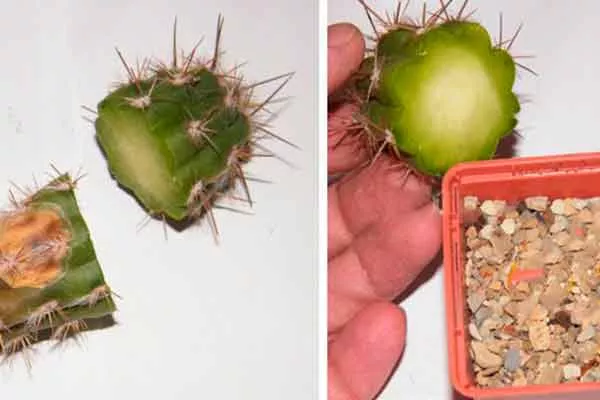
Nuances
The procedure is considered standard. However, there are some aspects worth noting:
- Selecting a cutting:
- Remove the desired cutting from the mother plant using a sharp tool, observing hygiene rules (treat the blade with alcohol).
- Check the cutting for signs of rot or damage.
- Drying the cuttings. Place in a dry and ventilated room for several days (approximately 35 days) to dry the cut.
- Preparing the base:
- Place your chosen rock or pebble in the bottom of the pot or plate.
- Add a layer of clean gravel or sand about 12 cm thick.
- Installing the cuttings:
- Turn the cutting upside down and place it with the tip down on the stone.
- Secure the stone in place with your finger or a small piece of moss. The distance between the stone and the bottom of the cutting should be approximately 0.5-1 cm.
- Creating a humid environment. Place a container of water next to the installed cutting so that the evaporation creates a humid atmosphere.
Recommendations:
- Maintain a stable temperature and lighting, monitoring the condition of the cutting daily.
- In about two to three weeks, the first signs of root formation should appear.
- After rooting, carefully transfer the young cactus to a small pot with a suitable substrate.
Pros and cons
While rock rooting has its challenges, it offers an interesting solution for professionals looking to minimize the risks associated with traditional soil rooting.
Caring for planted cuttings
Planting cactus cuttings is an important step in propagating these plants. Proper care plays a key role in ensuring successful rooting and continued growth. Let's look at some basic care recommendations for planted cactus cuttings:
- Watering is a key aspect of care. After planting, cuttings require moderate moisture. It's important to avoid overwatering, as this can lead to root rot. For the first two to three weeks, water very sparingly, using only small amounts.
- Once the first signs of growth appear (after about a month), the frequency of watering can be increased, but always make sure that the soil has time to dry out between waterings.
- Cacti love bright light, so ensure your plants receive adequate lighting. If growing in winter or early spring, it's advisable to use supplemental artificial lighting with fluorescent lamps or phytolamps.
- The optimal temperature for rooting is around +20…+25°C. Avoid sudden temperature changes and drafts, especially during the first months of young plants' life.
- Fertilizing young cacti is not recommended during the first year after planting. This is because they are not yet fully developed and may suffer from excess nutrients. Starting in the second year, you can use specialized fertilizers for succulents, strictly observing the dosage.
By following these simple guidelines, you can provide your young cacti with the best possible conditions for development and watch them gradually grow and develop.
Despite some difficulties, cuttings remain one of the most popular methods of cacti propagation due to its simplicity and effectiveness. With the right approach, this process will allow you to successfully grow healthy and beautiful plants.