Hibiscus is a spectacular flower with large, vibrant blooms that often graces home collections and gardens. One of the most accessible and common methods of propagating it is by seed. This method not only allows you to grow a healthy, disease-resistant plant but also to observe all stages of its development—from sowing to first flowering.
The importance of seed propagation of hibiscus
Seed propagation of hibiscus plays a key role in maintaining genetic diversity, creating new varieties and adapting plants to changing environmental conditions.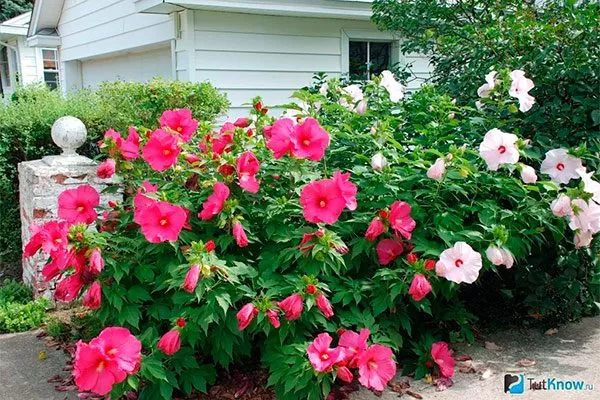
Despite the existence of vegetative propagation methods, seed propagation remains an indispensable tool for breeders and hibiscus enthusiasts.
Key Features:
- One of the most important aspects of seed propagation is the ability to produce unique hybrids. Cross-pollination of different hibiscus varieties allows for the combination of desired characteristics: flower color, size and shape, disease and pest resistance, and flowering time.
This opens up broad prospects for the creation of new, improved varieties that meet the needs of flower growers and landscape designers. - This measure ensures greater plant adaptability to local conditions. Seeds obtained from plants grown in a specific region are characterized by greater resistance to local climatic factors and diseases.
This is especially important for hibiscus, which are grown in different climate zones. - This procedure is a relatively simple and affordable way to propagate hibiscus. The collected seeds can be stored for a long time and used for sowing at a convenient time.

This method is especially relevant for wild species of hibiscus, which often do not reproduce well vegetatively.
Advantages and disadvantages of seed propagation
This heat-loving hibiscus, native to the tropical forests of the Malay Archipelago, is prized for its decorative appeal – bright green foliage and large, showy flowers, both single and double, with rich and varied colors.
Seed preparation
Successful hibiscus seed propagation depends largely on the quality of the seeds and proper preparation for sowing. This stage determines the germination and subsequent development of young plants.
Selecting quality seeds
When purchasing planting material from specialty stores, it's recommended to choose varieties, especially if you plan to harvest the seeds yourself. Be sure to check the packaging date: germination rates decrease significantly after just one year.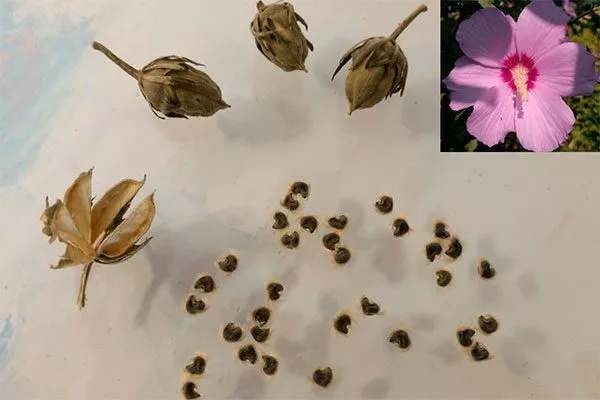
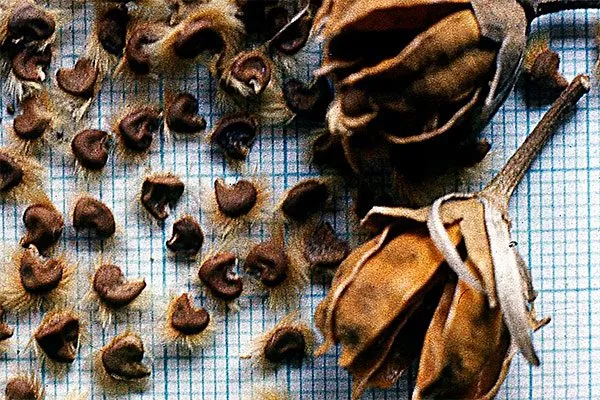
Collect the pods yourself after they are fully ripe:
- Accurately determine the ripeness of the fruit: ripe pods turn brown, while overripe ones may spontaneously split open, spilling seeds onto the soil. To avoid missing the right moment, cut the pods promptly.
- After harvesting, carefully remove the seeds, place them on thick white paper, and discard any damaged, over-dried, or small seeds. Dry the good-quality seeds and store them in paper bags in a dry, dark place.

Stratification
The process involves exposing seeds to low temperatures and humidity. This helps break down germination inhibitors found in the seed coat and stimulates the enzymatic processes necessary for growth.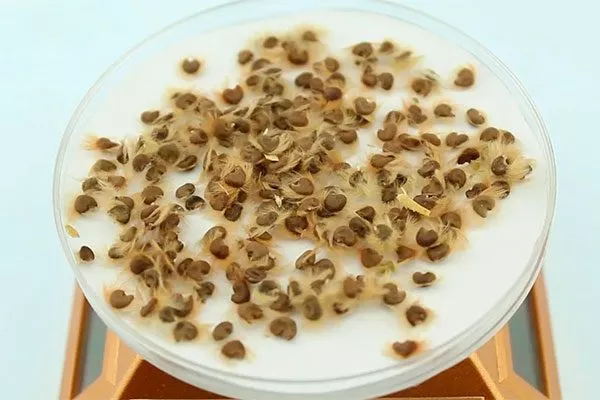
The stratification process involves several steps:
- placing seeds in a moist substrate - sand, peat or vermiculite;
- Store in a refrigerator at a temperature of +2 to +5 degrees Celsius for 1-2 months.
It is important to maintain moderate substrate moisture to prevent the planting material from drying out or rotting.
The advantages of stratification are obvious:
- increasing the germination rate;
- more friendly and uniform germination;
- strengthening the immunity of young plants.
Without stratification, hibiscus seeds may germinate unevenly or even remain dormant.
Treatment with growth stimulants
This is an effective technique aimed at increasing germination, accelerating germination, and strengthening young seedlings. Growth stimulants contain phytohormones and other active ingredients that stimulate cell division and root development.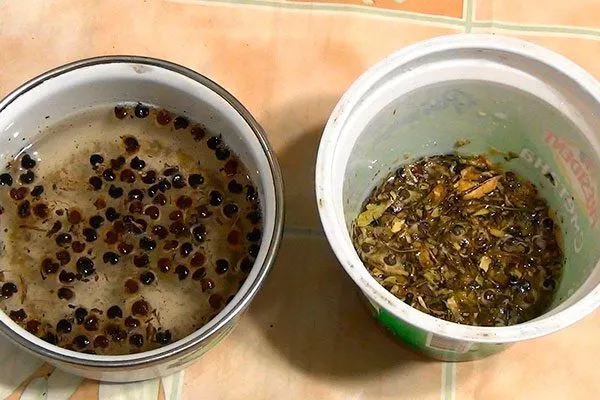
Among the most popular and effective remedies for hibiscus are:
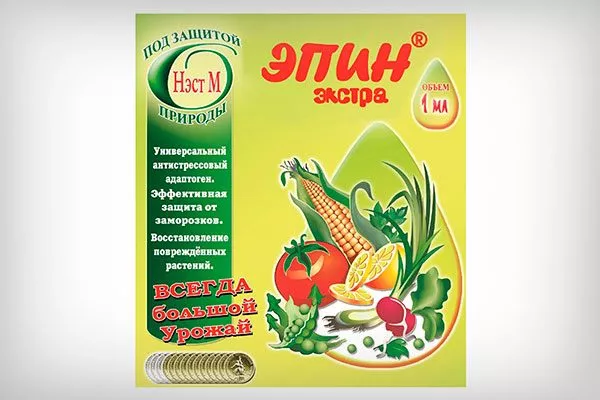
- Epin-Extra. Contains epibrassinolide, a natural phytohormone that increases stress resistance and stimulates growth. It is recommended to soak seeds in the solution (2-3 drops per 100 ml of water) for 12-24 hours before sowing.
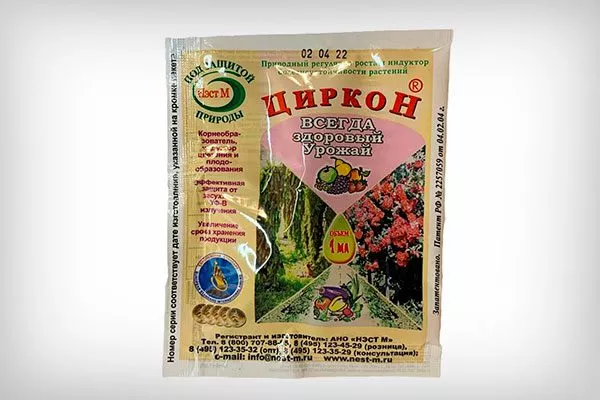
- Zircon. Contains hydroxycinnamic acids, which stimulate root formation and boost immunity. It is used similarly to Epin-Extra.
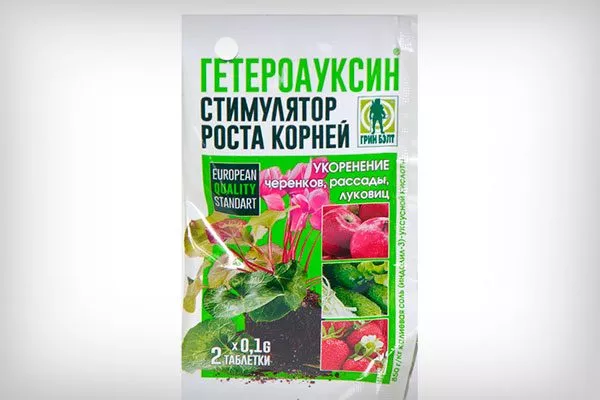
- Heteroauxin. A classic rooting stimulant. Seeds can be soaked in a weak solution (0.005-0.01%) for several hours.
- Succinic acid. Improves nutrient absorption, stimulates growth, and increases disease resistance. The soaking solution is prepared at a rate of 1 g per 5 liters of water.
The use of growth stimulants not only accelerates the germination of hibiscus seeds, but also produces stronger and more viable seedlings that are resistant to adverse conditions.
Methods for increasing seed germination
To achieve maximum germination of hibiscus seeds, a range of measures are used to stimulate internal processes and facilitate germination. Popular methods include:
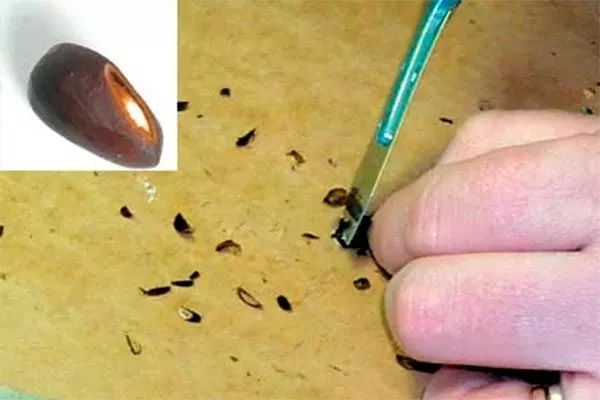
- Scarification – A mechanical disruption of the hard seed coat. This allows water and oxygen to penetrate the embryo, stimulating its awakening. This is accomplished by lightly filing, sanding, or briefly exposing it to acid.
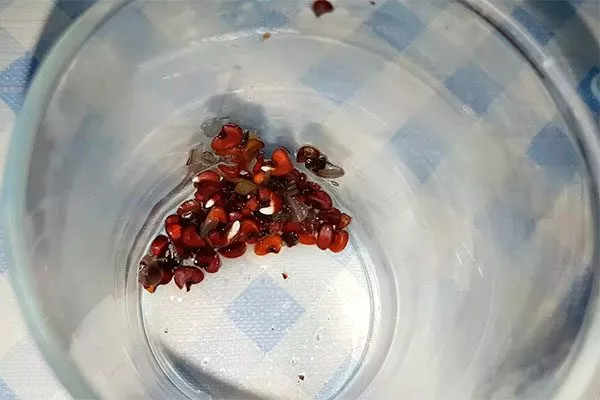
- Heat treatment – Short-term exposure to heat. Promotes increased germination. Seeds are soaked in warm water (40-50°C) for several hours, then cooled and sown.
- Germination – This method involves placing seeds between layers of damp cloth or cotton pads, creating a warm and humid environment. Once roots appear, they are transplanted into soil. This method allows for the selection of only viable seeds.
Combining these measures significantly increases seed germination rates and produces healthy, strong seedlings. The choice of specific method depends on the hibiscus species and the characteristics of the planting material.
Sowing seeds
Successful seed cultivation begins with the right sowing time and careful preparation. This process requires attention to detail, from choosing the right pot and growing medium to sowing the seeds.
When is the best time to propagate?
The optimal time for propagating hibiscus by seed is late winter or early spring (February-March). During this period, daylight hours increase, which favorably influences seed germination and the development of young seedlings.
The correct choice of pot and substrate, their preparation
Shallow containers or well-drained pots are suitable for sowing hibiscus seeds. It's important that the pots are clean and disinfected.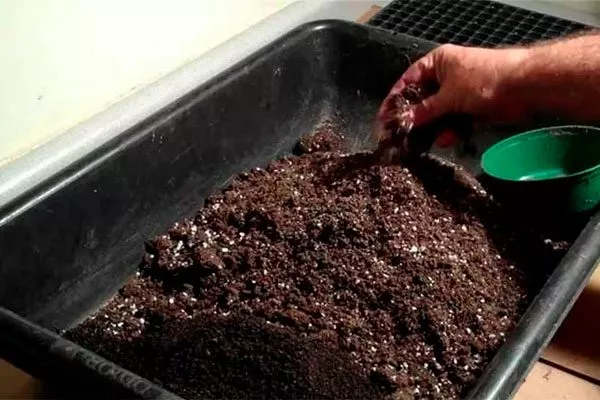
The substrate should be light, breathable, and nutritious. You can use ready-made seedling soil mixes or prepare your own by mixing equal parts peat, sand, and humus.
Before sowing, the substrate should be moistened and lightly compacted. Containers or pots should be thoroughly washed and disinfected with a solution of potassium permanganate or hydrogen peroxide to prevent the development of fungal diseases.
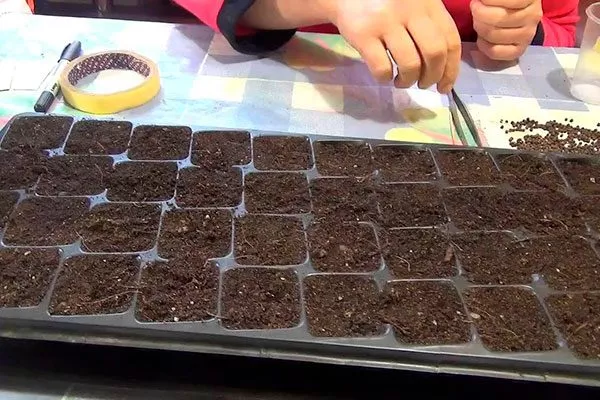
Sowing
Spread the hibiscus seeds evenly over the surface of the moistened substrate, pressing them lightly into the soil. Next, follow these steps:
- Sprinkle a thin layer of sand or vermiculite on top.
- Cover the container with transparent film or glass to create a greenhouse effect.
- Place the container in a warm, bright place.
Regularly aerate and moisten the soil. The first shoots usually appear within 2-3 weeks.
Creating greenhouse conditions
The key to successful hibiscus seed germination and the development of strong seedlings is creating greenhouse conditions. Simulating a greenhouse's microclimate at home helps maintain the optimal temperature and humidity necessary for the vigorous growth of young plants.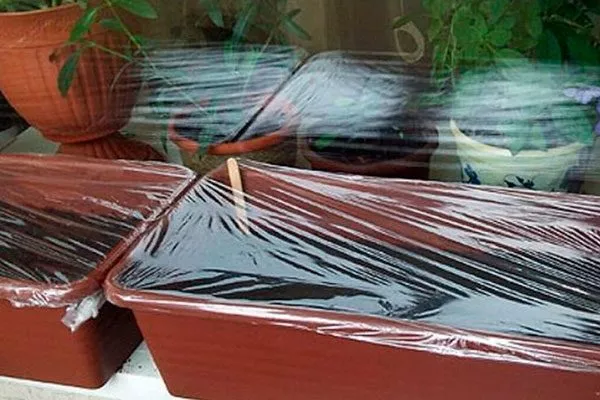
Helpful tips:
- The basis of a greenhouse is an airtight container that can retain moisture and heat. Plastic containers with lids, transparent boxes, or even regular plastic bags can be used as mini greenhouses.
The main thing is to provide sufficient space for seedlings to grow and ventilation. - The placement of the mini greenhouse is important. A bright, warm location protected from direct sunlight is ideal. The ideal temperature for hibiscus seed germination is 25-30°C.
To maintain a stable temperature, you can use phytolamps, which will also provide additional lighting in conditions of short daylight hours. - Regular ventilation is essential to prevent mold and fungal growth. The mini greenhouse should be ventilated daily by removing the lid or opening the bag for 15-20 minutes.
- It's important to monitor soil moisture, preventing it from drying out or becoming too wet. Moderate watering with warm, settled water is key to healthy hibiscus seedling growth.
Caring for seedlings
Once the seedlings emerge, the critical period of caring for hibiscus seedlings begins, which determines their continued development and health. Maintaining optimal temperature, lighting, humidity, and regular ventilation with fertilizing are key factors for successful cultivation.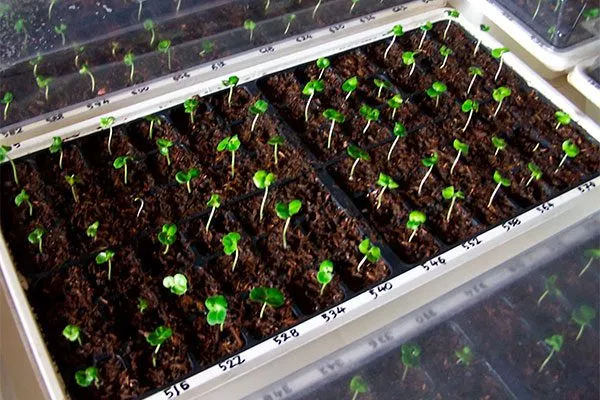
Temperature and lighting
Hibiscus seedlings need sufficient light, especially during winter. The optimal daylight period is 12-14 hours. If natural light is insufficient, grow lights should be used.
The air temperature should be maintained between 20-25°C. Avoid sudden temperature changes and drafts.
Air humidity and watering
Hibiscus seedlings require moderate humidity, which can be maintained by regular misting. Water the plants as the top layer of soil dries out, using settled water at room temperature.
Ventilation and fertilizing
Regular air flow is essential to prevent fungal diseases. Ventilate the seedling room daily, but avoid drafts.
Begin fertilizing seedlings 2-3 weeks after germination, using a complete mineral fertilizer for seedlings. Follow the package instructions to avoid overfeeding.
Picking
Pricking out is an important step in growing hibiscus from seed. It allows you to transplant young plants into individual containers to ensure sufficient space for root growth and development. This procedure promotes the formation of stronger, healthier seedlings.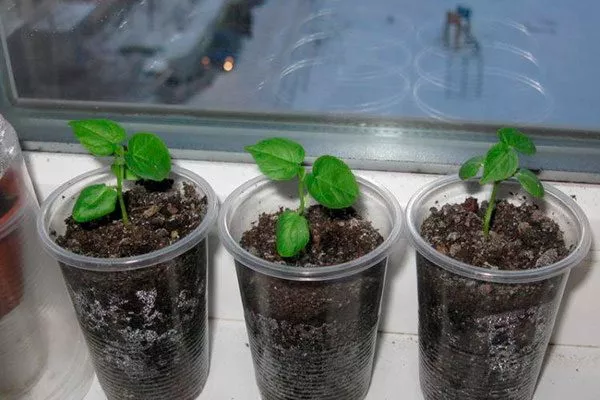
Helpful tips:
- Carry out this procedure when the seedlings have 2-3 true leaves. By this point, the root system is developed enough to withstand transplanting. Don't delay transplanting, as overgrown seedlings have a harder time establishing themselves.
- For this procedure, use individual pots or cups 7-10 cm in diameter, filled with a light, nutritious substrate similar to that in which the seeds were sown. Moisten the soil in the pots before transplanting.
- Carefully remove the seedlings from the pot, being careful not to damage the roots. If they are too long, you can trim them slightly. Make a small depression in the center of each pot, place the seedling in it, and cover the roots with soil. Lightly compact the soil around the plant.
- After picking, water the seedlings and place them in a shaded area for a few days so that they take root better.
Water the seedlings regularly, preventing the soil from drying out. Gradually acclimate them to brighter light. Two to three weeks after transplanting, begin feeding the seedlings with a weak solution of a complete fertilizer.
Plant transplantation
Transplanting hibiscus into permanent pots is the final stage of seedling cultivation, determining the subsequent development and flowering of the plant. The success of this procedure depends on properly assessing the seedlings' readiness, following the transplanting steps, and ensuring optimal conditions for adaptation.
Determining the readiness of seedlings for transplantation
Seedlings are ready for transplanting when they reach a height of 10-15 cm and have a well-developed root system that envelops the root ball. It's important that the seedlings have at least 5-6 true leaves and that the stems are sufficiently strong.
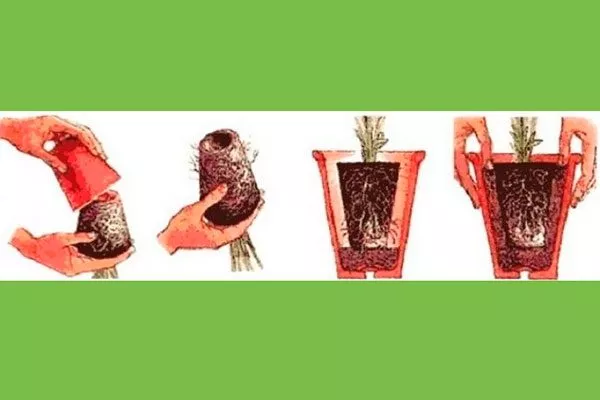
Steps for transplanting hibiscus into permanent pots
When relocating, choose containers with a larger diameter (15-20 cm) and good drainage. Follow these guidelines:
- Place a layer of expanded clay or broken bricks on the bottom of the pot.
- Carefully remove the plant from the temporary container along with the root ball, being careful not to damage the roots.
- Place the hibiscus in a new pot, fill the voids with nutrient substrate and lightly compact the soil.
The first feeding is carried out 2-3 weeks after transplantation.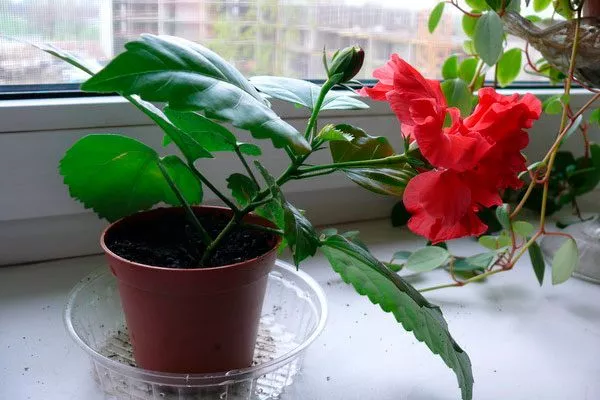
Summing up tips and recommendations
Beginner gardeners often encounter difficulties when growing hibiscus. To avoid this, follow these guidelines:
- replant the plant in spring and summer;
- use high-quality substrate and pots with drainage holes;
- Provide your hibiscus with optimal lighting, watering, and fertilizing for successful growth and abundant flowering.
Propagating hibiscus from seed is a simple yet painstaking process that requires attention at every stage. Proper selection of planting material, adherence to sowing timing, creating a favorable microclimate, and careful care of the seedlings are all key to successfully growing strong, ornamental plants.